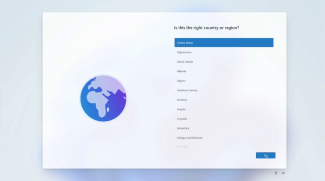
Step 1

Step 2
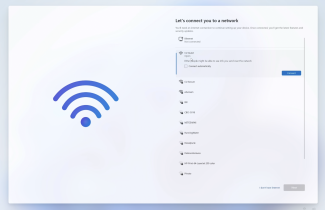
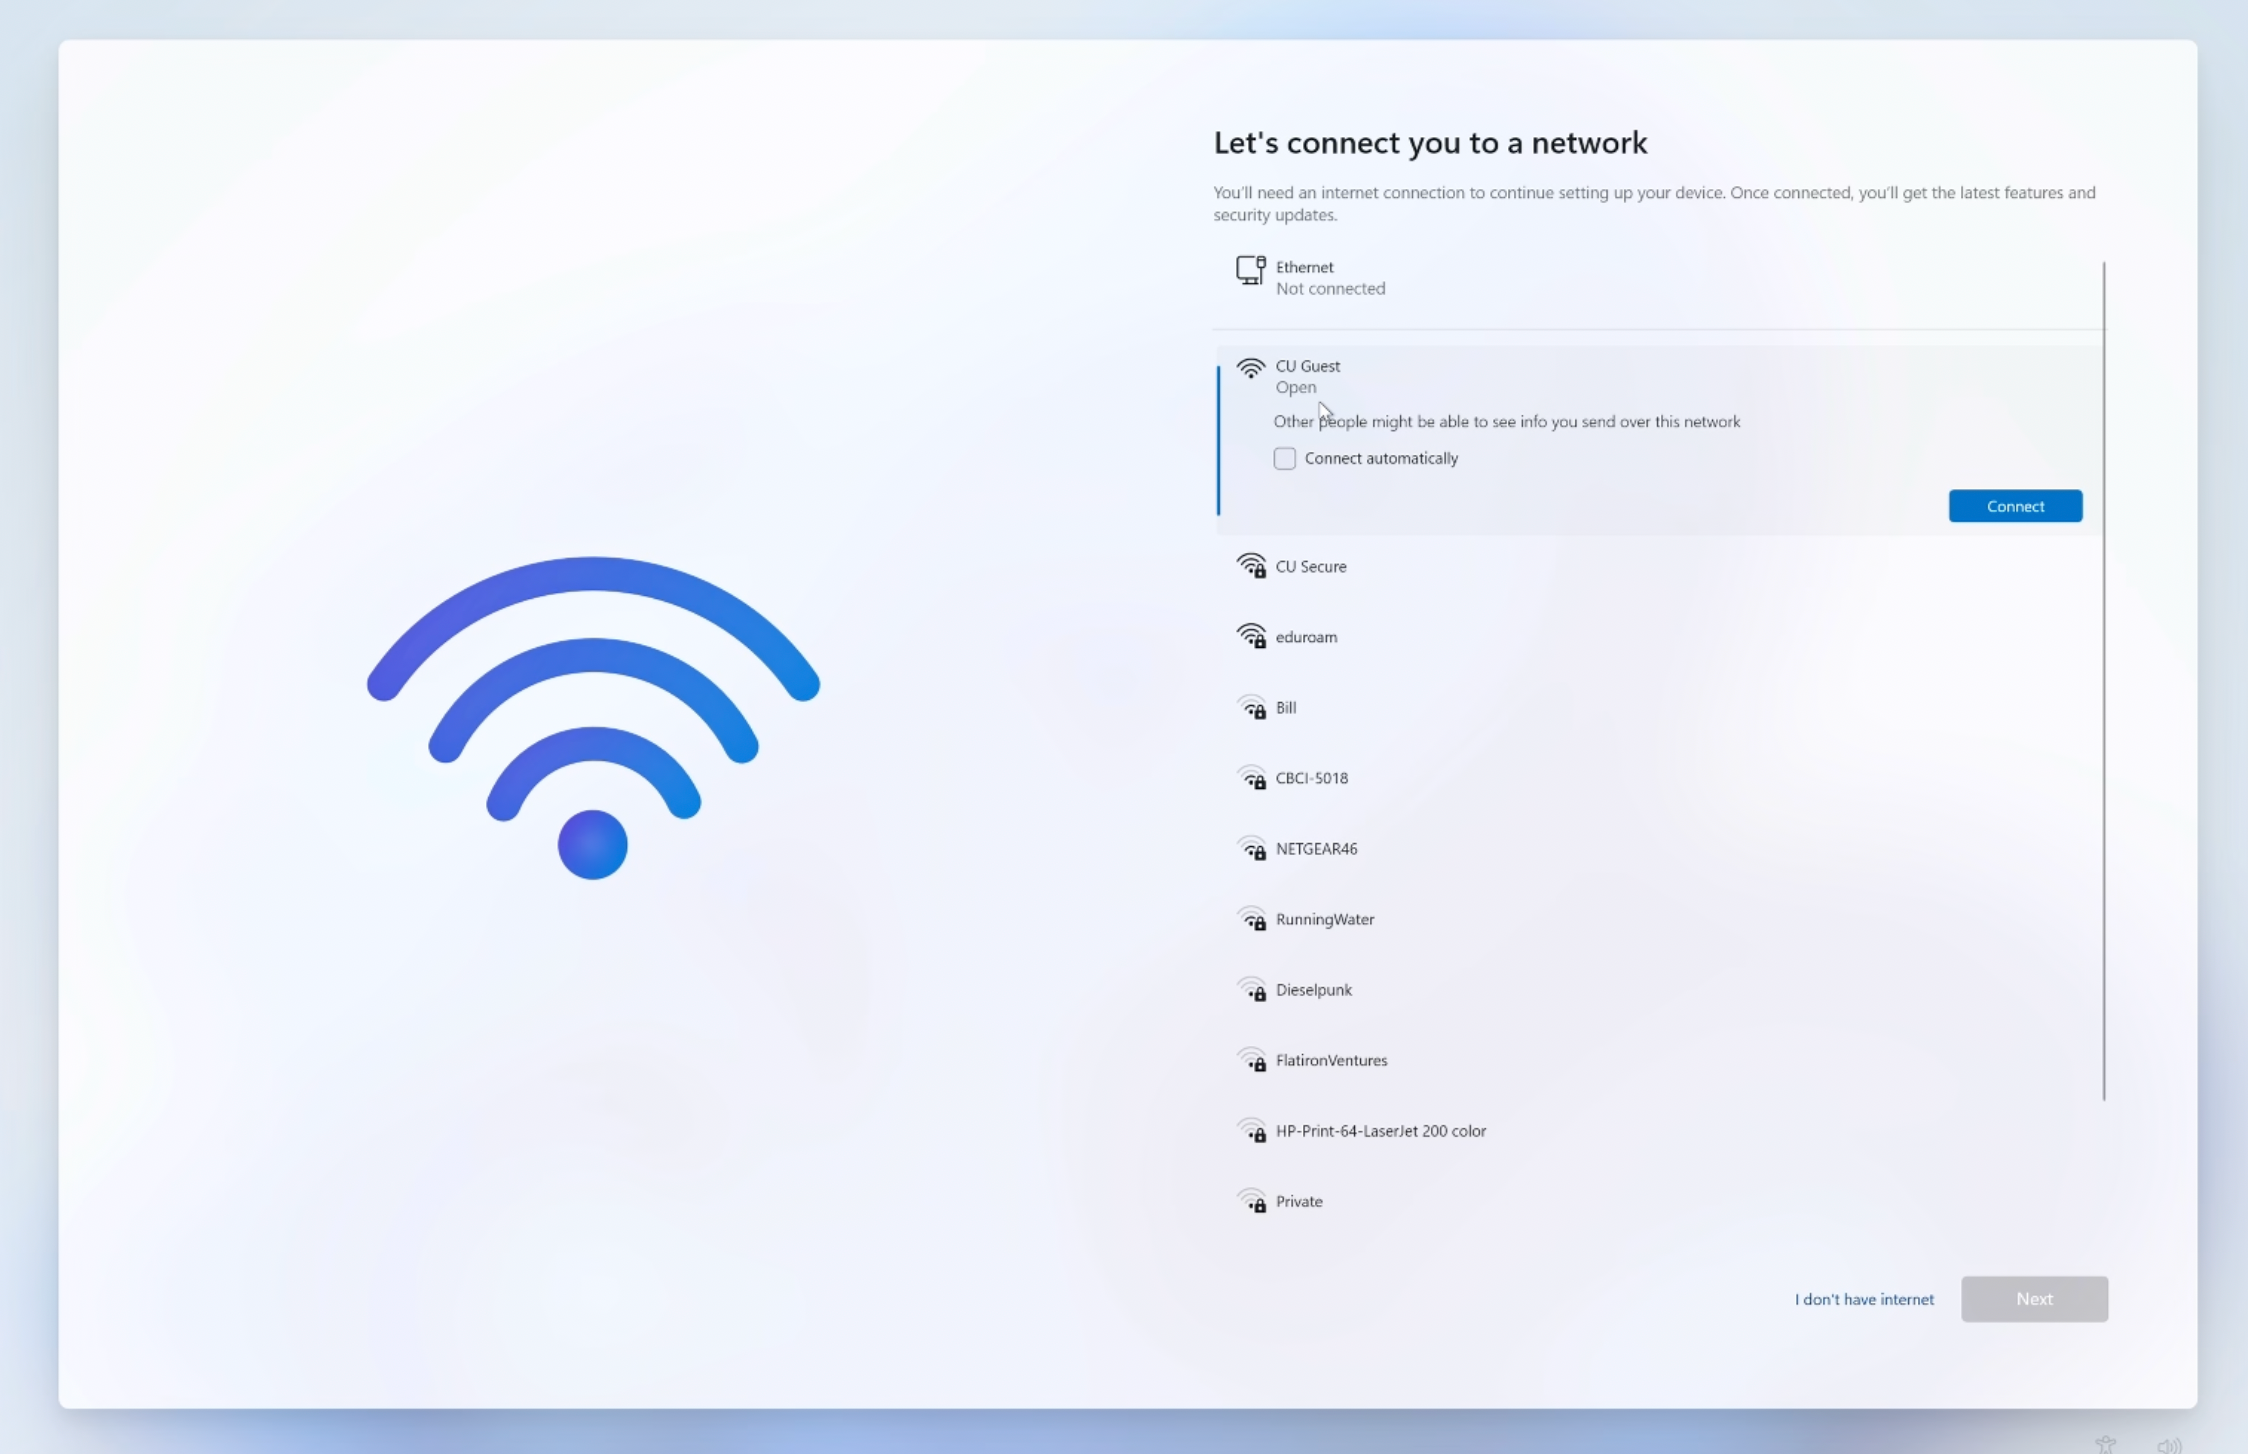
A screen will load where you can connect to the internet with an Ethernet cable or a Wi-Fi network. It is very important that you connect to the internet before proceeding, otherwise the laptop will not self-configure and you will be missing basic applications, such as Microsoft 365 apps. Windows will also check for software updates once connected to the internet and may automatically restart before proceeding to the next step.
- Off campus: If you are connecting to a Wi-Fi router at home, you may need to enter your Wi-Fi password.
- On campus: If you are setting up the computer while on the CU Boulder campus, connect using a wired connection or log in to CU Guest Wi-Fi with your IdentiKey username and password.
Step 3
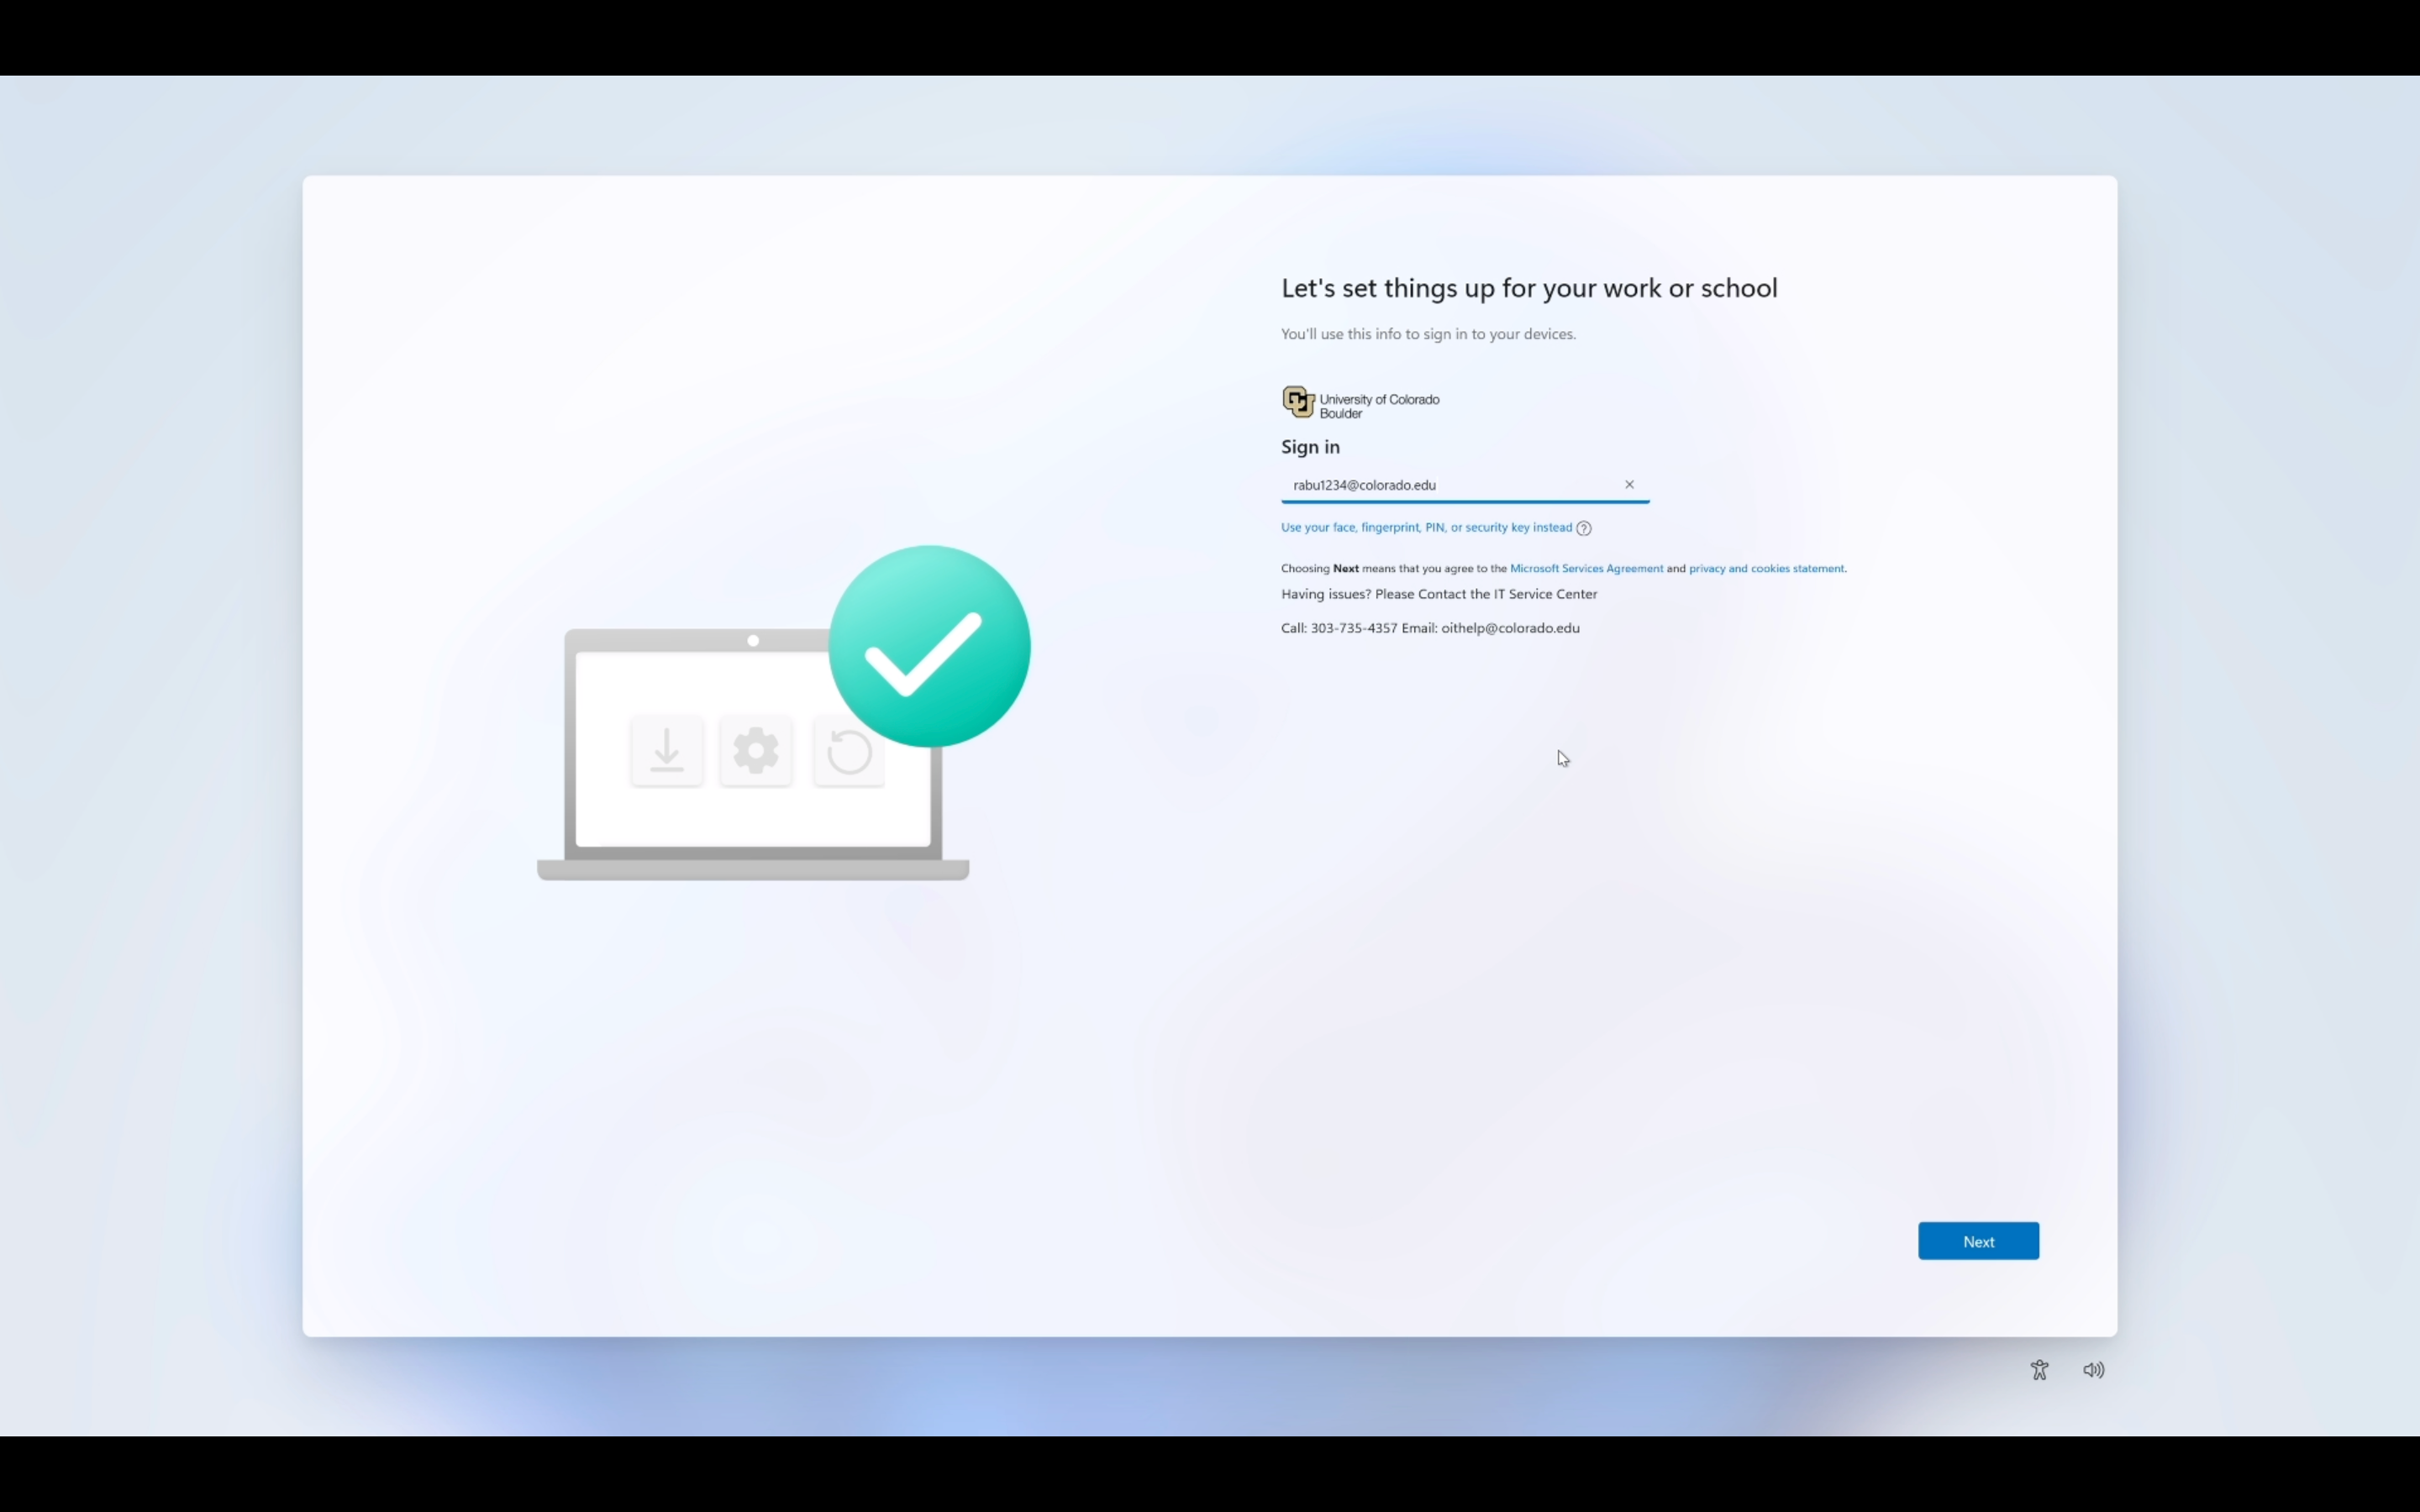
Once your computer successfully connects to the internet and finishes installing available updates, enter your email in the IdentiKeyUsername@colorado.edu format (do not use FirstName.LastName@colorado.edu).
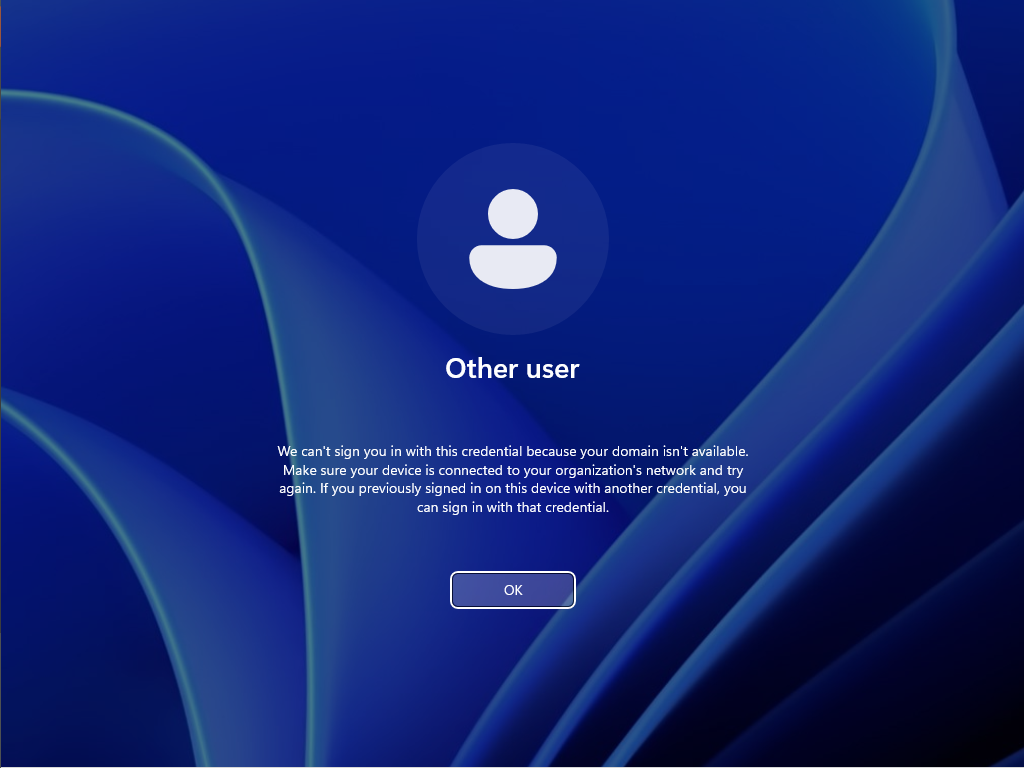
Please note: Do not select set up Windows with a local account if that option is available. Doing so will prevent your computer from being configured properly.

Step 4

Step 5
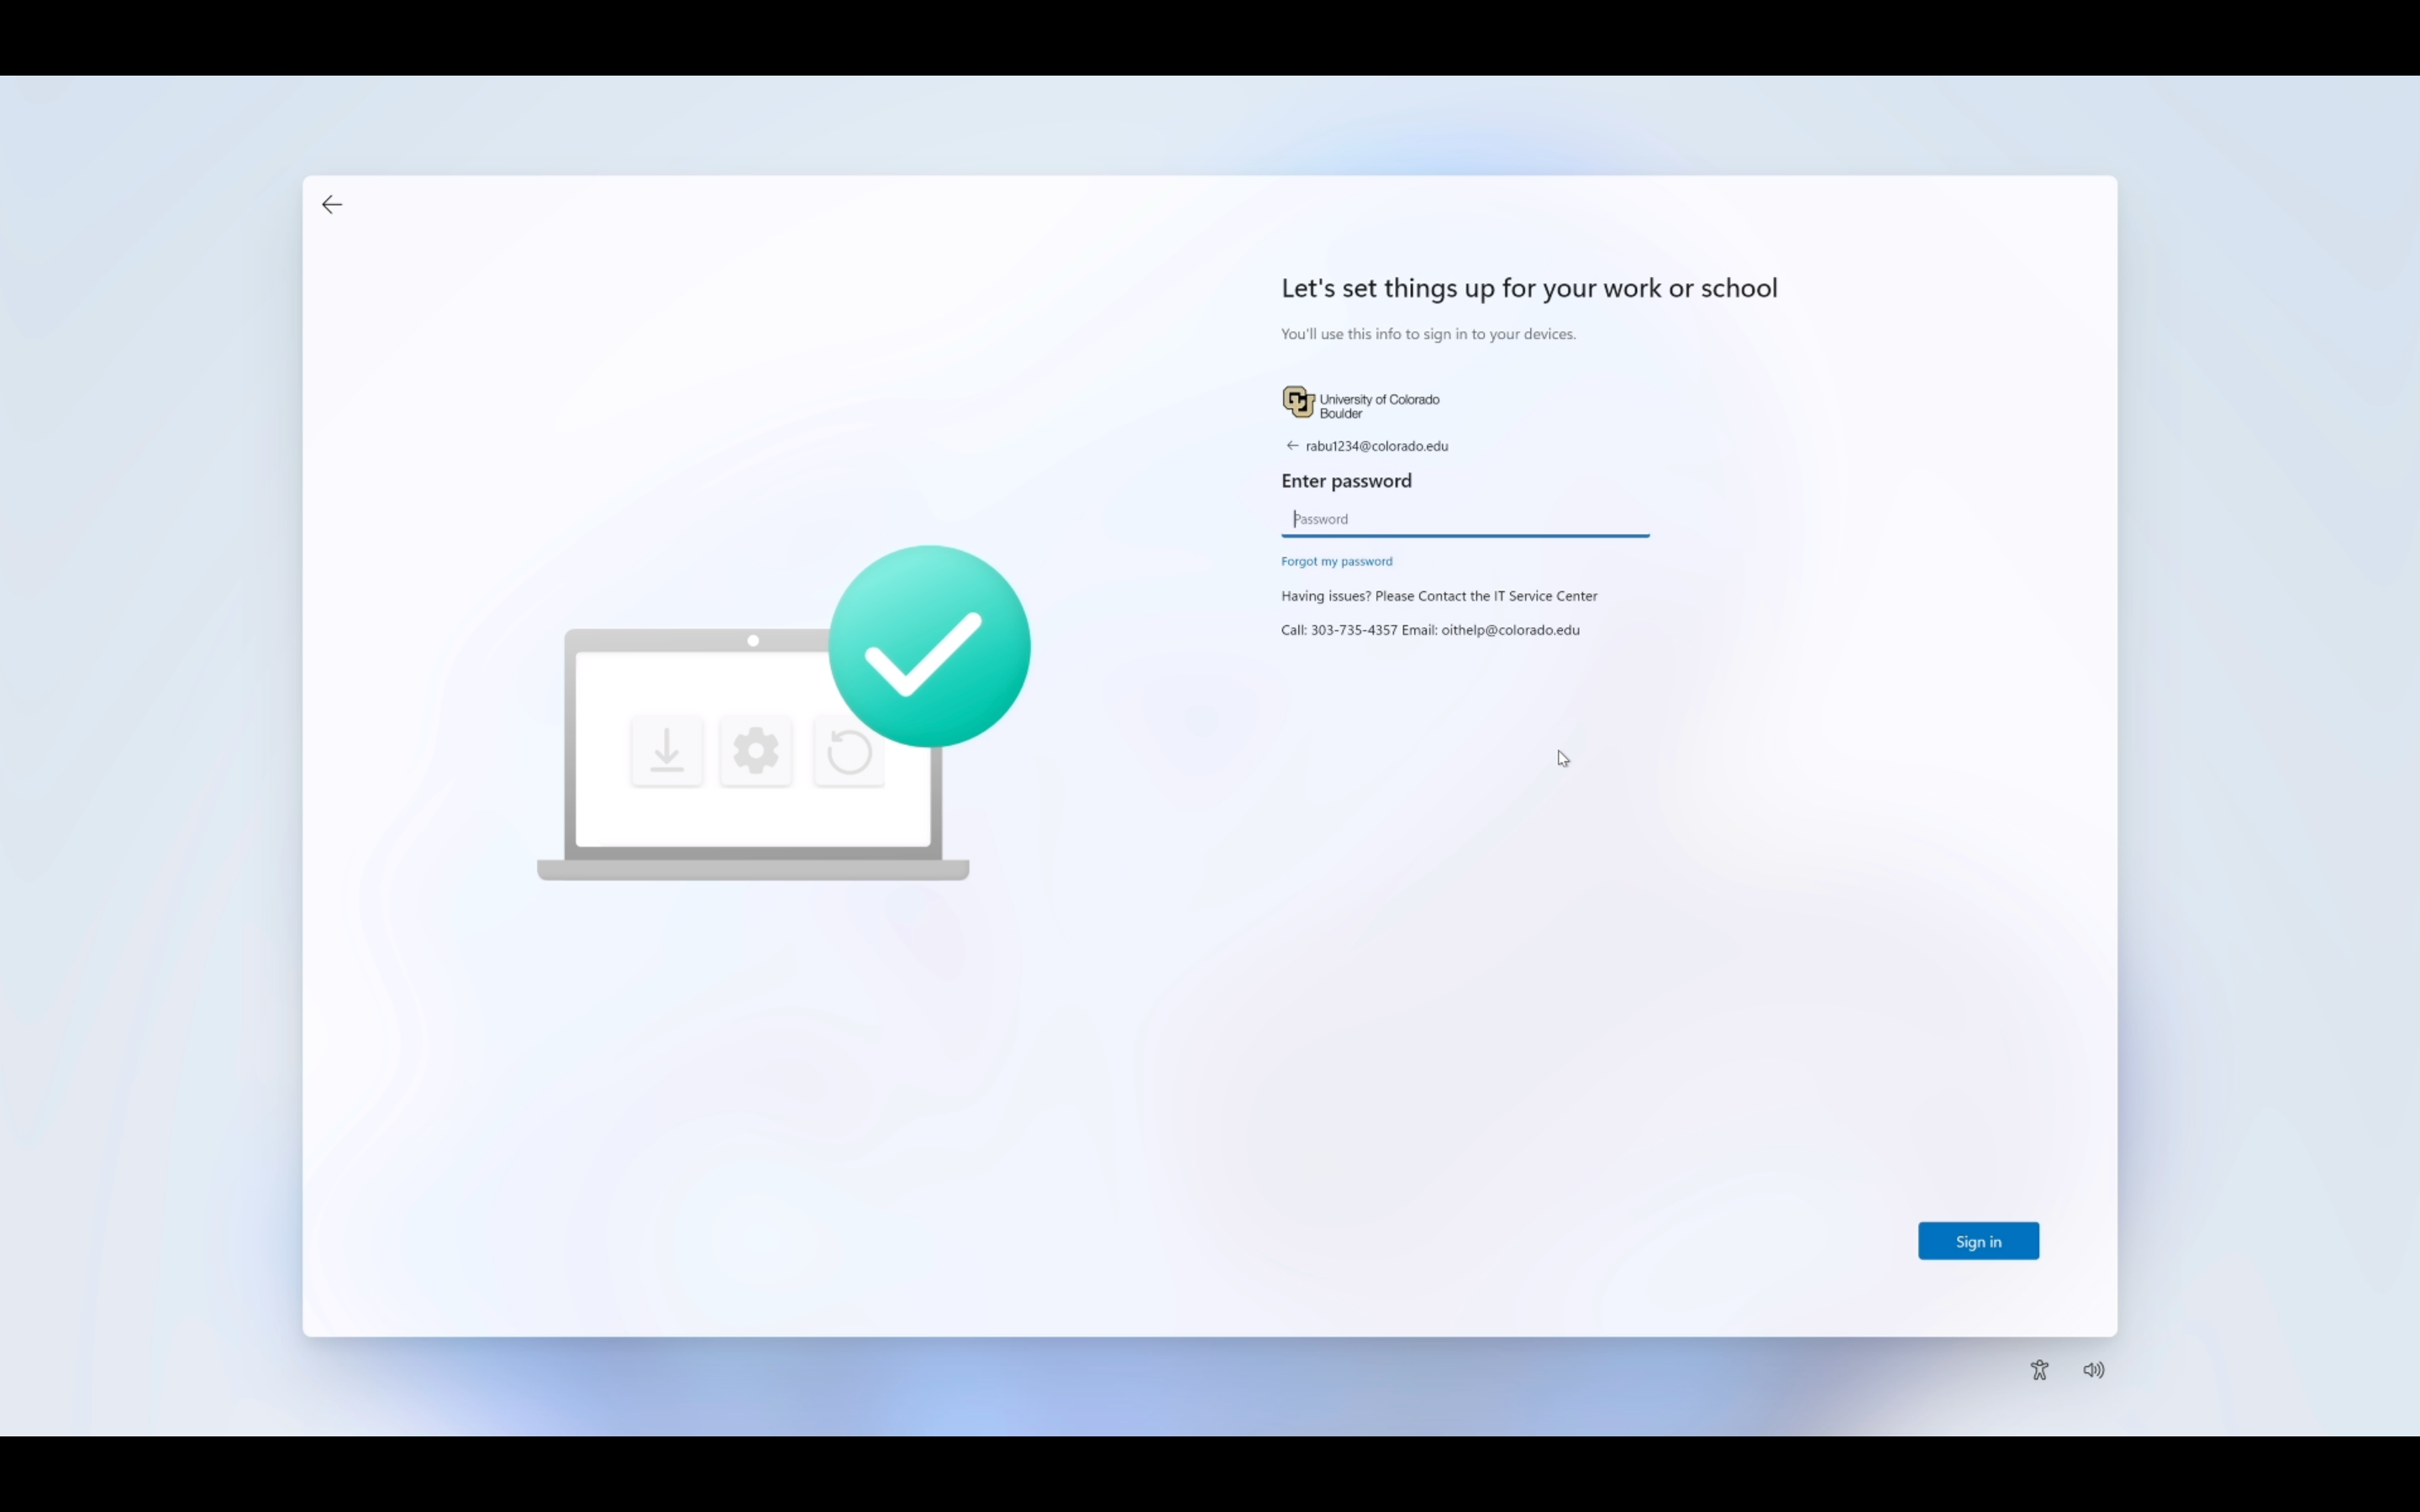
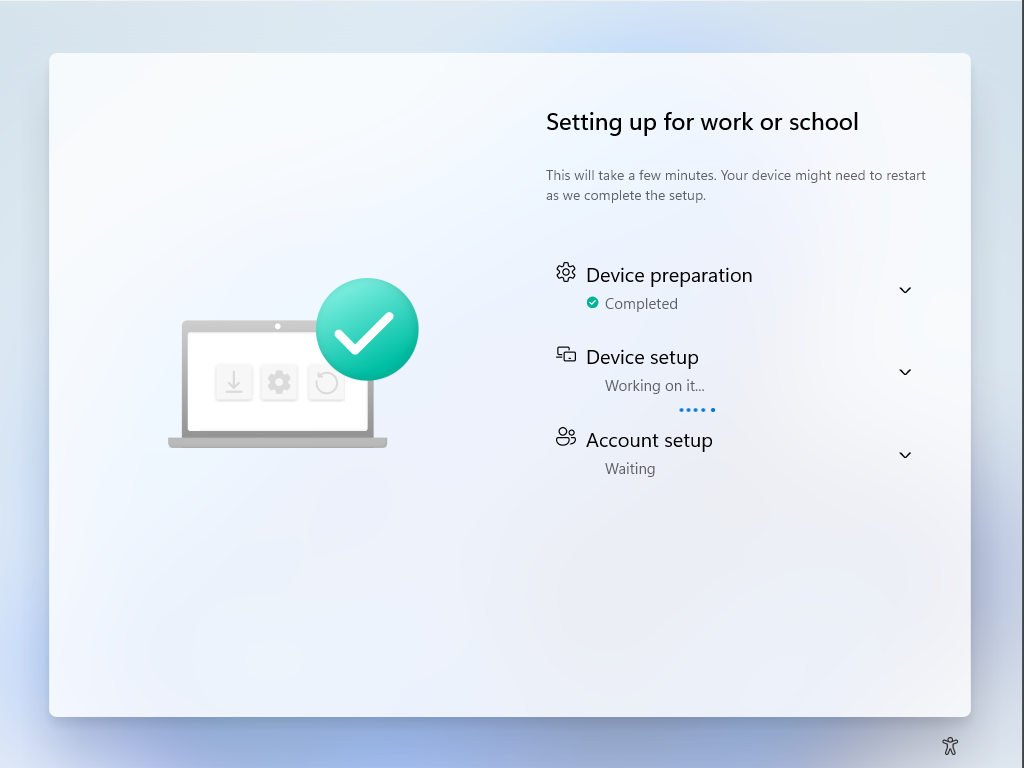
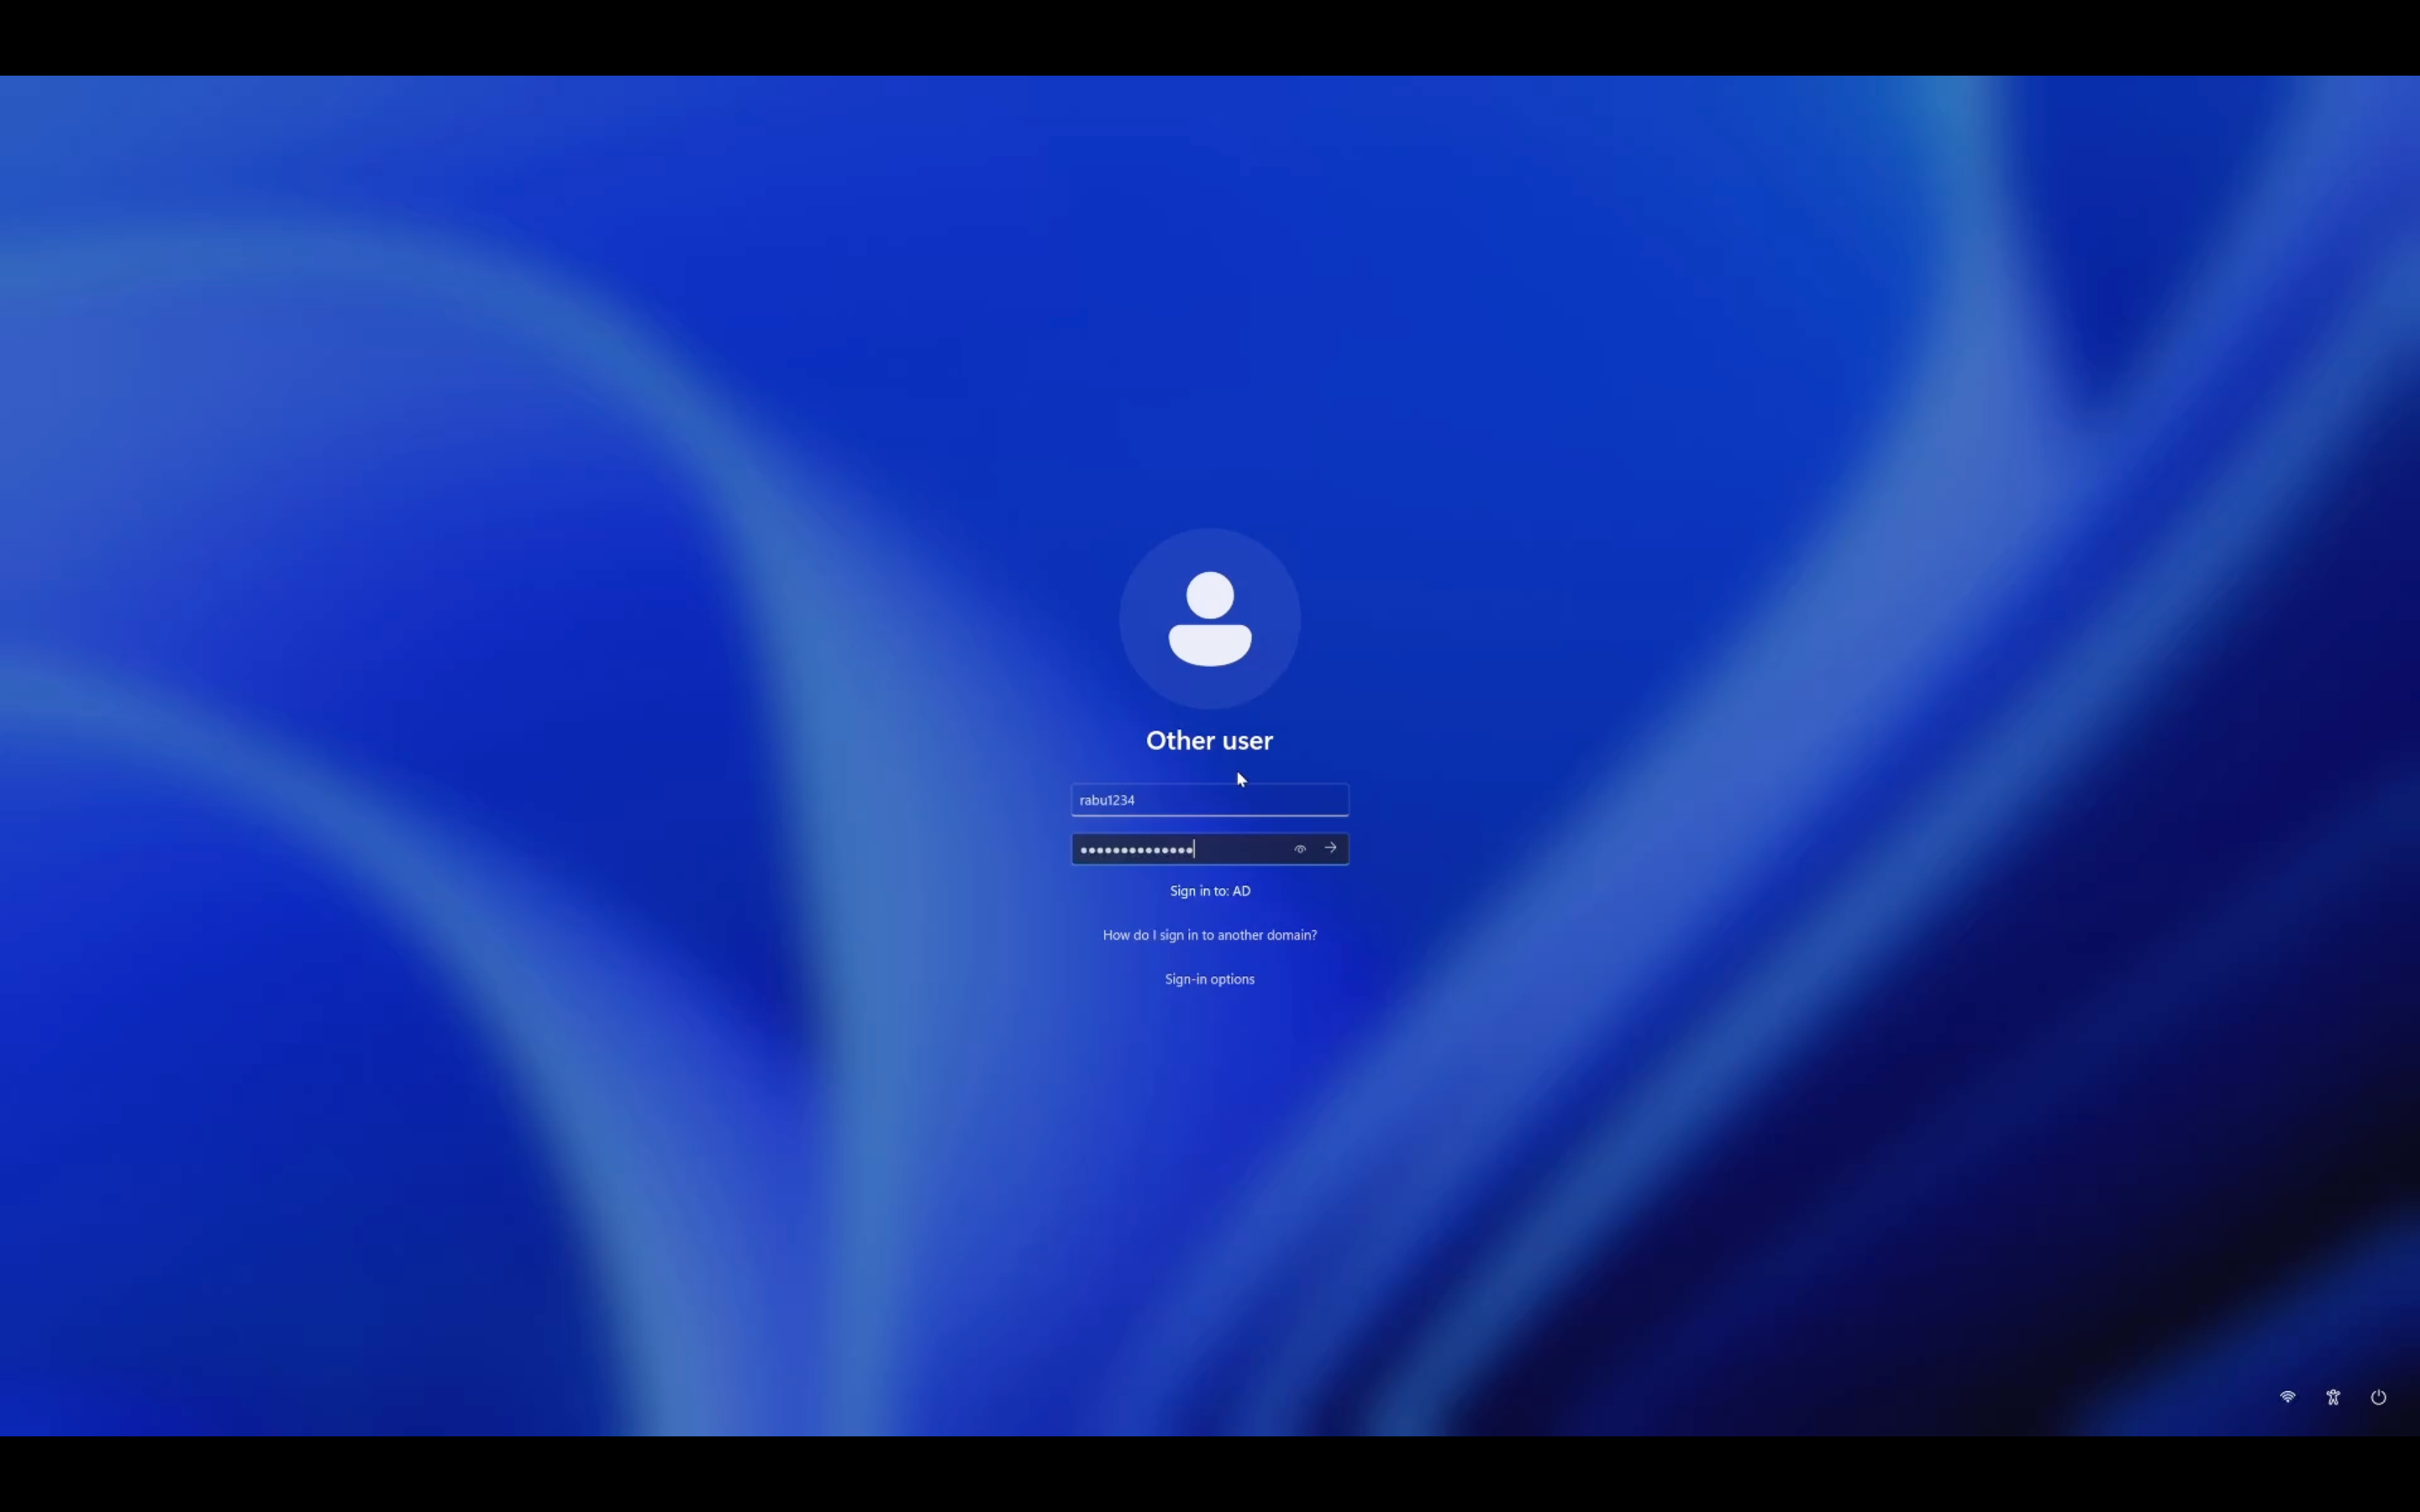
The computer will restart once again upon reaching the login screen. Press any button, then log into Windows with your IdentiKey username and password. Keep your computer plugged in to a power outlet, leave it connected to the internet, and do not power off the laptop or otherwise interrupt this step.

Step 6
Press any button, then log in to Windows with your IdentiKey username and password.
You may be prompted to connect to VPN using Cisco Secure Mobility Client. While this should happen without prompting, if needed, connect to UCB VPN using your IdentiKey username and password so your device can properly connect to campus computing resources.

Step 7

Step 8
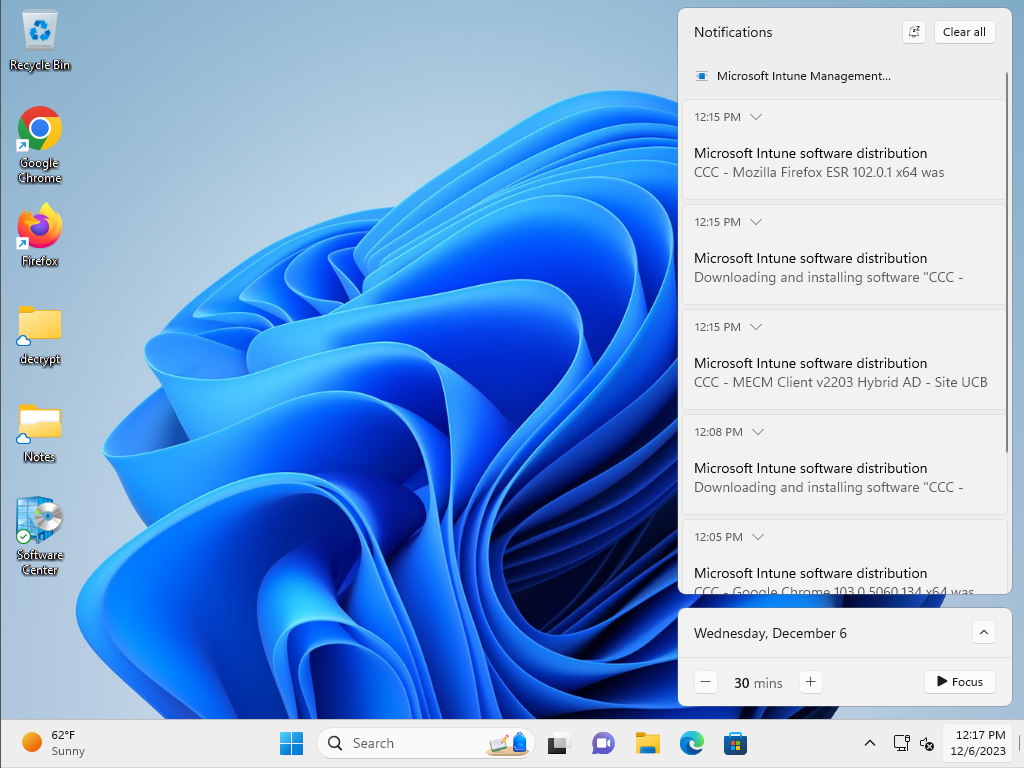
When you successfully log in, you will be presented with your Windows desktop. Included software and settings will continue to be installed automatically in the background. Learn more about the software installed during this process on the Privacy & Software Transparency page.
List of included software:
- Alertus
- Always on VPN
- Cisco Secure Client VPN
- Microsoft Defender
- Microsoft 365 apps (Outlook, Word, Excel, PowerPoint, etc.)
- Microsoft OneDrive
- Microsoft Teams
- Web browsers (Google Chrome, Mozilla Firefox)
- Zoom
*Please note: The list of included software will continue to install on its own and will take some time to finish.

Step 9
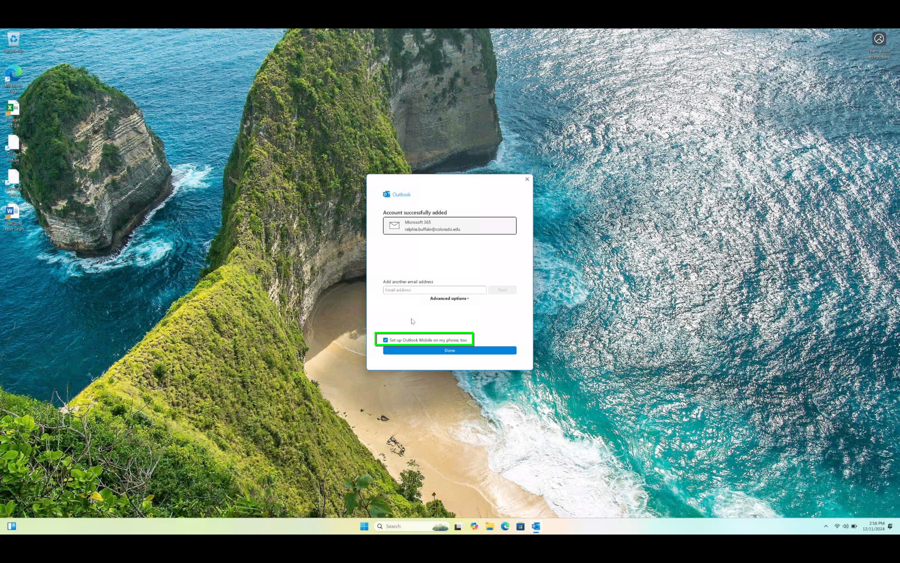
Search for and open Outlook (classic) and log in with your IdentiKey username and password. If the application isn't available yet, wait 15 minutes and try again. Deselect the option to Set up Outlook Mobile on my phone too.
Once logged in, your mail and folders will begin to load. Minimize the application and let it continue the setup process.

Step 10
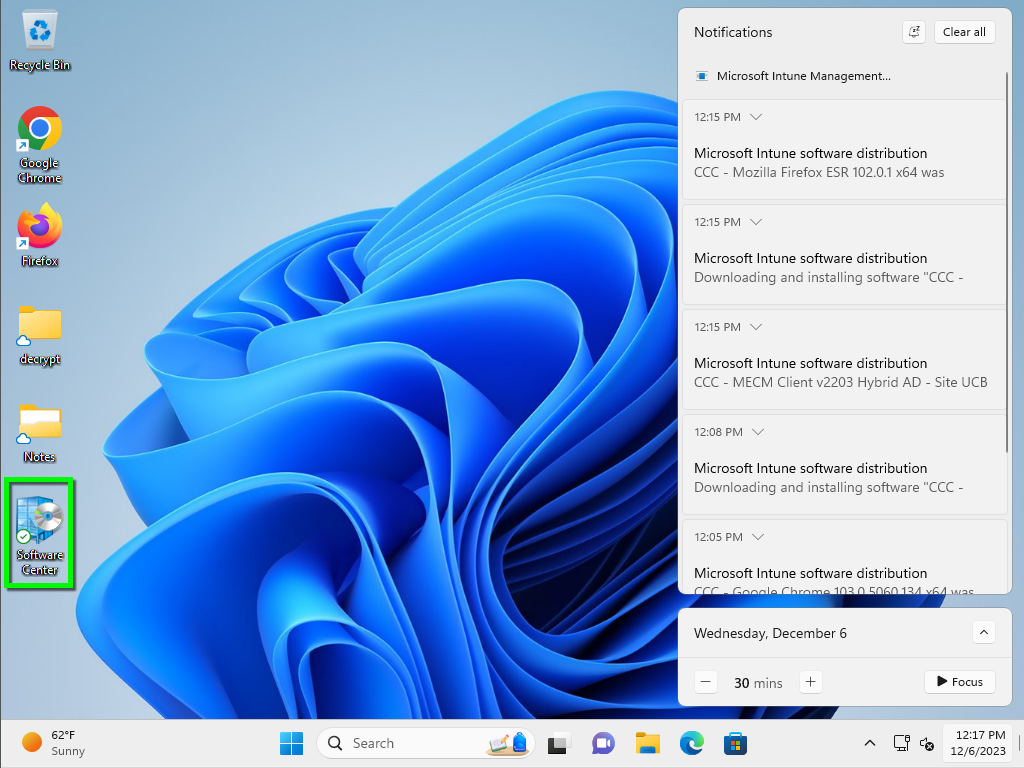
Looking for other software?
All university-owned computers enrolled in Secure Computing have access to an on-demand software catalog in the Software Center application. This catalog should become available within 1–2 hours after completing setup.
- If any of the individual applications from the included software fail to install, you can find and install them from the Featured section of Software Center or by searching for the application.
- If Software Center isn't automatically installed on your computer, please request assistance from your departmental IT liaison, BTP Technician via the request portal, or Buff Techs.

Step 11
Finish setup
As the computer setup process completes, make a note of other software and settings that you may need to customize on your new device. This could include:
- Downloading additional software: Check the Software Center before downloading software from vendor sites.
- Microsoft Teams (work or school) settings: You will likely need to adjust Teams settings to your preference. Check out OIT's tutorials for changing notifications and configuring voicemail or visit the Teams Service page for more resources.
- Microsoft Outlook/Exchange configuration: Configure preferred settings in Outlook. Visit the Microsoft 365 - Microsoft Exchange page for best practices and other resources.
- Connect devices: Connect keyboard, mouse, webcam, etc. Depending on your device, you may need to re-adjust preferred settings.
- Transfer browser settings or bookmarks: If needed, transfer or edit bookmarks on your preferred browser. Refer to vendor documentation: Google Chrome, Microsoft Edge, Firefox.
- Duo multi-factor authentication: Duo multi-factor authentication is required for some applications on campus, including MyCUInfo, Buff Portal and Cisco VPN. If you haven't already set it up, visit the Duo multi-factor authentication page for instructions and assistance.
- Other settings: Other device settings may need to be reset.
Step 12
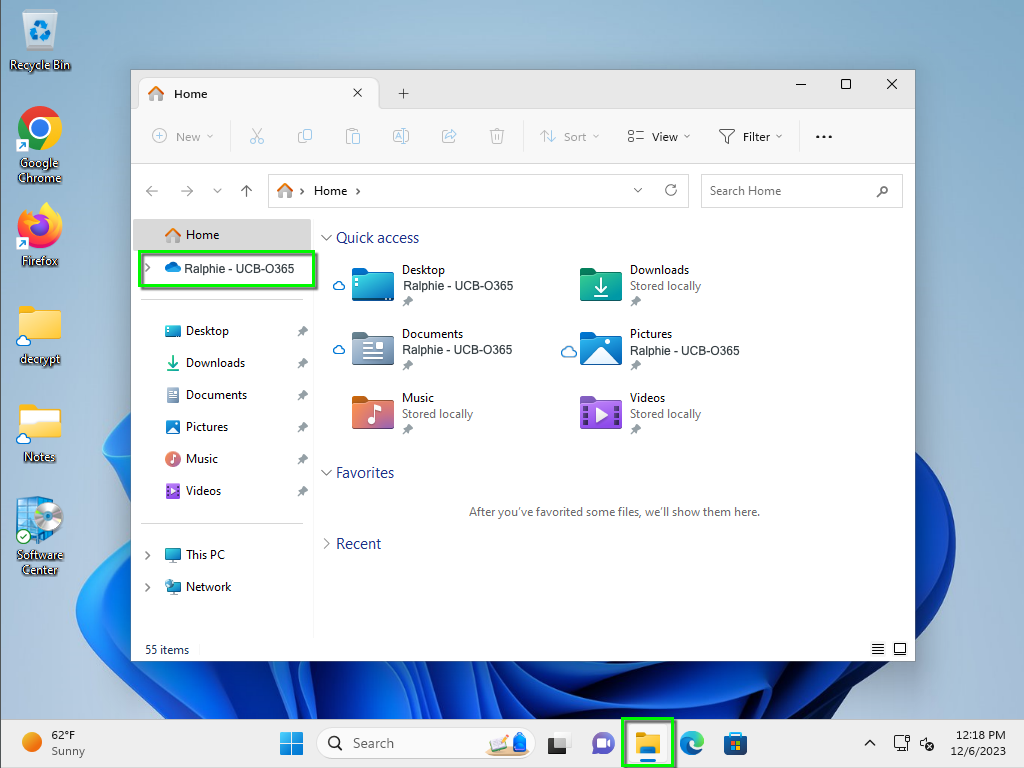
OneDrive Troubleshooting
To check OneDrive for your data, open Windows Explorer by clicking on the folder icon in the taskbar, and then click on OneDrive - UCB-O365. If you do not see OneDrive - UCB-O365, you may need to leave your computer for 15 to 60 minutes to allow it to finish installing applications and then try again.
If you did not back up your data prior to receiving your new laptop, your data will not appear in OneDrive. Follow the steps below to fix this:
- Buff Techs Pro customers: Please contact BTP immediately using the BTP Request Portal so your BTP technician can help transfer your data.
- Non-BTP customers: Back up your locally stored data from your other computer. You will not need to do this for files that are saved in Google Drive, OneDrive, a departmental file server or the UCB Files fileservers (\\ucbfiles.colorado.edu, \\files.colorado.edu, or \\cvcn.colorado.edu). For all other files stored on your computer, please use the appropriate instructions to upload your files to Microsoft OneDrive: Back up files from a PC to OneDrive or back up files from a Mac to OneDrive.
Once you have uploaded your data into OneDrive, your files will appear on your new laptop in the OneDrive folder. If you are able to log in to Microsoft Teams or OneDrive but do not see data, you might have a licensing issue. Visit the Microsoft 365 Desktop and Mobile Apps page for more information.