
Kaltura - Using the Media Gallery

The Kaltura Media Gallery is a shared repository of videos for a particular course in Canvas that is visible to all instructors and students within the course.

Publishing media to to the Kaltura Media Gallery from My Media is fairly straightforward, and is a faster way to share media in bulk with your students than by publishing each video to a page using the Rich Content Editor. However, media added to the Kaltura Media Gallery cannot be organized into folders; if you would like to organize your video content, consider publishing each video to a page in your course.

By default, students have the ability to upload their own videos to the Media Gallery and leave comments on videos. Instructors can choose to enable moderation, which requires student-uploaded videos to be approved by an instructor before they are visible to the rest of the class. Additionally, the ability for students to comment on videos can be disabled.

This tutorial walks through the process of importing videos to Kaltura Media Gallery and adjusting its permissions.

Layout:
one column
two columns

Step

Enable Kaltura Media Gallery

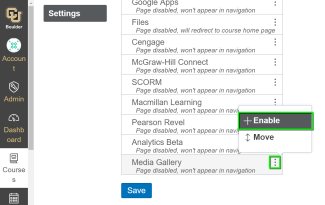
By default, Kaltura Media Gallery does not appear in your course navigation. You can enable it for use in your course on your course Settings page in the Navigation tab.

Step

Set your Media Gallery permissions

If you would like to require moderation of all student-submitted videos to the Media Gallery by an instructor before they become visible to other students, you can do so by selecting Edit under the Actions button in the top right on the Kaltura Media Gallery page.

Step

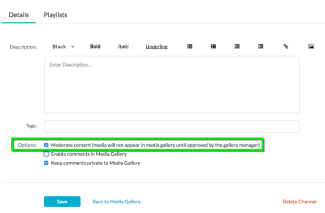
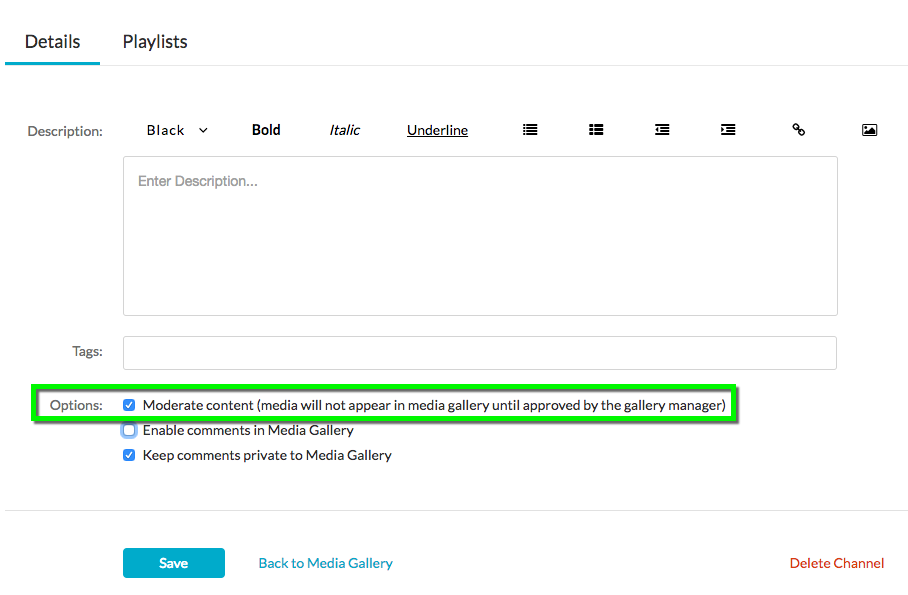
On the Edit Media Gallery page, scroll down to the Options section and select the Moderate content (media will not appear in media gallery until approved by the gallery manager) checkbox.

If you would like to prevent students from commenting on videos in the Media Gallery, you can also uncheck the checkbox labeled Enable comments in Media Gallery.

Step

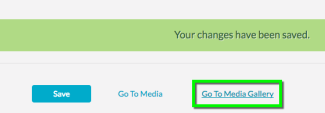
Select the Save button to save your settings. You can double check that the settings are working properly by accessing Student View from your course settings to upload a video as the Test Student. If moderation is enabled, you should get a notification when you upload the video saying “Some media may not be published until approved by the media moderator.”

Step

Additionally, if you return to the Media Gallery while still using Student View and refresh, you should get a notification saying “Your additional media will be presented once it is ready and approved.”

Step

If students submit media once you have enabled moderation, you should see a new Pending tab appear next to the one labeled Media

To approve media, select the Pending tab and choose Approve or Reject for each item.

Step

Add content to your Media Gallery

From the Media Gallery page, select the Add Media button in the upper right.

Step

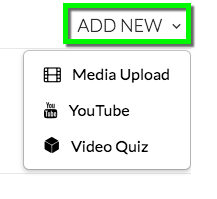
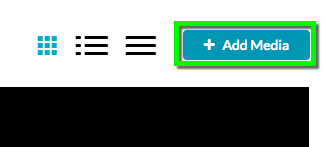
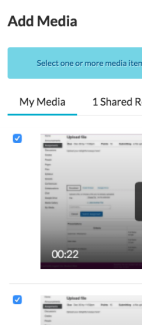
To add media to your Media Gallery, you can either select pre-existing content from My Media, select media from the campus Shared Repository, or upload new content.

If you’d like to add content from My Media, the checkbox to the left of each video title in the list that appears under the My Media tab that loads by default on the Add Media page.

Step

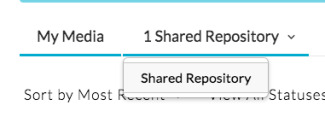
If you’d like to add media that has been shared on the campus-wide Shared Repository (which includes any content previously uploaded to Kaltura), you can do so by selecting the 1 Shared Repository menu and choosing Shared Repository. Then you can use the search bar to find your media and add it the same way as in the My Media tab.

Step

Lastly, if you’d like to upload new content, select the Add New button, then choose the type of media you want to add.

Step

Once it’s been uploaded, select the Save button, then choose Go to Media Gallery to view the media. It should be automatically added to Media Gallery once you upload it.