Option 1: Upload through Rich Content Editor
- Navigate to the Rich Content Editor in which you want to add your media content. (You can add media to Kaltura in Announcements, Pages, and anywhere that has a Rich Content Editor.)
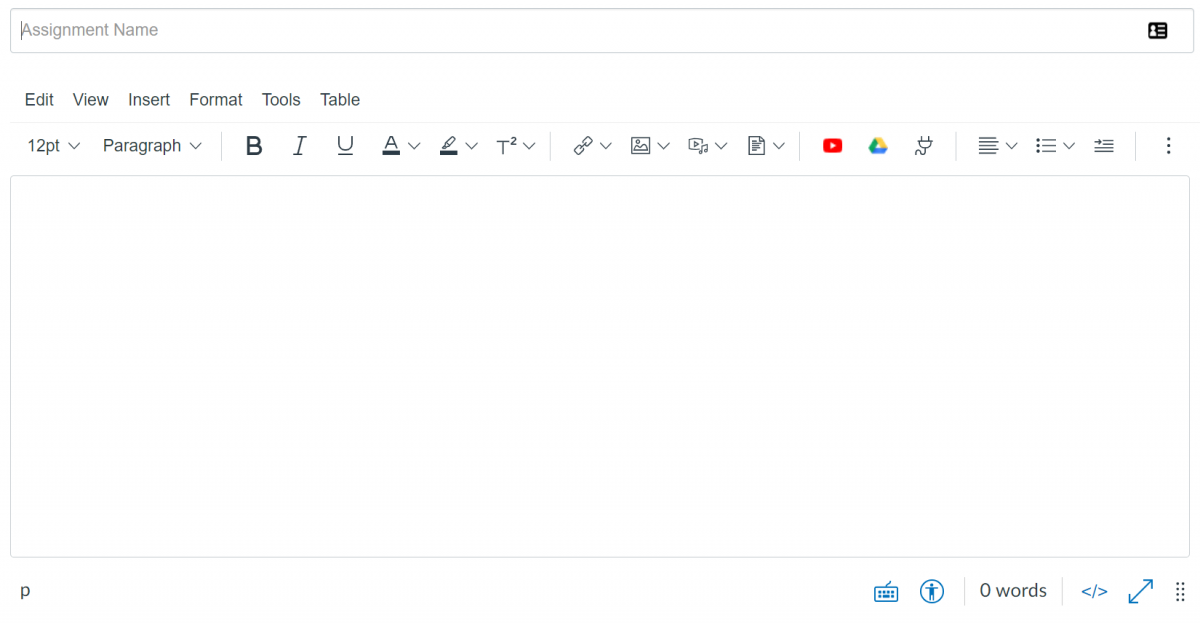
- Select the Apps icon.

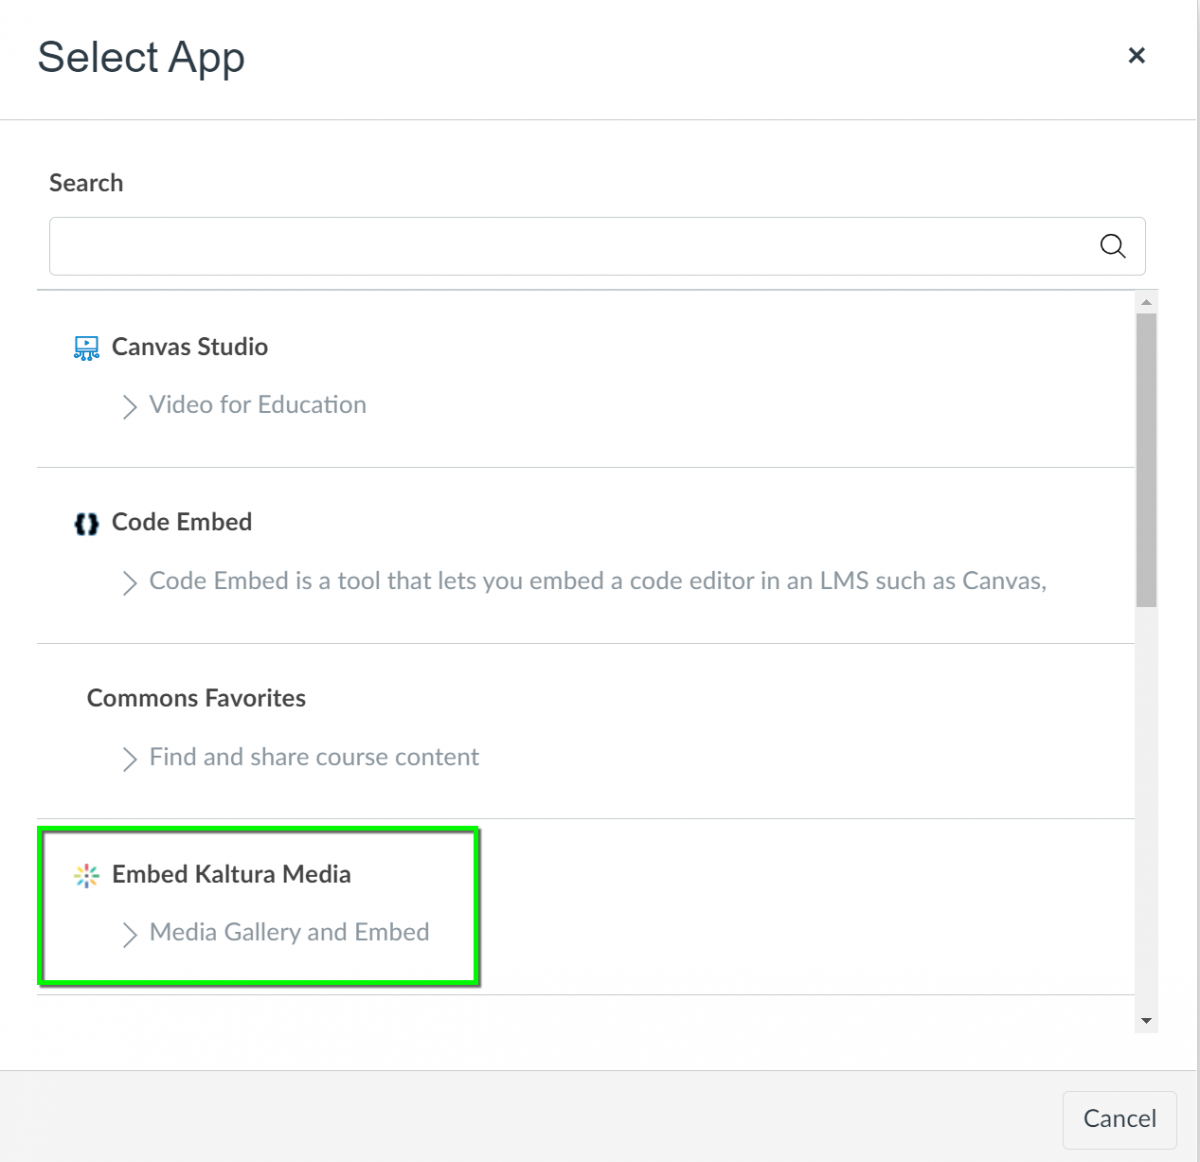
- Choose Embed Kaltura Media.
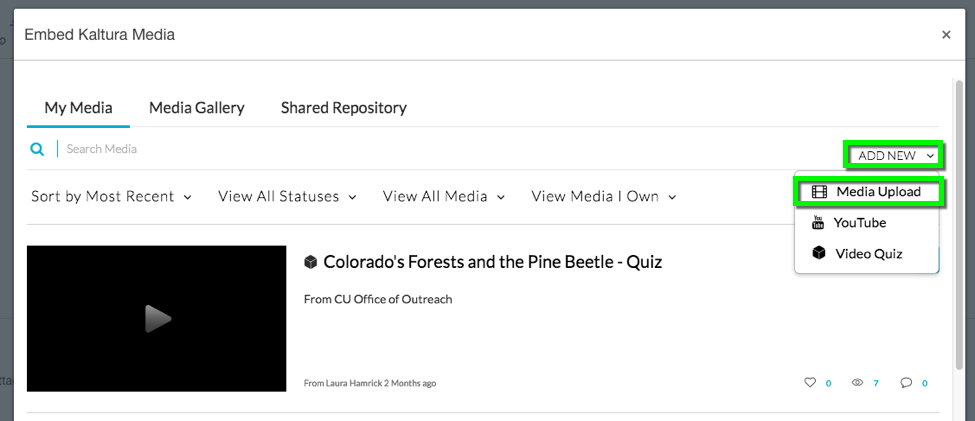
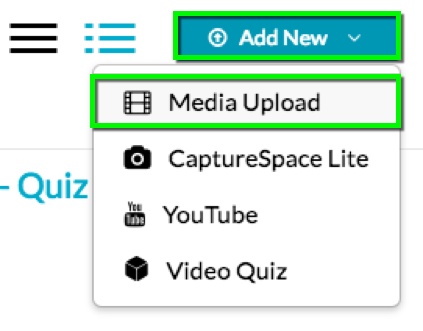
- The Embed Kaltura Media dialog box will appear. Select Add New on the right side of the screen, then Media Upload.
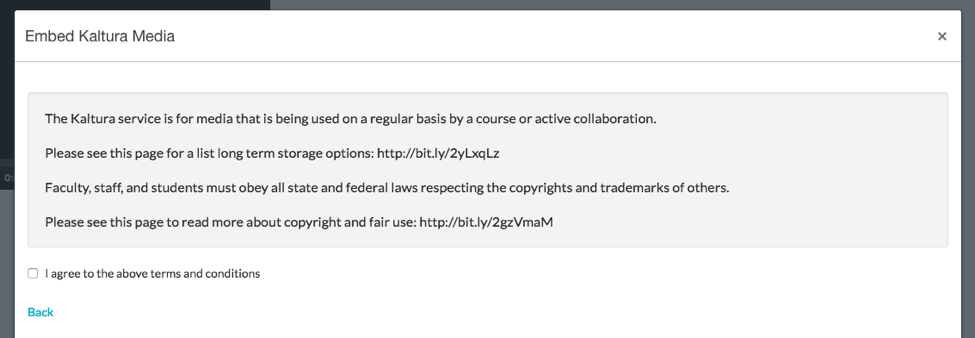
- Accept the terms and conditions of use.
- Select the Choose a file to upload button.

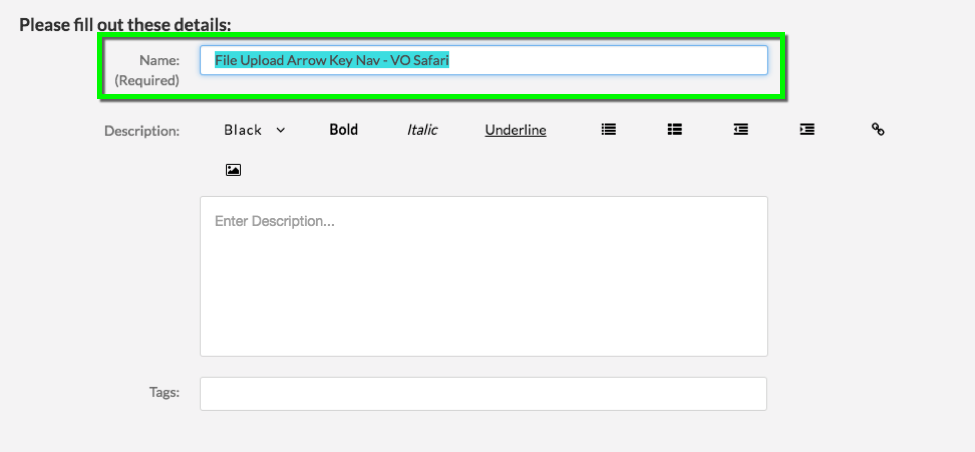
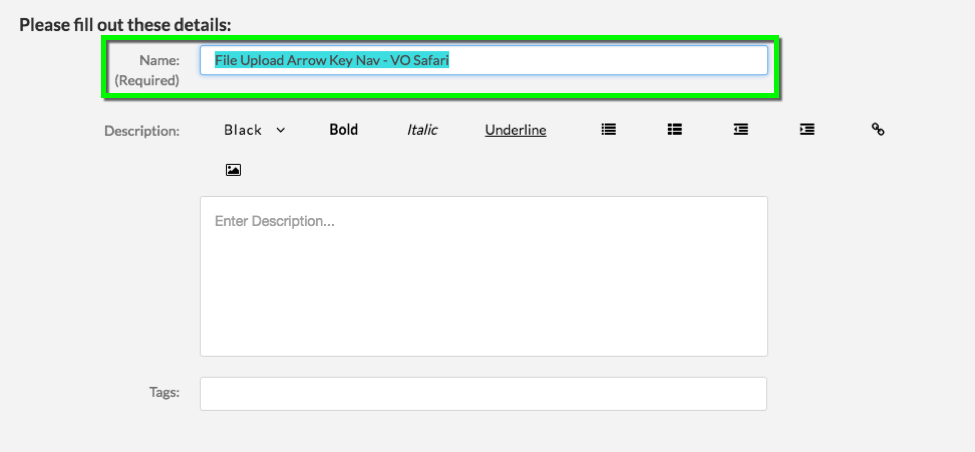
- Once the upload has been successful, edit the title and description of the media if desired.
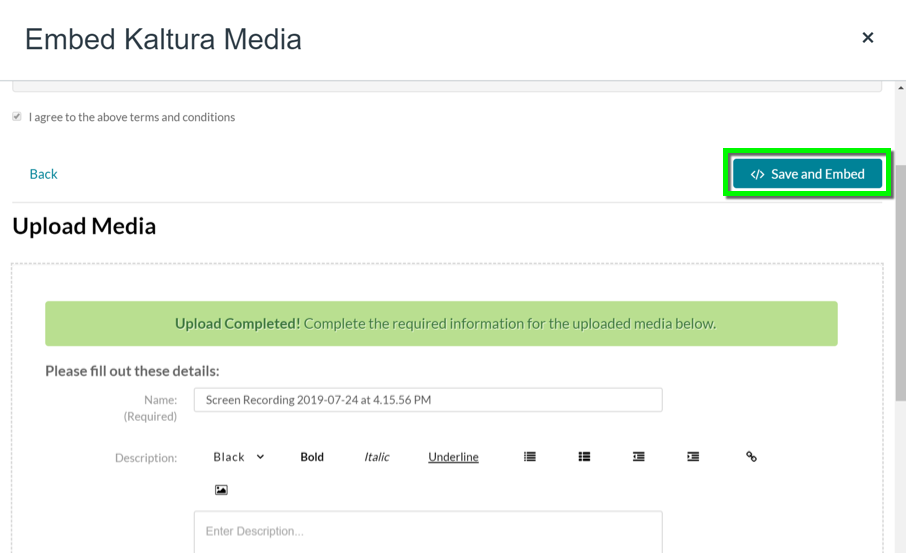
- Select Save and Embed, then click Back.
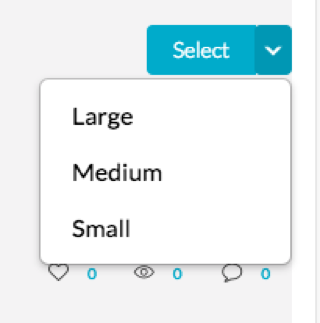
- Find your newly-uploaded file, then choose Select to insert it into the Rich Content Editor. (Choose the dropdown arrow to adjust player size.)
Option 2: Upload through My Media
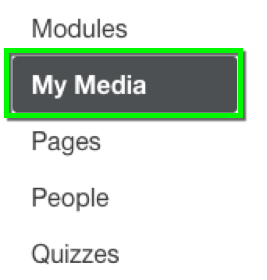
- Navigate to My Media under the course navigation sidebar
- Select Add New, then Media Upload.
- Accept the terms and conditions of use.

- Select the “Choose a file to upload” button.

- Once the upload has been successful, edit the title and description of the media if desired. Select Save
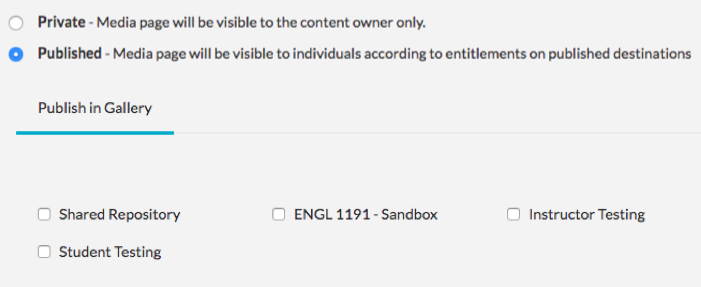
- If you want your video to be available for use by other instructors through the Shared Repository, set the privacy settings to Published, and under Publish in Gallery select Shared Repository. Then select Save again.
- Please Note: Media uploaded to My Media is not visible to anyone else in the course until it is added to course content.
