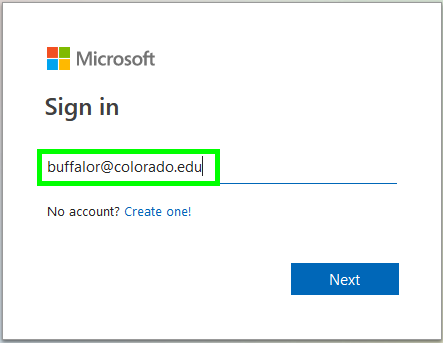
OneDrive - Share with specific people

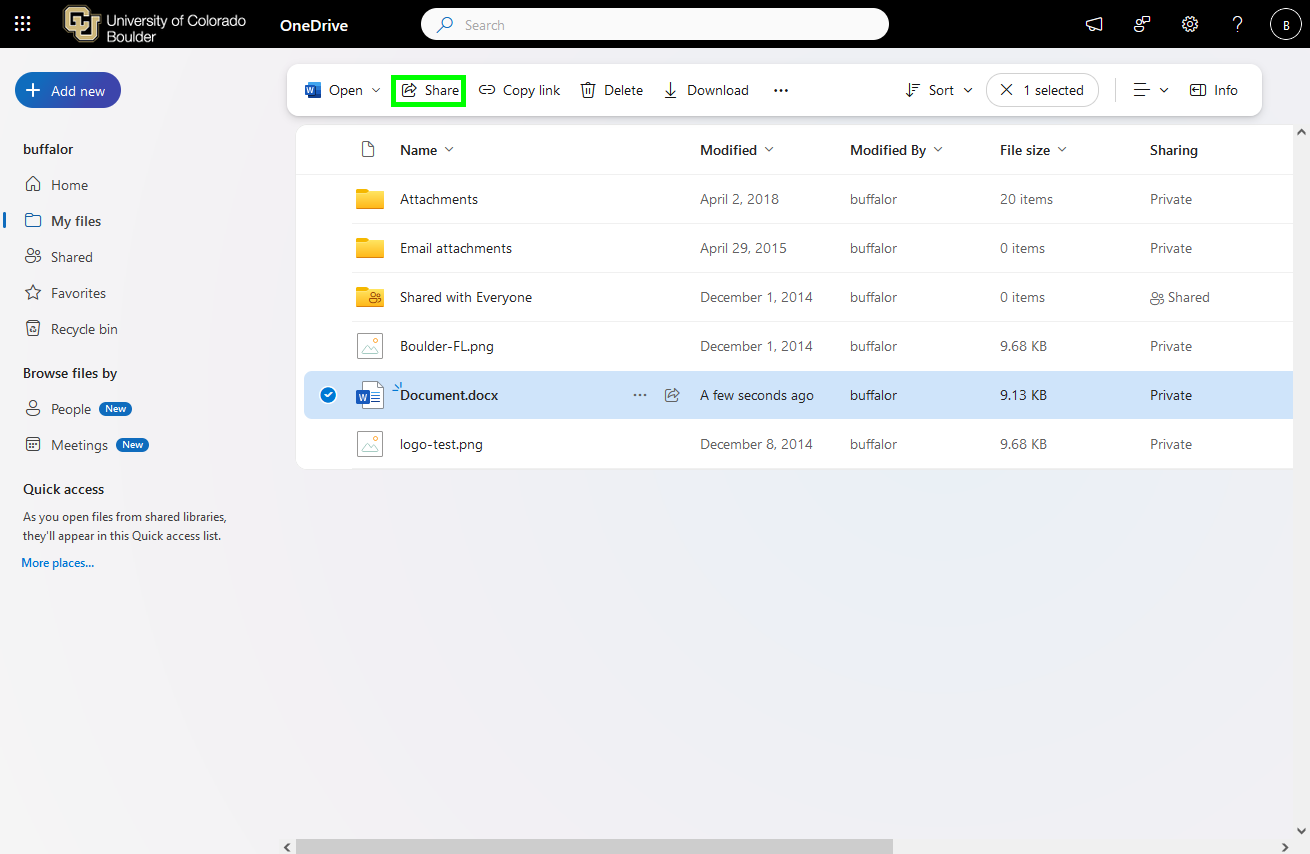
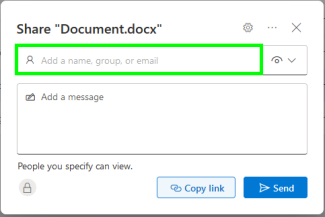
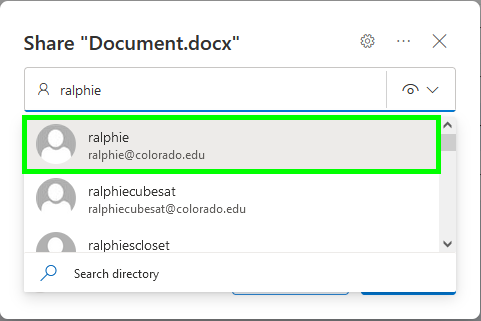
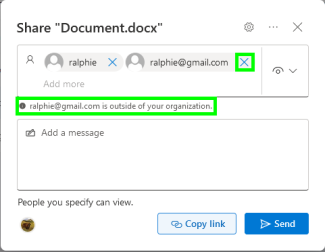
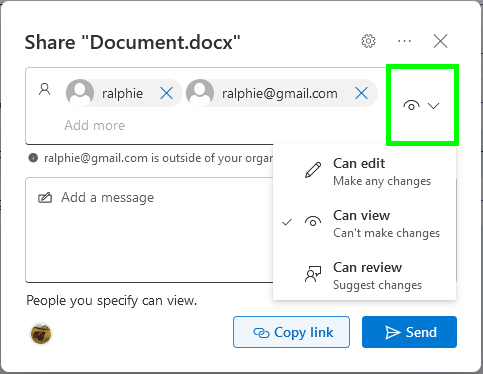
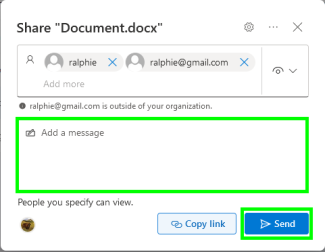
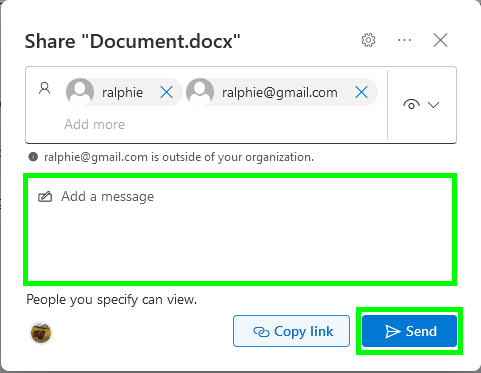
Use this tutorial to share files or folders in OneDrive with specific people. For additional help, visit Microsoft's Share OneDrive Files and Folders webpage. To watch a video version of this tutorial, visit OIT's YouTube channel.

If you'd like to share files or folders using a shareable link, please see OneDrive - Share by Link.

Layout:
one column
two columns

Step

Log into https://www.office.com/ using your IdentiKeyUsername@colorado.edu email and your IdentiKey password.

Step

Click on the app launcher in the top left corner of the screen.

Step

Click OneDrive.

Step

Select the file you would like to share and click Share.

Note: You can also share a file from the Microsoft 365 apps by opening the file and going to File -> Share -> Share with people

Step

Use the search bar to find the person or group you'd like to share the file with. You can search by name or email.

Step

Select the desired person from the list. The list will include results from your contacts and the CU Boulder directory. If you're sharing the file with an external email, you may need to type in the full email.

Step

If you've add an external address, you'll see a warning message. You can remove someone by clicking the X next to their name or email.

Step

Select the level of access you'd like to grant.

  • Can view is the default and allows people to view the file.
  • Can review allows people to view the file and make suggestions, but not edit it directly.
  • Can edit allows people to edit the file.

Step

Add a message if you would like, then click Send. This will share the file with the people specified and send them a notification email.