Overview
The following tutorial will take you through the process of using shared folders to collaborate with others in the Large File Transfer service. The ability to create shared folders is not enabled for all users by default. You can request the ability to create shared folders in the service using the Large File Transfer - Request a shared folder webform.
Step 1

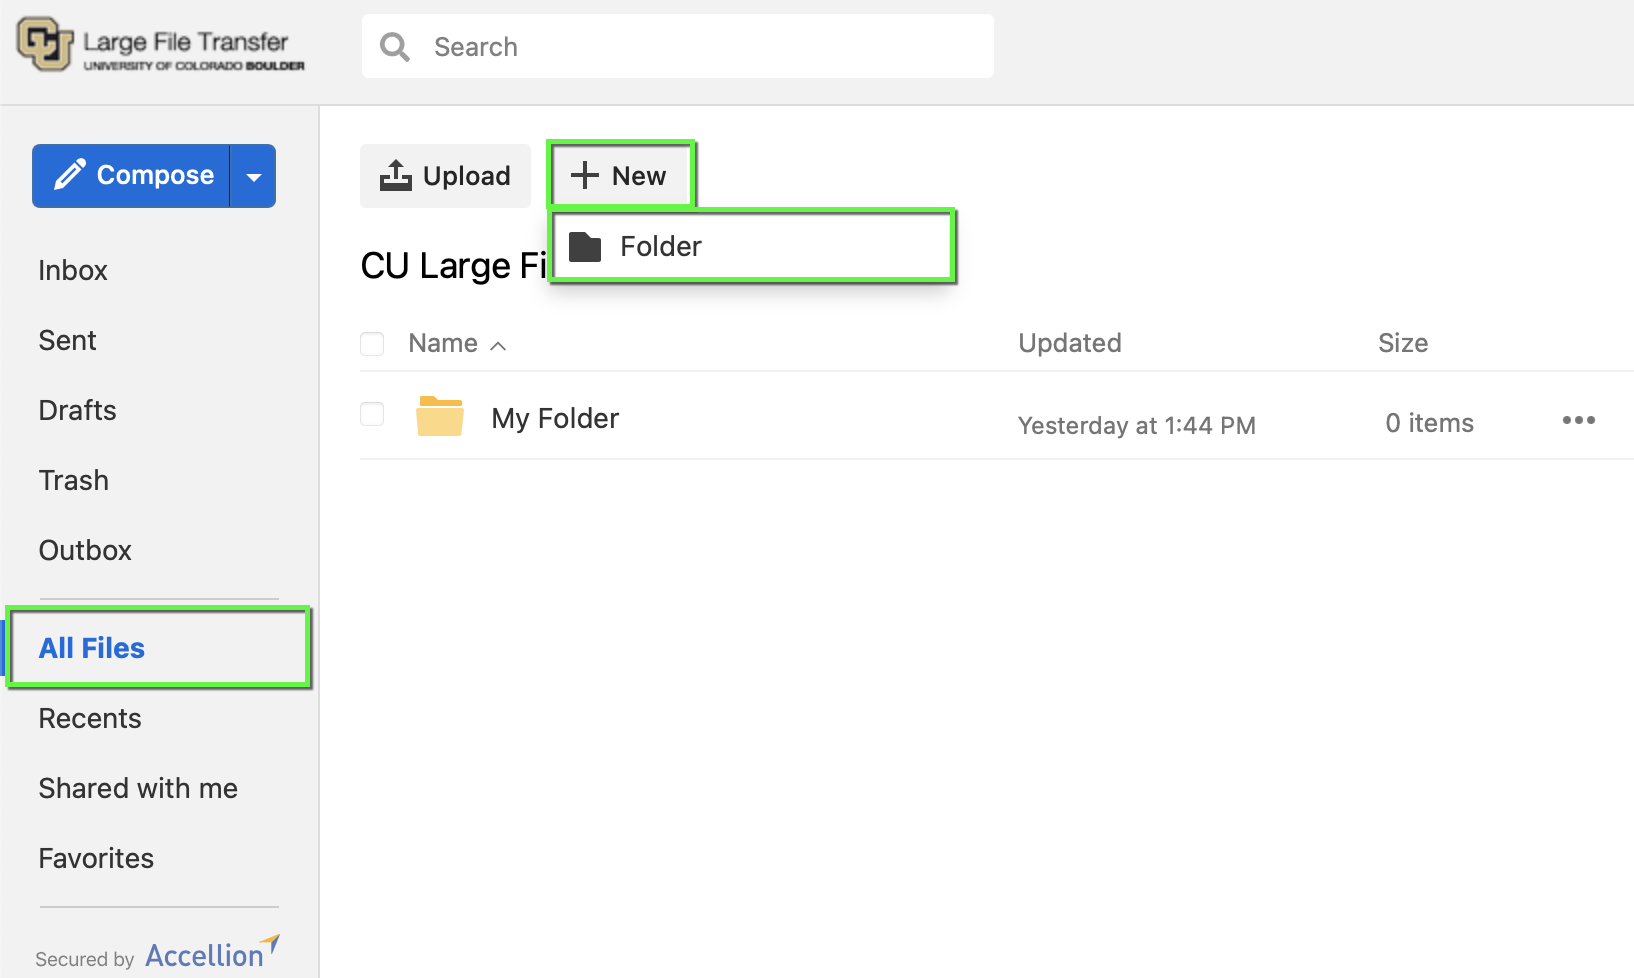
Step 2
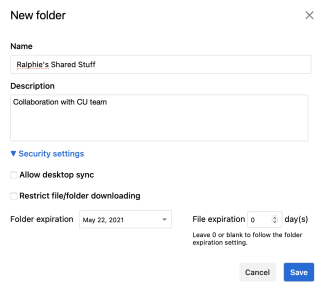
You will be prompted to enter a name and description for the folder you are creating. Under Security settings, you can configure additional options for this folder.
- Allow desktop sync: This option requires the addition of another application on your machine. OIT does not advise selecting this option at this time.
- Restrict file/folder downloading: You can limit the ability to download from this folder to only you and other folder managers you assign.
- Folder expiration: The default expiration for a shared folder, and the longest that can be configured, is 120 days from creation. You can choose an earlier date on which you would like this folder deleted from the server.
- File expiration: You can select the number of days before the files in the folder are deleted automatically from the server. If this setting is left blank or set to ‘0’, it will follow the expiration date assigned to the folder.
Once you have made any configuration changes, click Save to create the folder.

Step 3

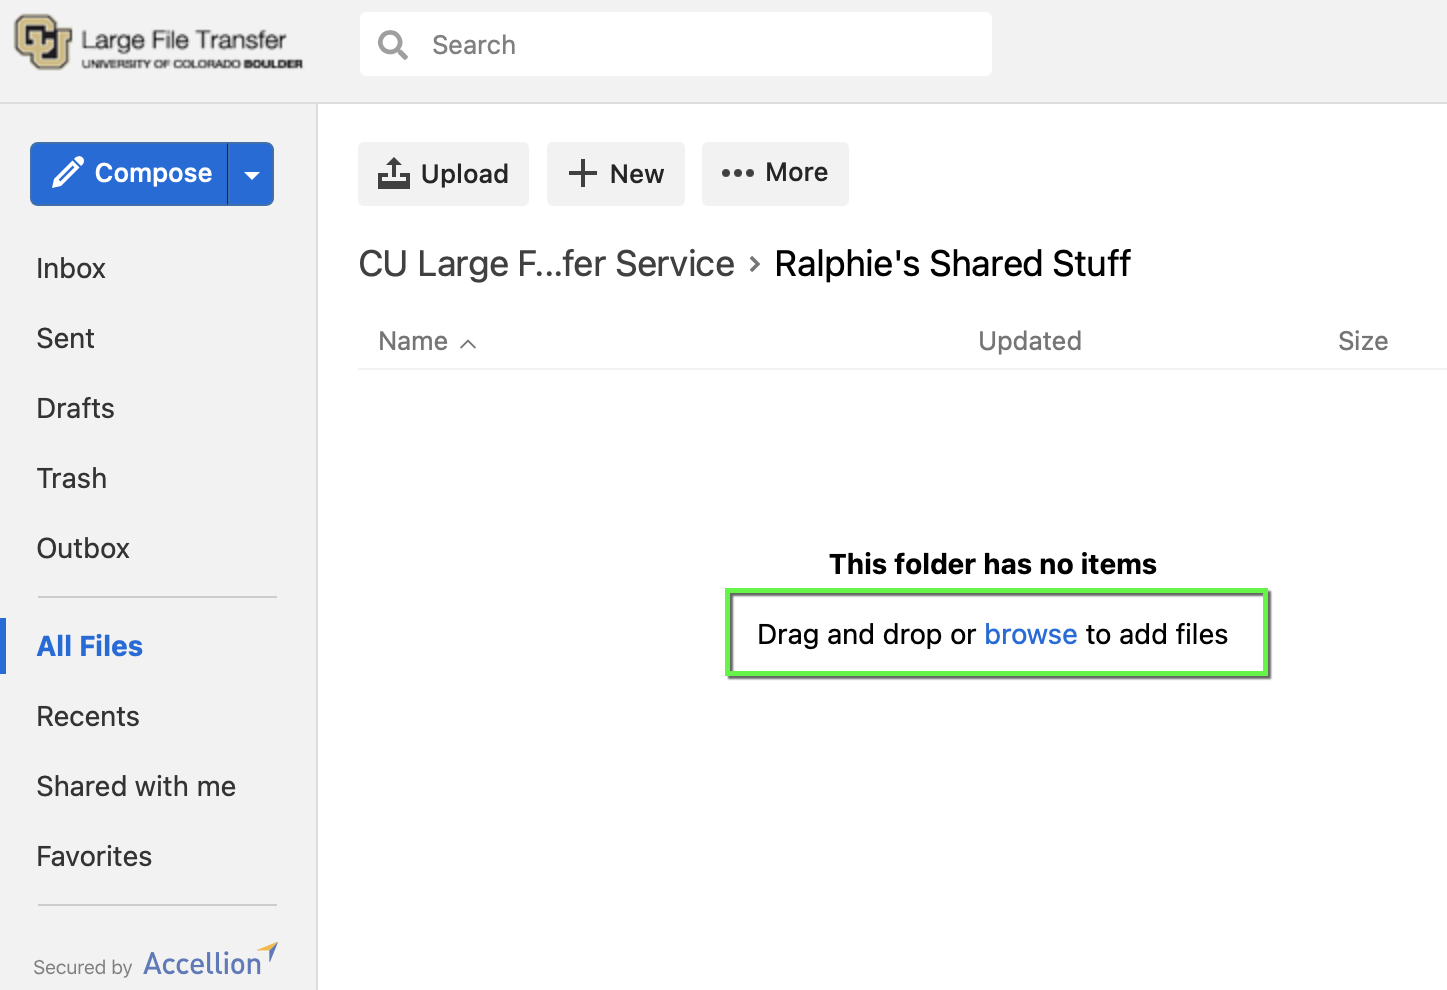
Step 4

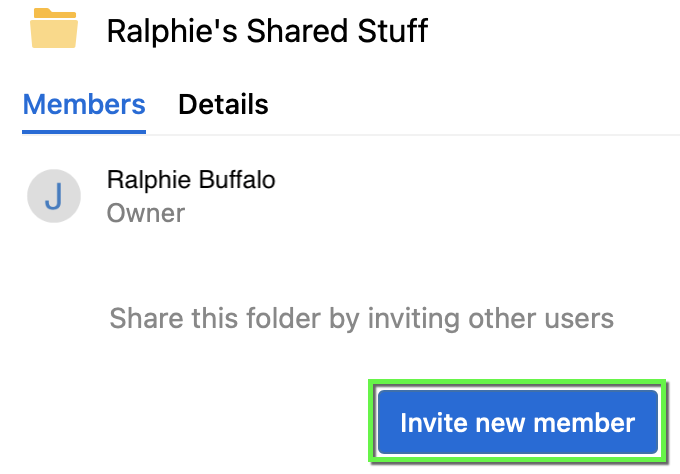
Step 5
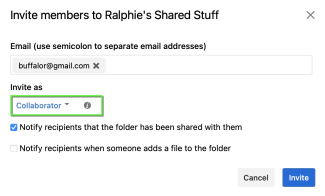
In the window that appears, enter the email addresses of the people you would like to provide access to the shared folder. To invite multiple people, use a semicolon between each email address you enter.
- Roles: People you invite can have various roles assigned to them. Hover your mouse over the i button next to the role and a popup will appear displaying each role and their associated permissions as it relates to the shared folder. For example, if you don’t want others to be able to upload files into your shared folder, give them the Downloader or Viewer roles rather than Collaborator.
- Notify recipients that the folder has been shared with them: This will send an email to each recipient letting them know that you have shared a folder with them.
- Notify recipients when someone adds a file to the folder: This will send an email to each recipient when someone adds a new file to the folder.
When you are ready to share your folder after making configuration changes, click Invite.

Step 6
If you selected the Notify recipients that the folder has been shared with them option, each recipient you invited will receive an email message notifying them that they have access to a shared folder. When they click the Access folder button in the email, they will need to log in to the Large File Transfer service. Once logged in, they will automatically be taken to the shared folder in the Large File Transfer service webpage.