Overview
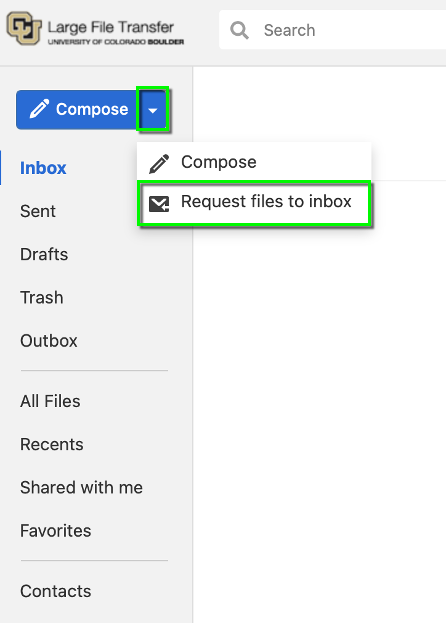
The following tutorial will take you through the process of requesting files to be uploaded to your Inbox in the Large File Transfer service.
Step 1
Step 2

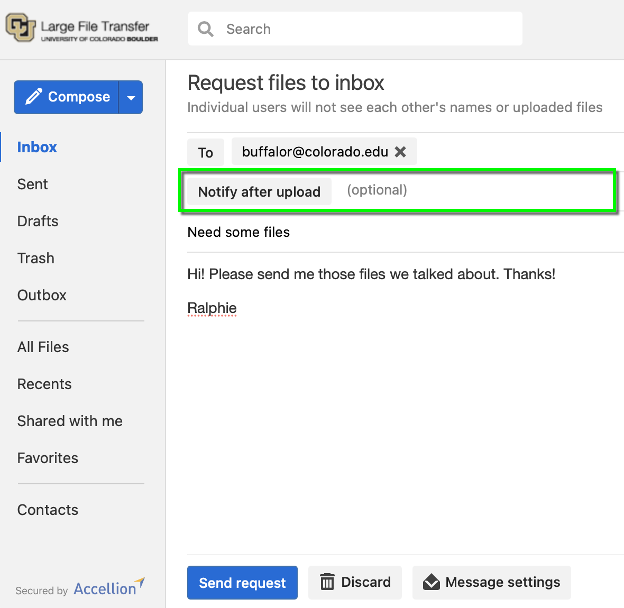
Step 3
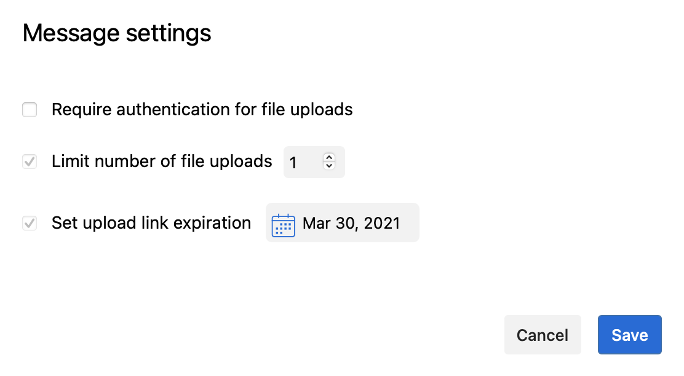
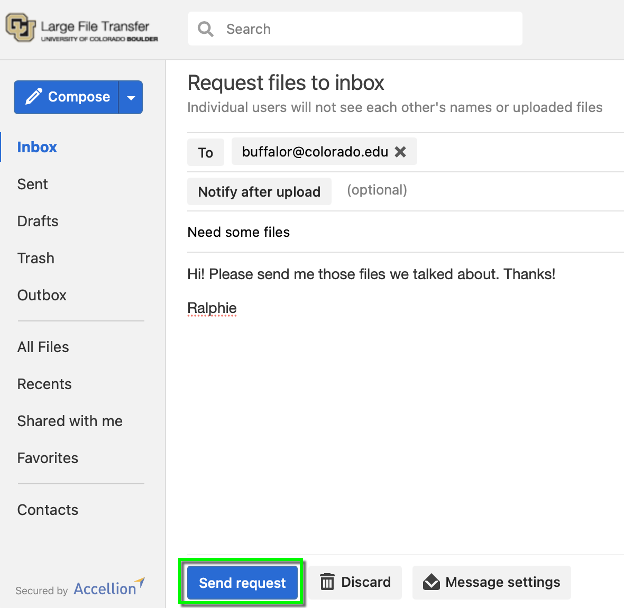
There are some optional settings available to apply to your request before sending. You can access them by clicking Message settings.
- Require authentication for file uploads: This option will require the recipient(s) to sign into the Large File Transfer service to upload files. If they don’t already have an account on the server, they will be prompted to create one.
- Limit number of file uploads: You can specify the number of files each recipient can upload.
- Set upload link expiration: Links expire on the specified date at 23:59:59 (11:59:59 PM) UTC time