
Step 3

Step 4


Step 8


Step 9
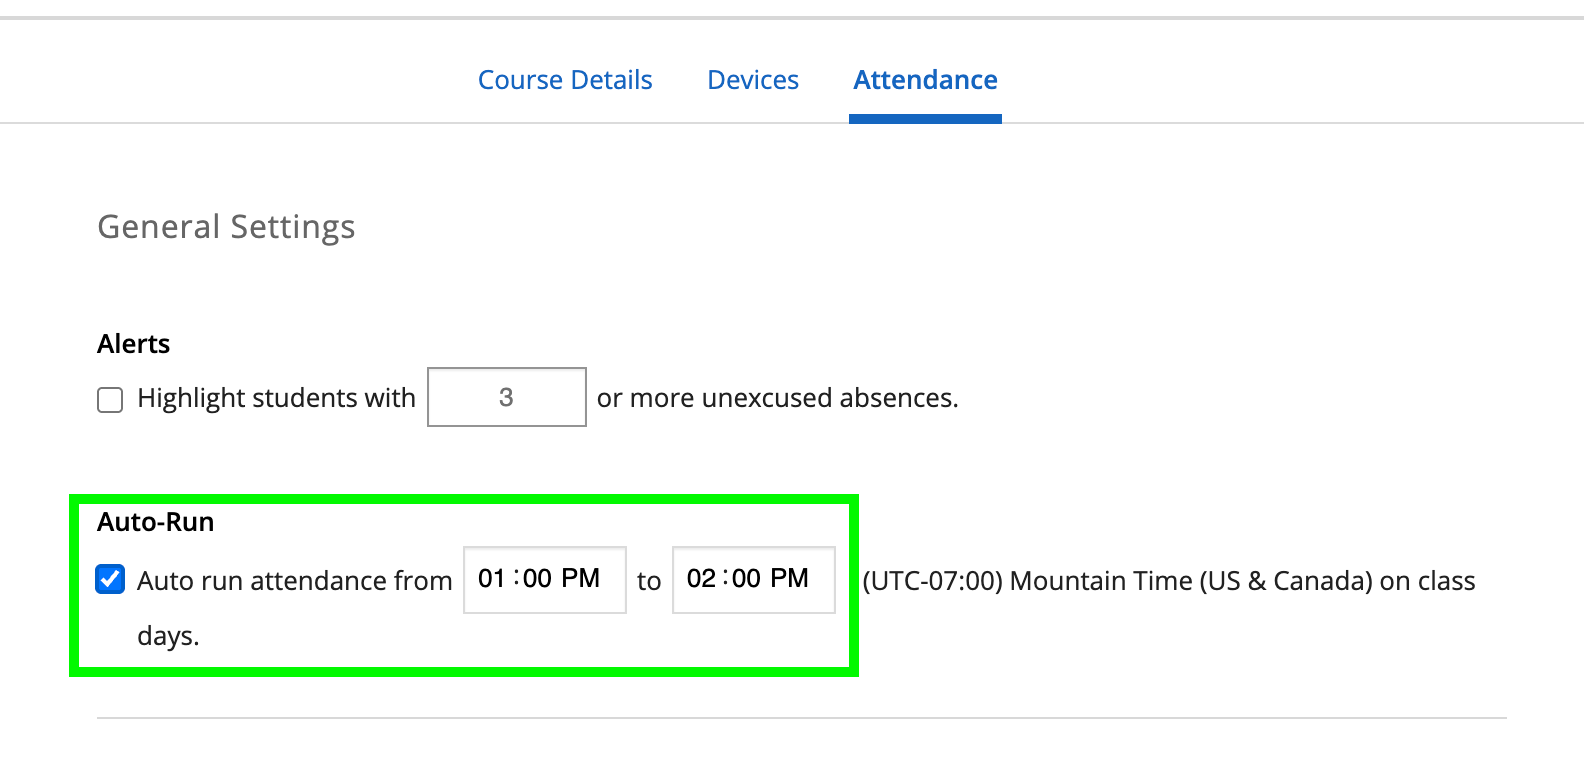
Click Save and iClicker will auto-run attendance during the time you specified.
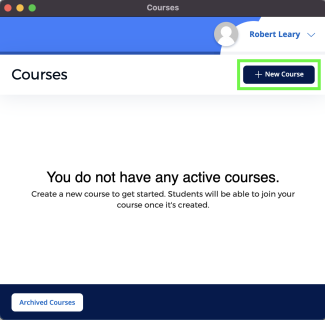
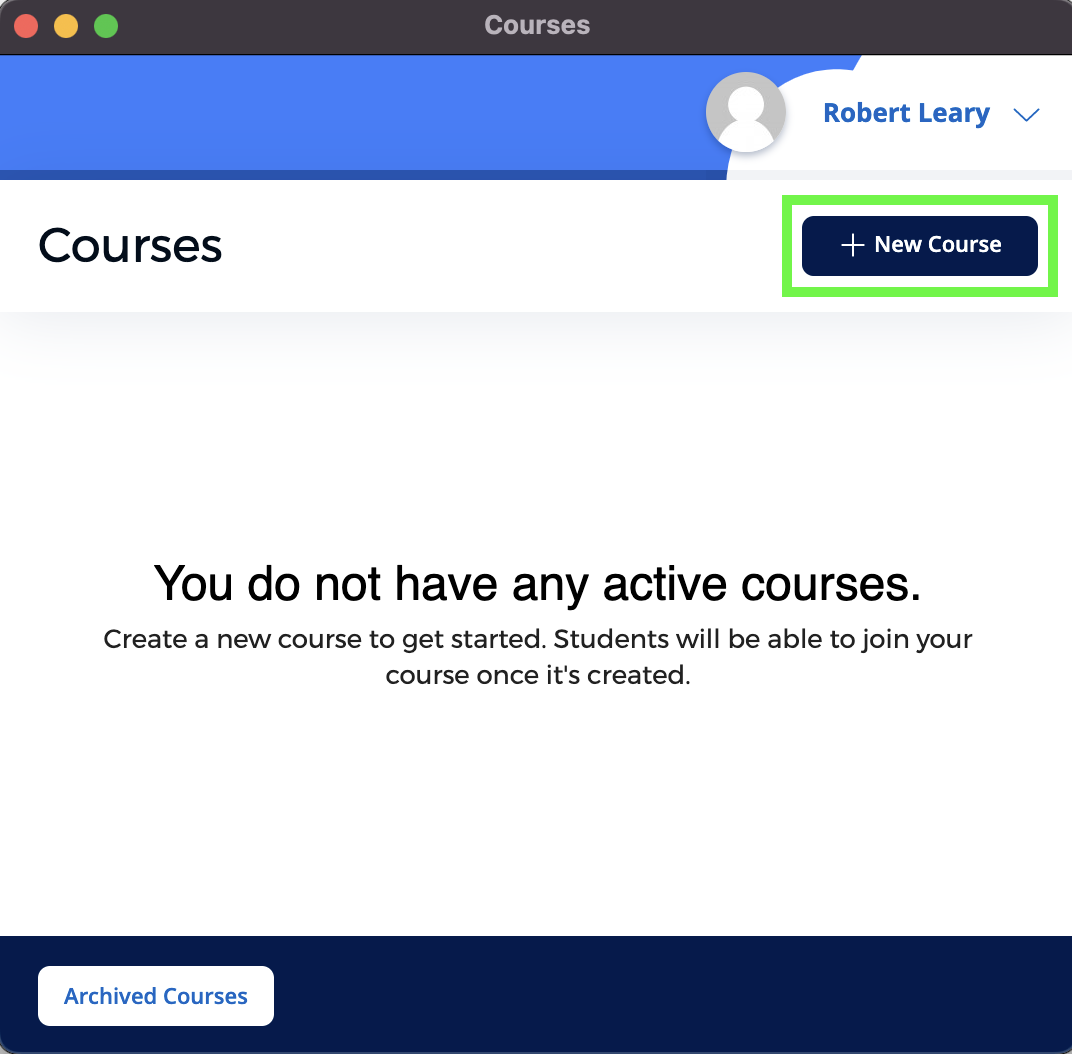
Follow this tutorial to set up an attendance-only course in iClicker. Before you get started, make sure you've created an instructor account. To create one, follow the instructions in our Set up iClicker Cloud for instructors tutorial.
Click Save and iClicker will auto-run attendance during the time you specified.