Step 1

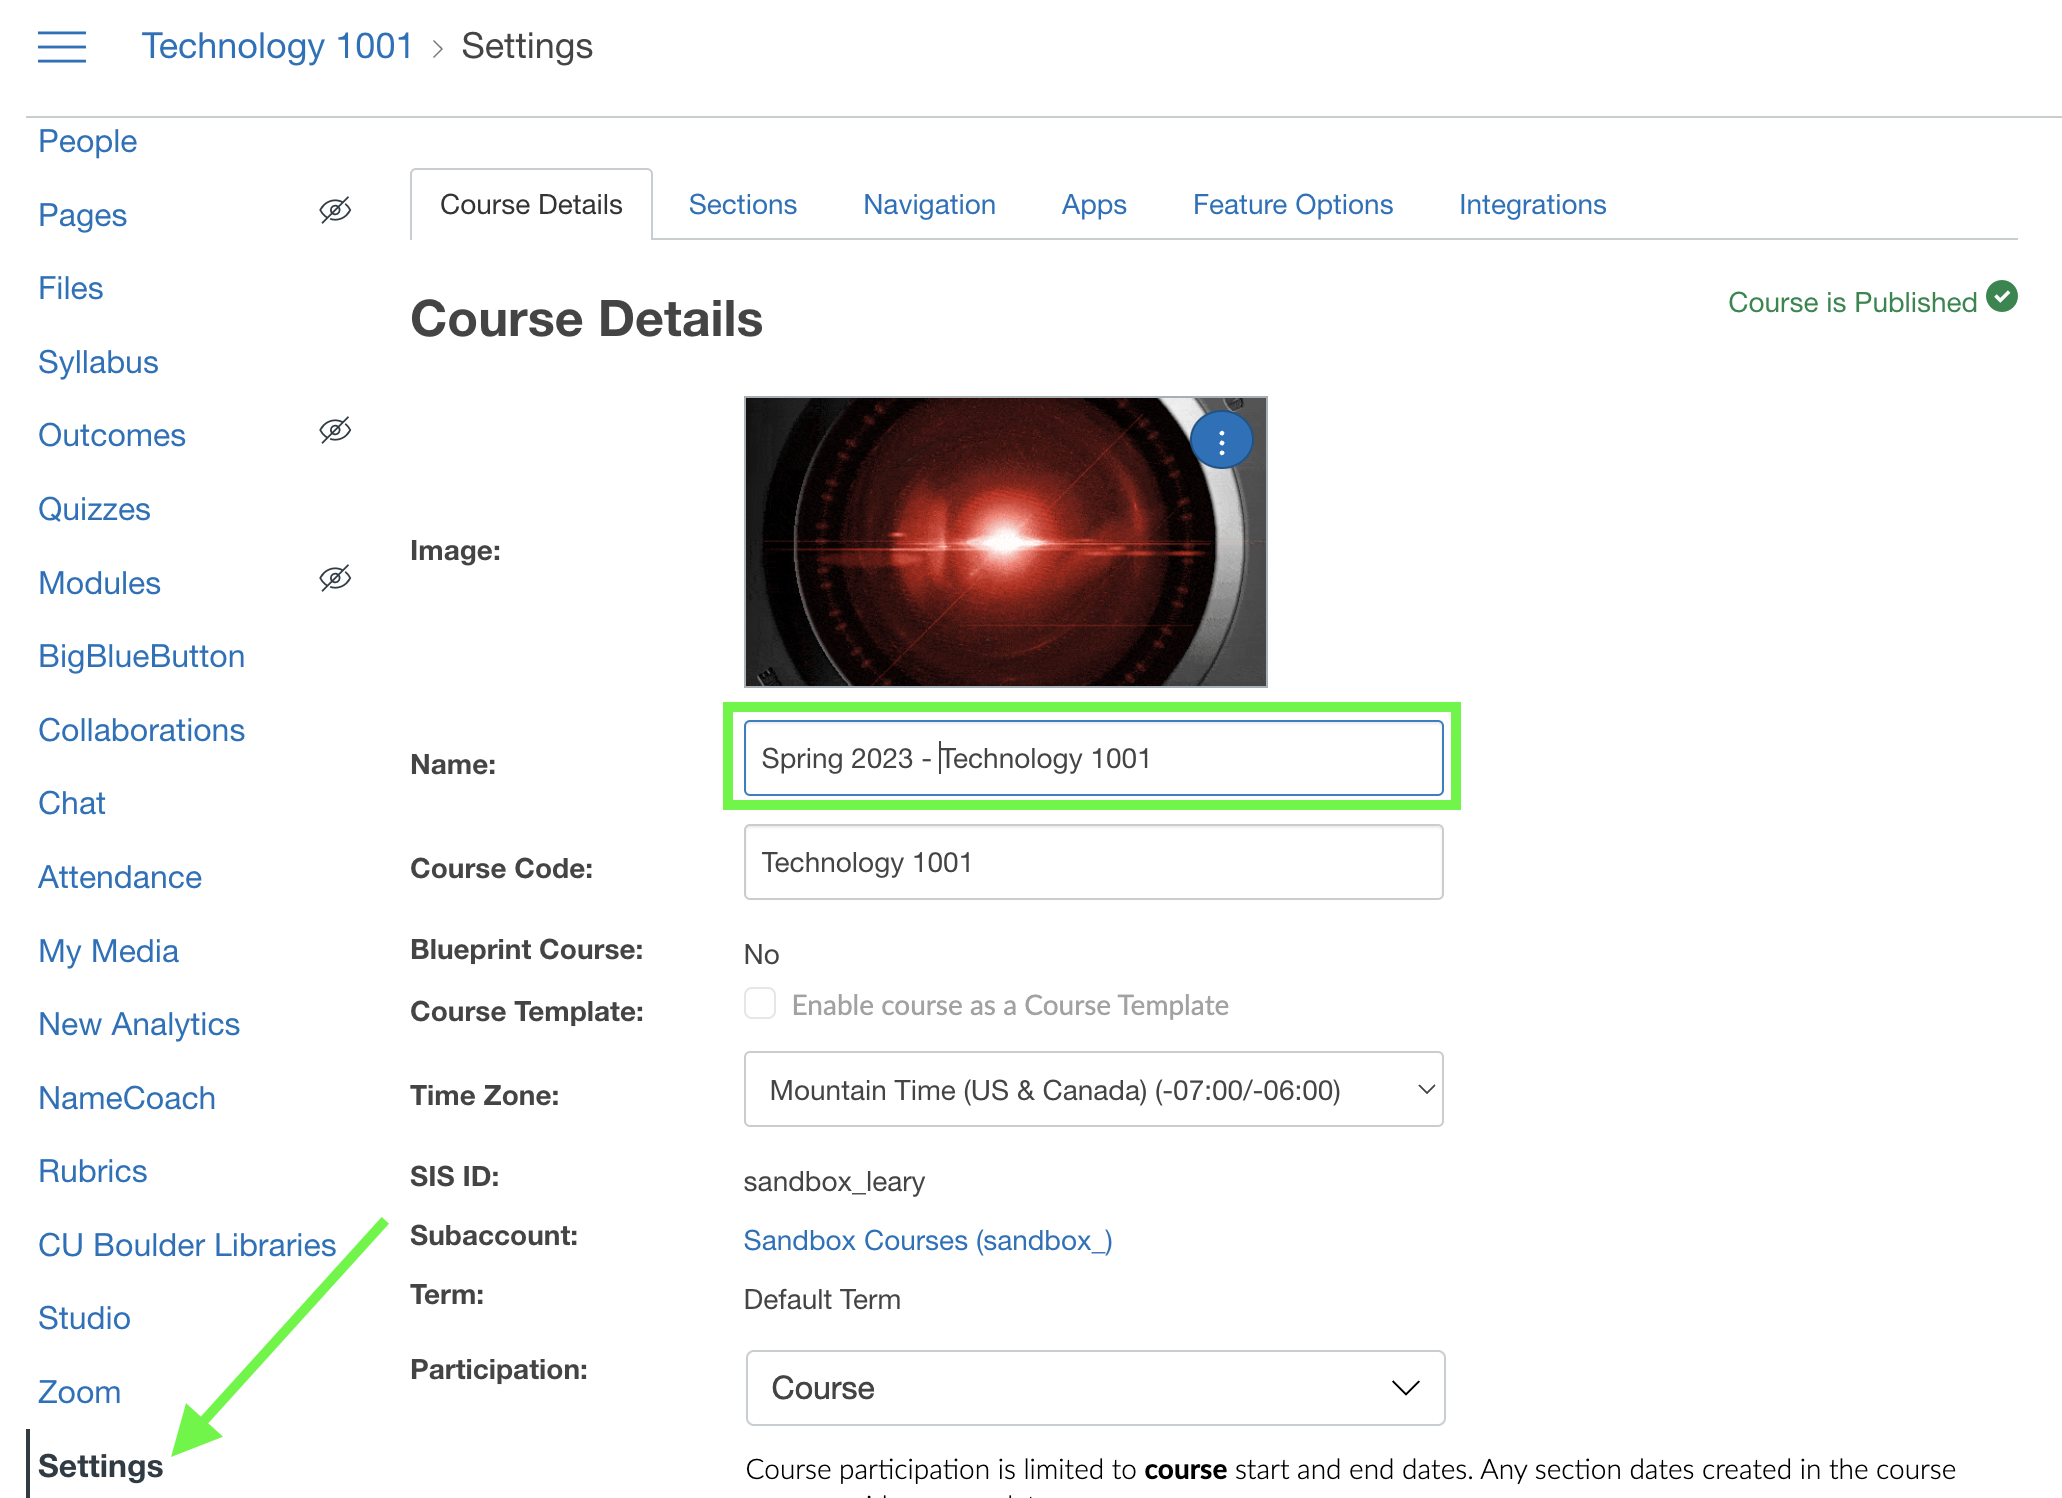
Step 2
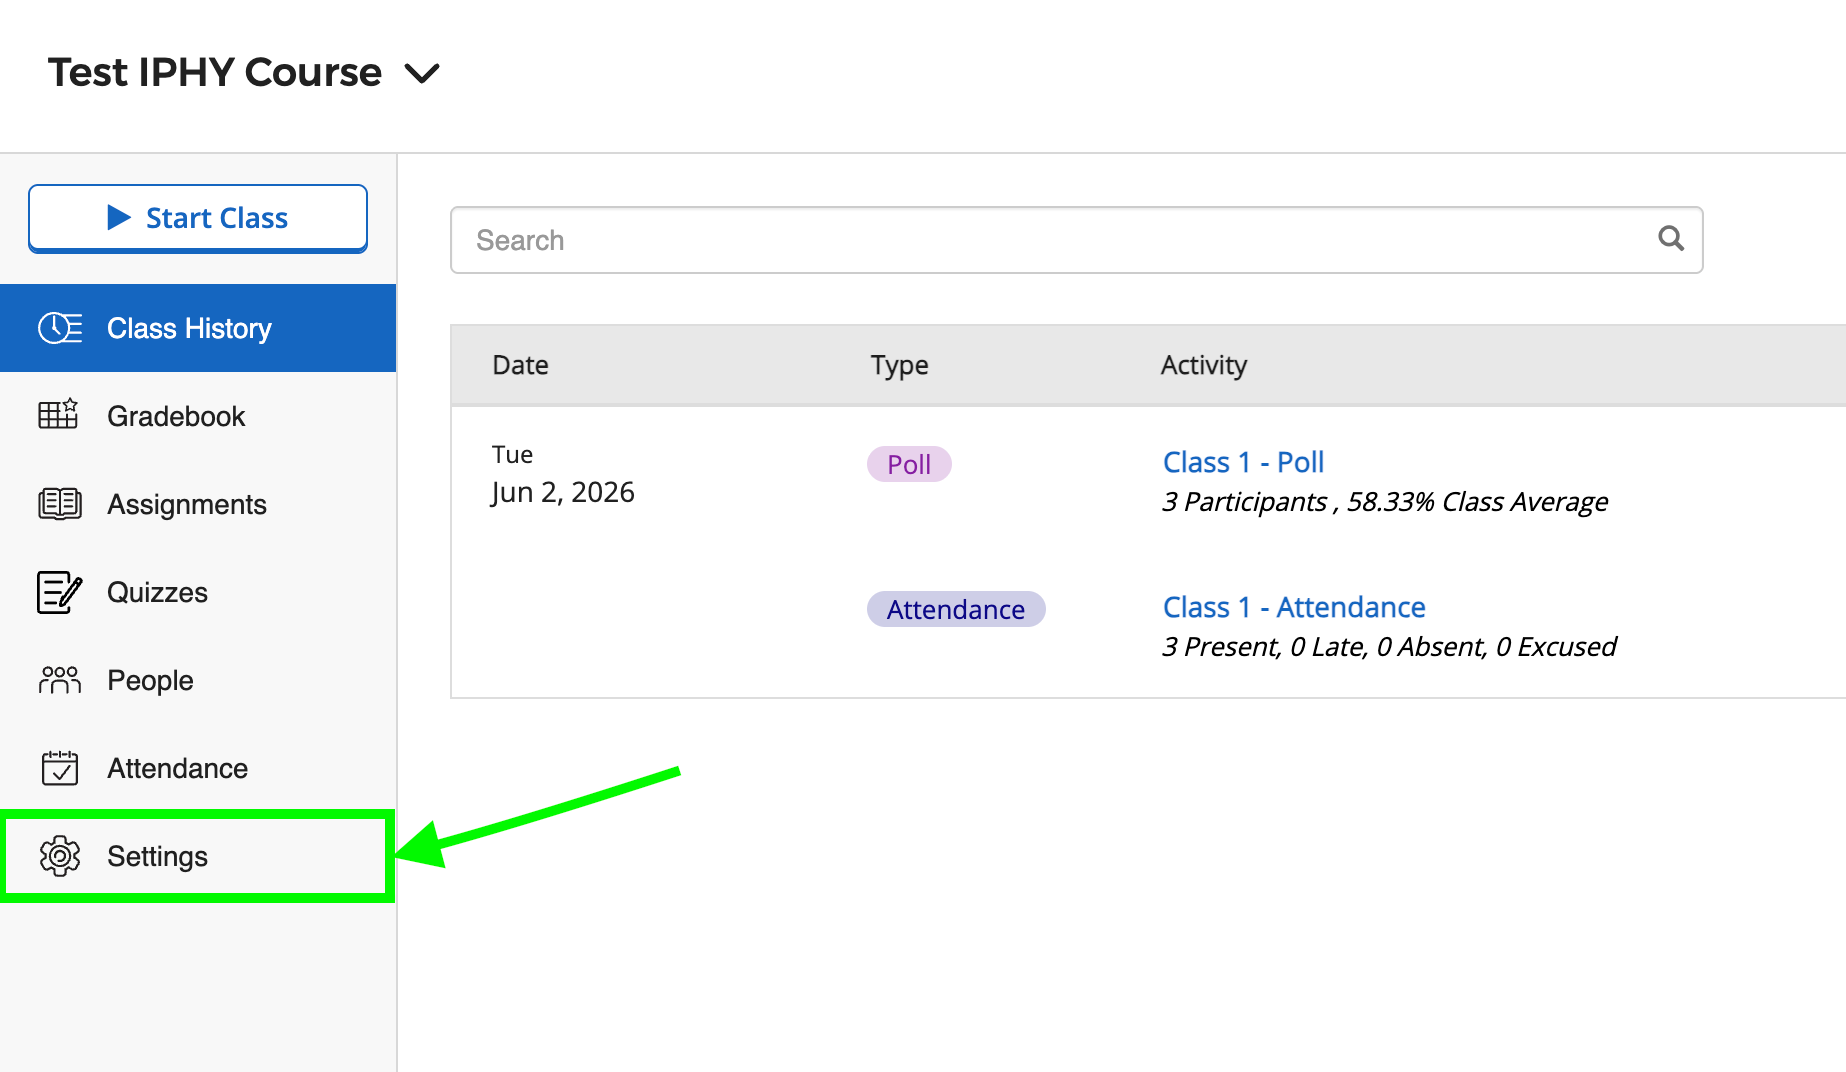
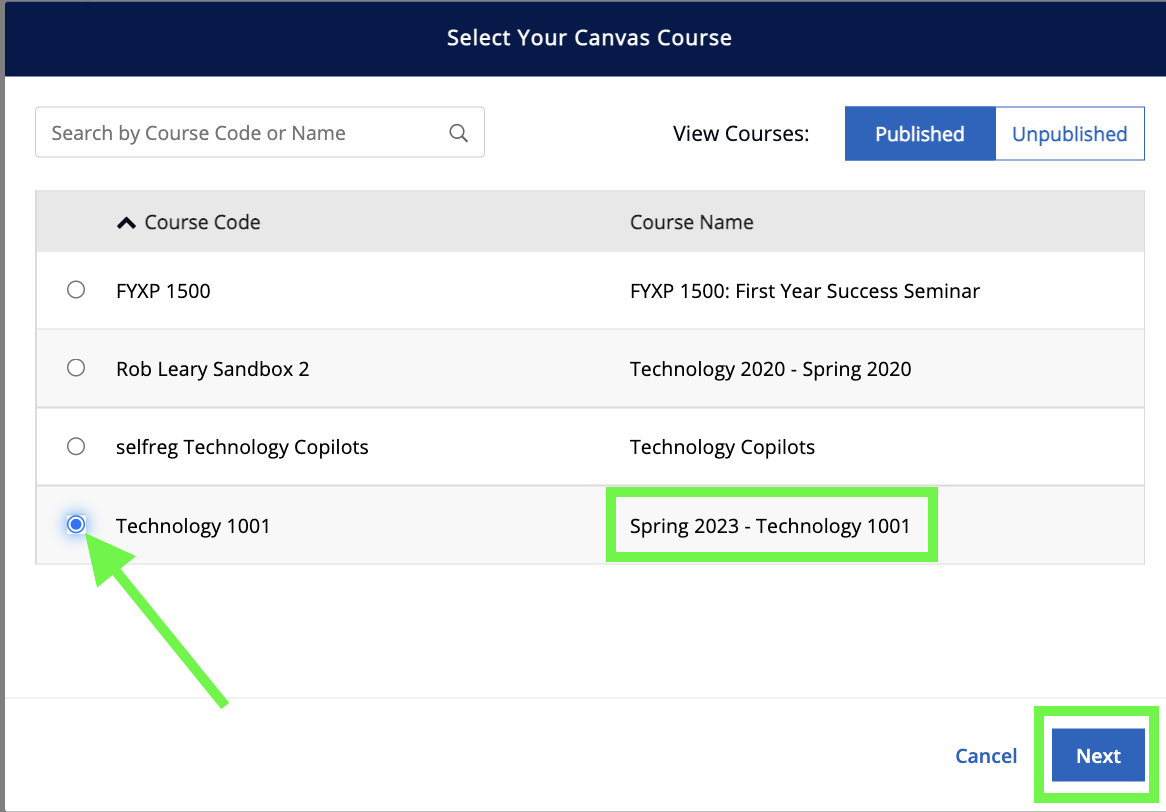
Go to the iClicker instructor portal and navigate to the Settings page for your course.


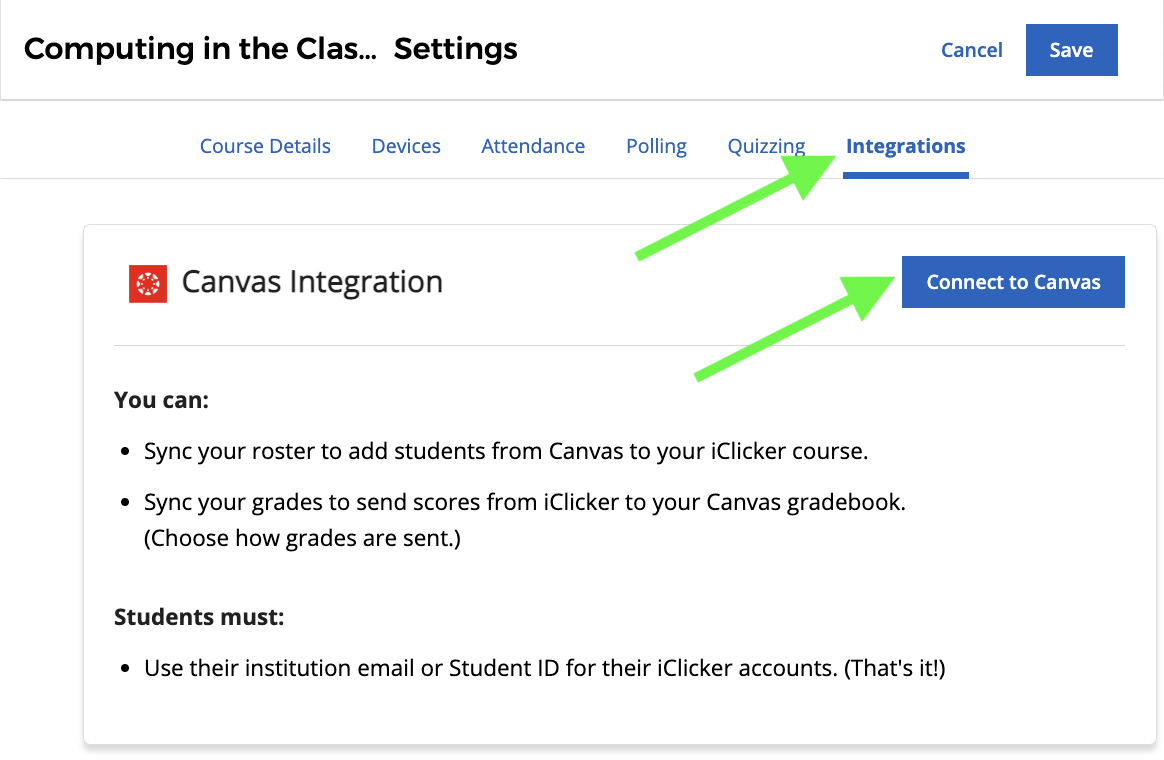

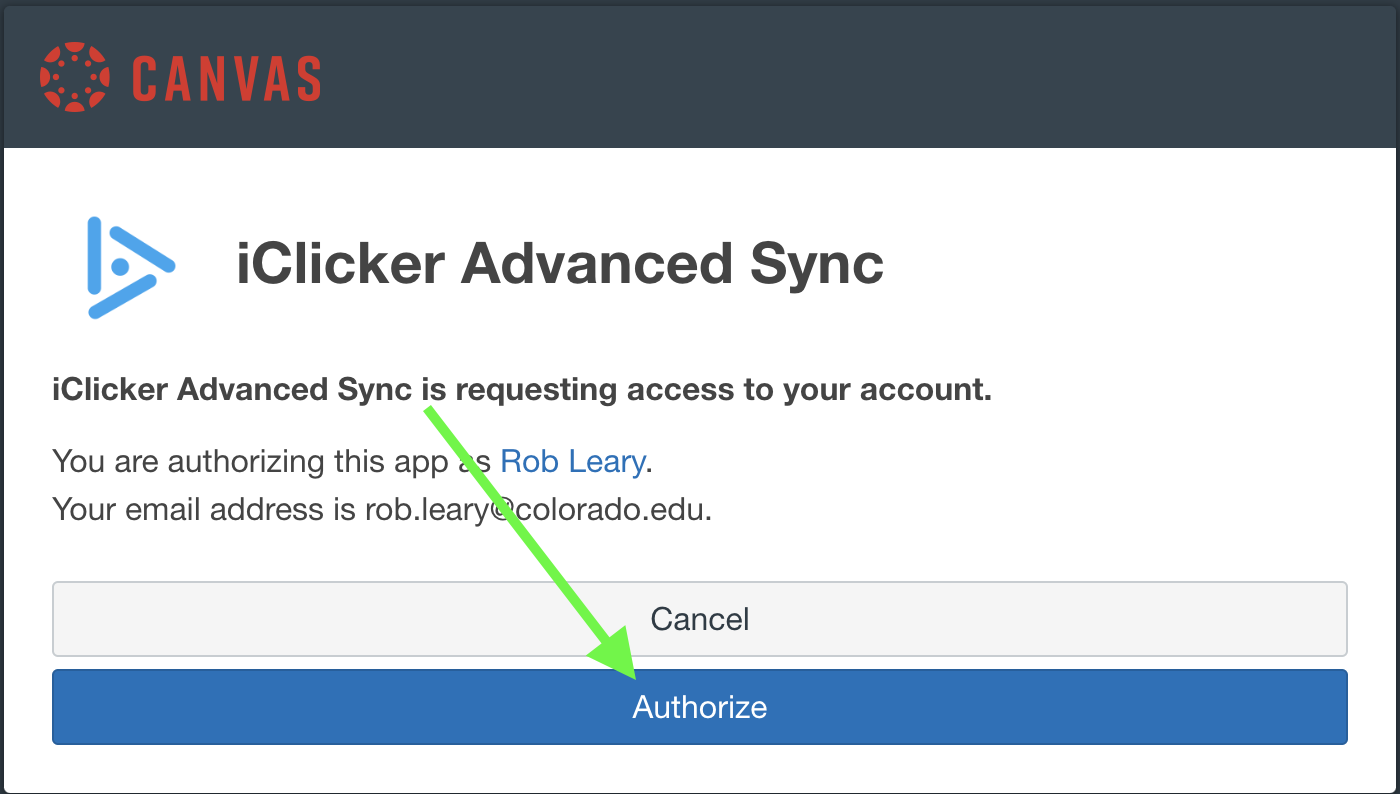
Step 5

Step 6


Step 8
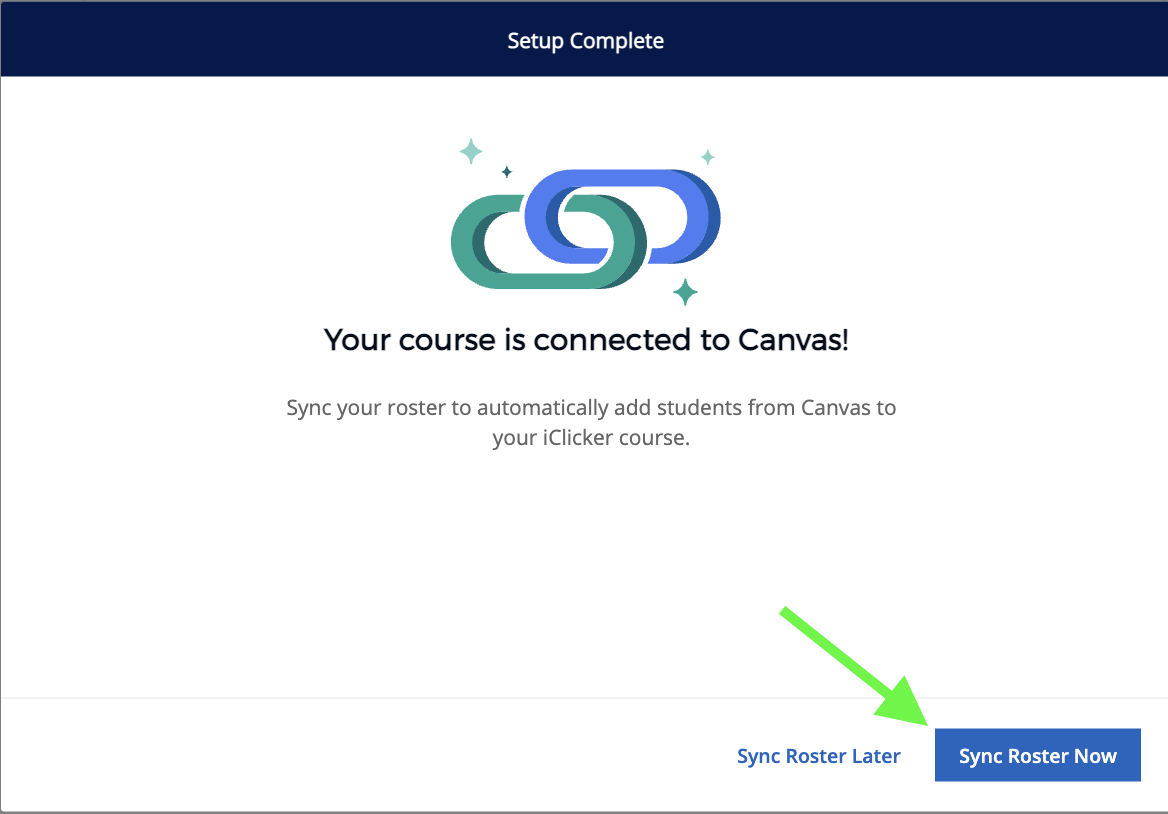
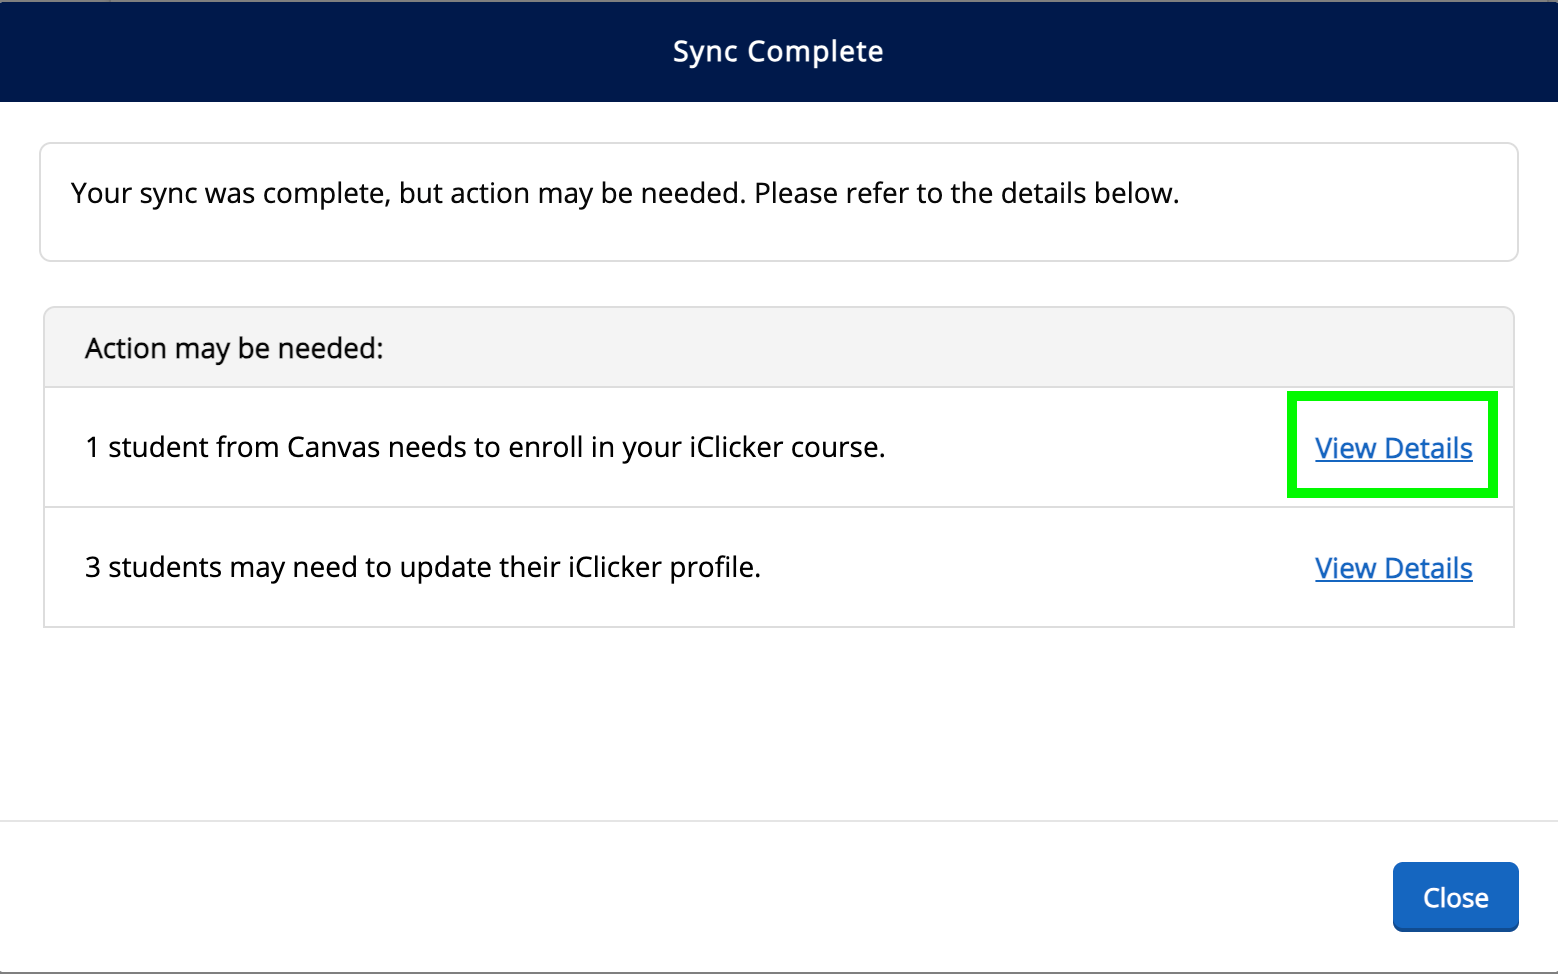
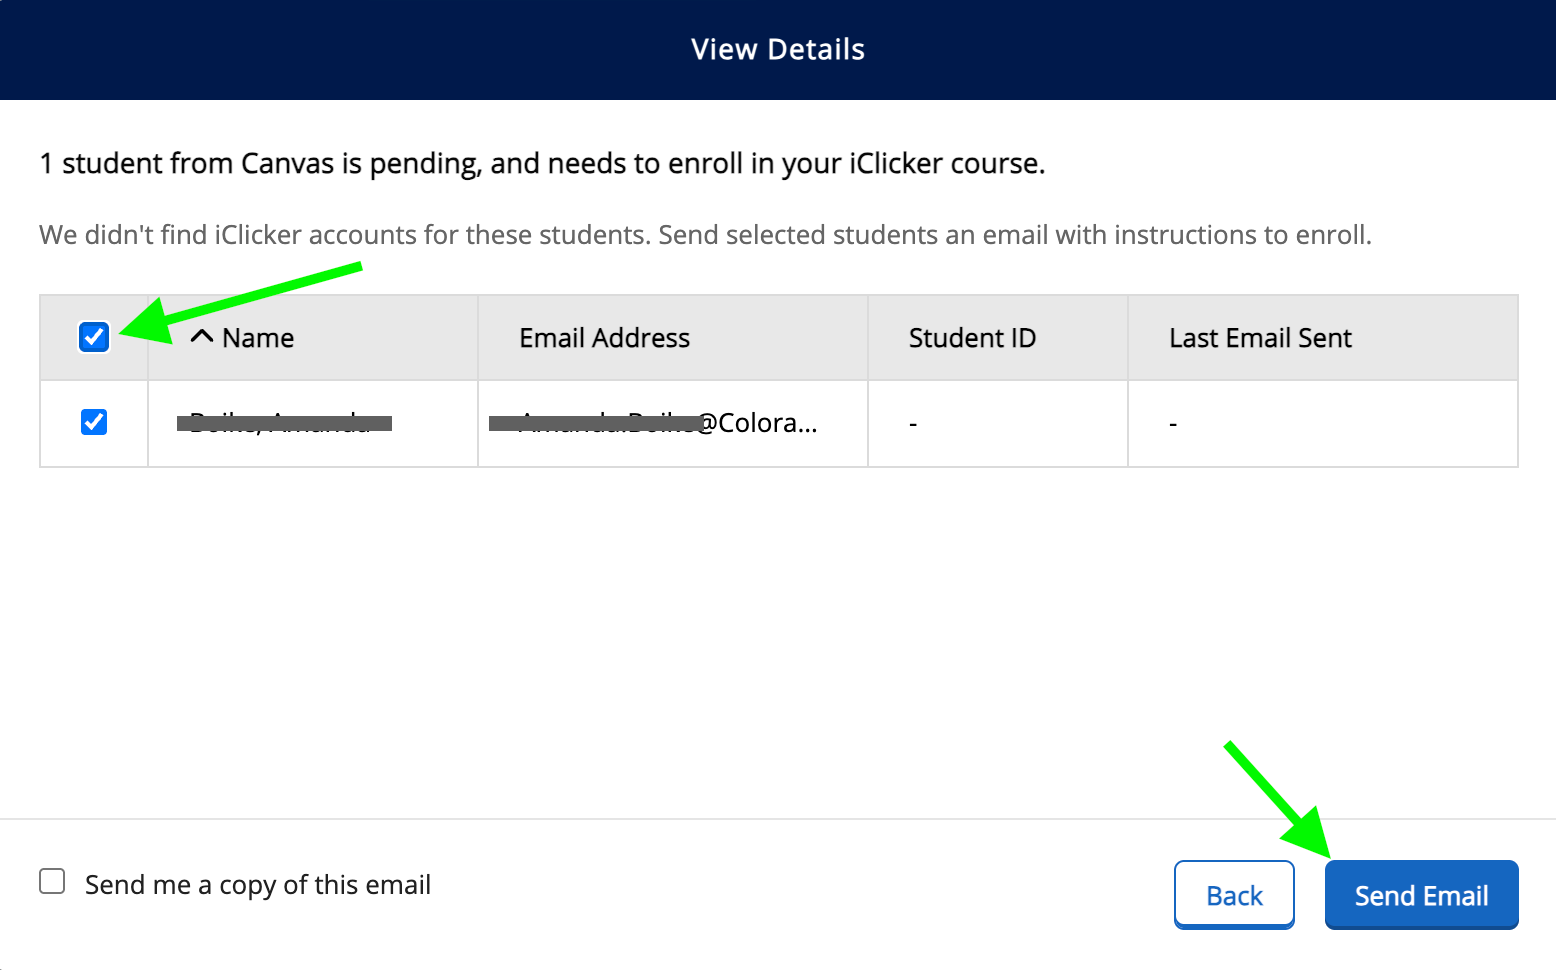
Click View Details to email an invitation to create an iClicker account to students that don't have one yet. You will need to re-sync the roster daily until the add-drop period has ended. This can be found on the People tab of your iClicker course.

Step 9

Step 10
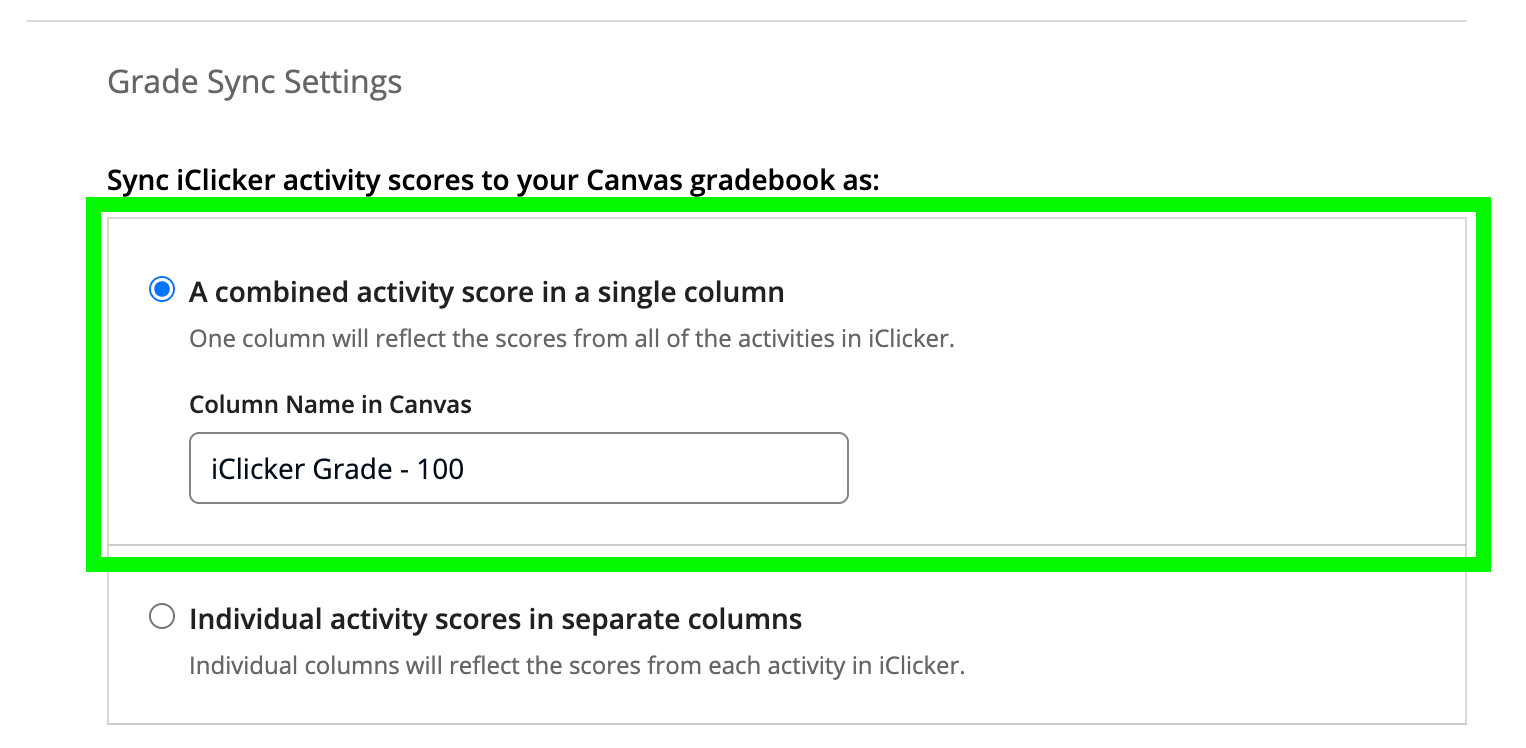
Decide how you want iClicker to populate grades to Canvas. Unless you have a good reason to do so, it’s best to let iClicker create a single grade item in your Canvas gradebook. If you have multiple sections, you will want to rename the grade item with the section number for each section you set up.

Step 11
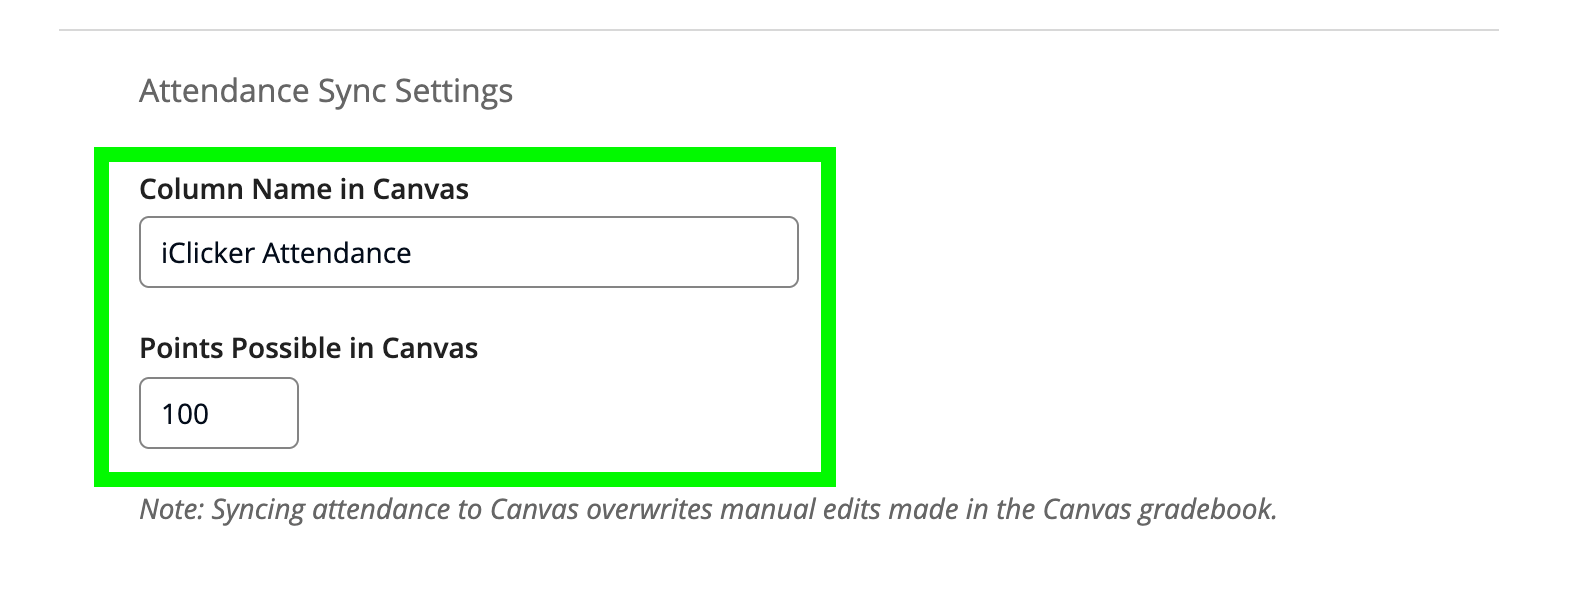
If you are running an “Attendance Only” class (where you do not intend to ask any questions) Roster and Grade Sync can sync the attendance grade to Canvas. These settings are at the bottom of the Integration page. Attendance defaults to 100 points but you can change that to reflect your grading preference.

Step 12
If everything looks correct, click Save.
Step 13
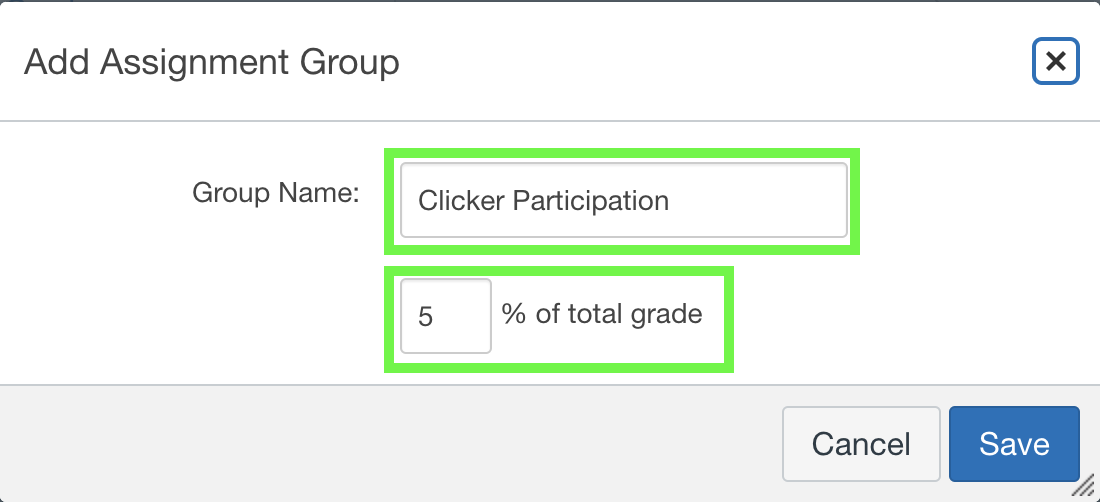
You will need to create a grade group in Canvas. Under assignments, click + Group. Name the group,and move it to the top of the assignments list. It’s best to use weighted assignment groups when using iClicker, because it’s difficult to predict the total number of points a student can earn by the end of the semester.

Step 14
The first time you sync the grades from iClicker to Canvas, iClicker will create a grade item in the grade group at the top of your assignments list, so make sure to leave the new grade group there. Any changes you wish to make to grades should be made in the iClicker gradebook, not in Canvas, as iClicker will overwrite any changes made in Canvas. To learn more about syncing grades to Canvas, see our grading tutorial.