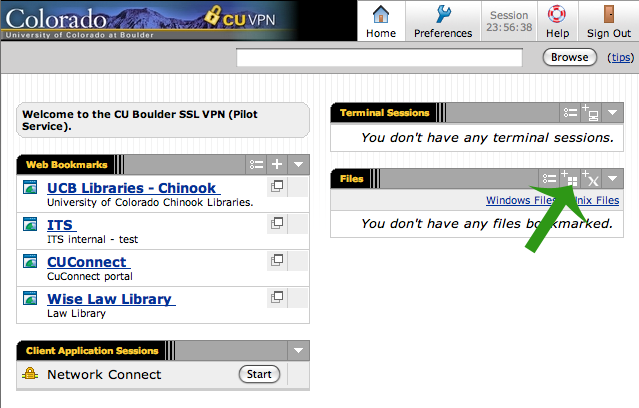
Click on the Windows icon to add a new file share.
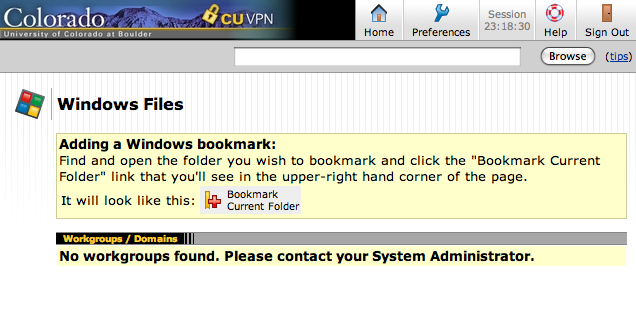
Step 2
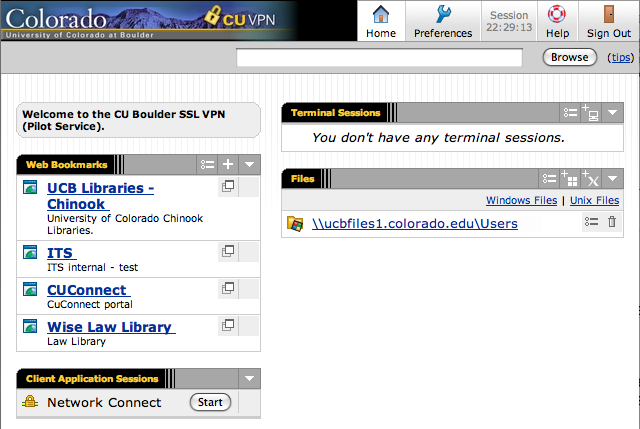
You should see a screen that looks like the screen shot to the left.
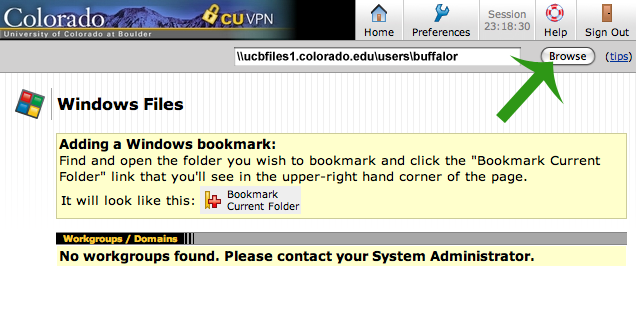
Step 3
Find the file share you are trying to connect to by entering the server address in the browser bar and click Browse. For example, enter \\ucbfiles1.colorado.edu\ if you are trying to connect to ucbfiles1.colorado.edu
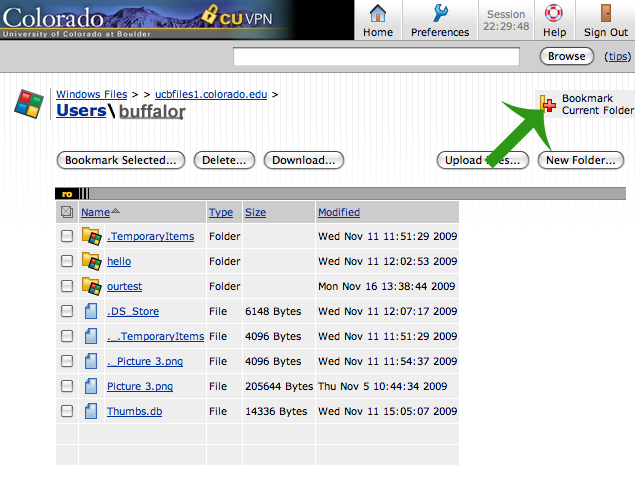
Step 4
Select the share you want to connect to.
Step 5
Click on the Bookmark Selected button.
Step 6
In the window that opens you can change the bookmark name, add a screen shot, etc.. When you have finished making your changes, click on Add Bookmark.
Step 7
Your Windows file share bookmark will now be listed in the Files section. From that connection, you can upload and download files.