Outlook - Add and Use NameCoach

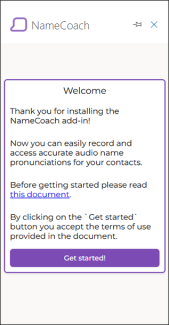
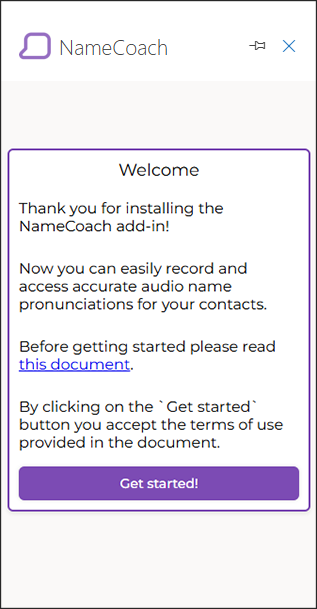
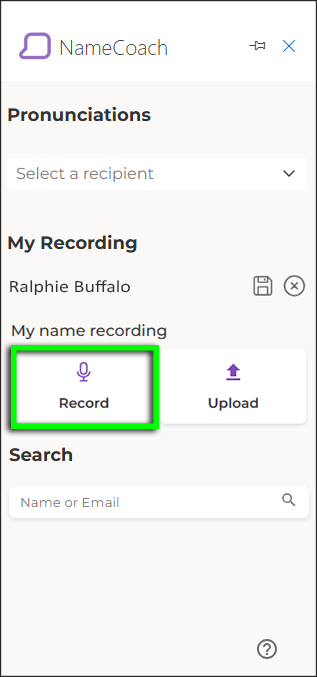
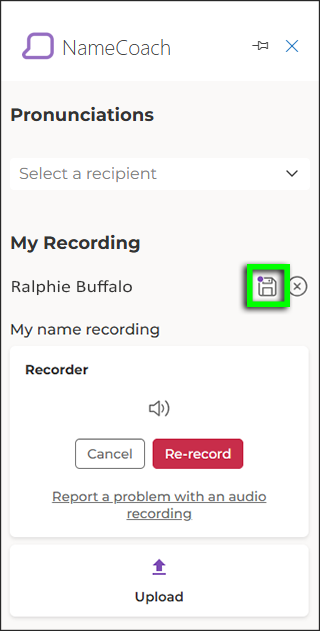
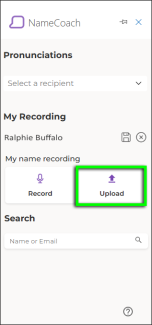
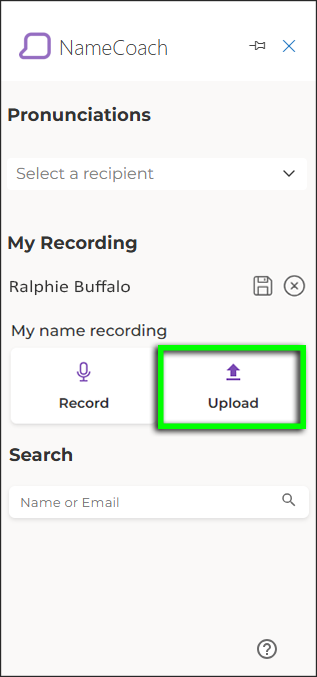
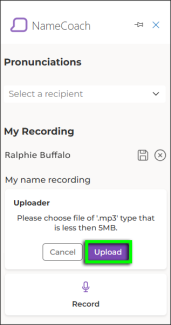
NameCoach enables students, faculty and staff to record their name so that others can hear how to say their name correctly. Follow this tutorial to add NameCoach to your Outlook account and record your name. NameCoach is also available in Canvas.

Please note: The screenshots in this tutorial are from Outlook on the web, but the process in the Outlook desktop app is similar.
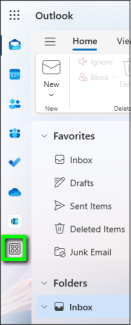

Layout:
one column
two columns

Step

Add the NameCoach App

In Outlook, go to the app bar on the left and click the More apps icon.

The
The "More apps" icon is at the bottom of Outlook's lefthand navigation rail (i.e., "app bar").
The

Step

Click Add apps.

The
The "Add apps" link appears on the lower right of the "More apps" panel.
The

Step

Type NameCoach in the search bar. In the search results, click to open the NameCoach for Outlook tile.

Search for NameCoach, then click to open
Search for NameCoach, then click to open "NameCoach for Outlook."
Search for NameCoach, then click to open

Step

Click Add.

In the
In the "NameCoach for Outlook" tile, click the "Add" button.
In the

Step

A NameCoach tab will open upon installation.

When first opened, the NameCoach tab displays a welcome message thanking you for installing the NameCoach add-in. Click the
When first opened, the NameCoach tab displays a welcome message thanking you for installing the NameCoach add-in. Click the "Get started!" button to accept the terms of use.
When first opened, the NameCoach tab displays a welcome message thanking you for installing the NameCoach add-in. Click the

Step

Use NameCoach in Outlook

Open an email, then click the Apps icon in the message's action bar.

Please note: In Outlook for desktop, the NameCoach add-in appears in the Outlook ribbon.

In Outlook for the web, open an email and then click the Apps icon in the message's action bar.

Step

Select NameCoach for Outlook.

In the apps panel, select
In the apps panel, select "NameCoach for Outlook."
In the apps panel, select

Step

In the NameCoach panel, select a name to hear it pronounced.

Under the
Under the "Pronunciations" heading, click the drop-down menu to select the email recipient whose name pronunciation you want to hear.
Under the

Step

To add a recording of your own name, click the Edit My Recording icon.

To the left of your name, click the pencil-and-paper icon (alt text:
To the left of your name, click the pencil-and-paper icon (alt text: "Edit My Recording") to record or upload your name pronunciation.
To the left of your name, click the pencil-and-paper icon (alt text:

Step

To record your name now, click Record.

To upload a pre-recorded MP3 file, jump to step 14.

Under the
Under the "My name recording" subheading, click "Record."
Under the

Step

Click Start.

Under the
Under the "Recorder" subheading, click the "Start" button to start the recording.
Under the

Step

Record your name and click Stop when finished.

Please note: You have up to 10 seconds to record your name.

Under the
Under the "Recorder" subheading, a timer will show how many seconds you have left in your 10-second recording. Once you've spoken your name, click the "Stop" button to end the recording.
Under the

Step

Click the sound icon to listen to your recording. If satisfied, click the Save icon.

To the left of your name, click the floppy disk icon (alt text:
To the left of your name, click the floppy disk icon (alt text: "Save") to save your recording.
To the left of your name, click the floppy disk icon (alt text:

Step

If you'd prefer to upload a pre-recorded MP3 file, click Upload.

Under the
Under the "My name recording" subheading, click "Upload."
Under the

Step

To locate and upload the file, click Upload.

Under the
Under the "Uploader" subheading, click the "Upload" button to locate and upload your MP3 file.
Under the