Overview
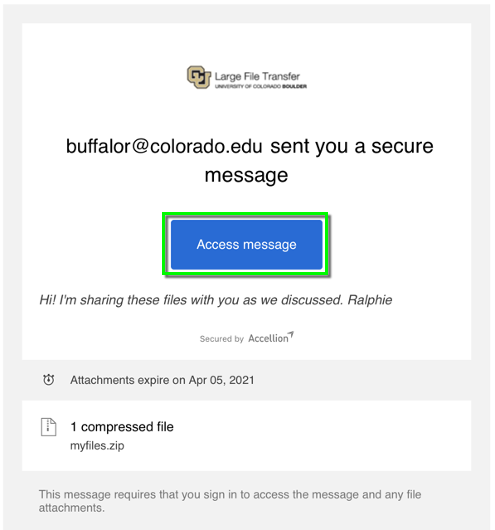
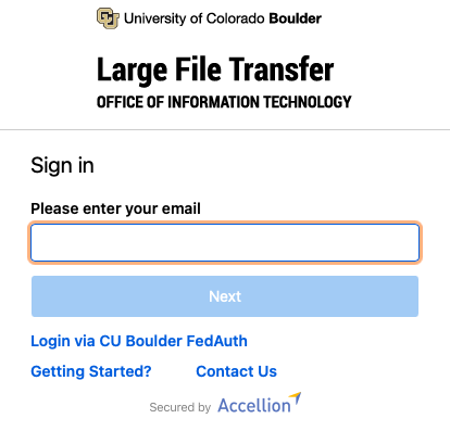
This tutorial will take you through the process of receiving files sent using the Large File Transfer service.
Step 1
Step 2
Step 3
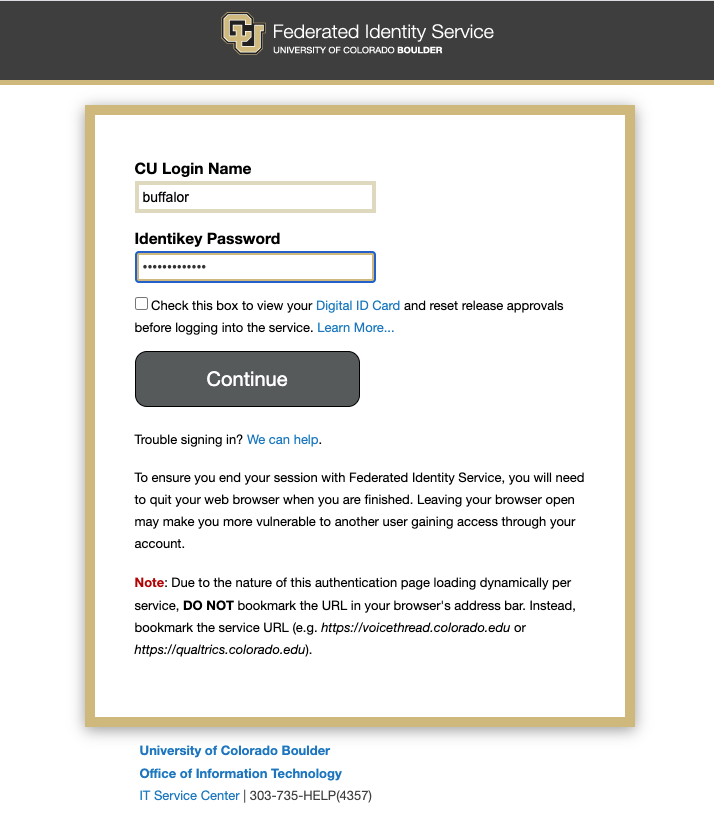
For internal CU users (using an email ending in colorado.edu): If you entered an email address ending in colorado.edu, a web browser window will appear prompting you for your Federated Identity Service credentials. Enter your IdentiKey and associated password, then click Continue.
If you entered your credentials correctly and you are registered with an account, the Large File Transfer webpage wil open (skip to step 7).
Step 4
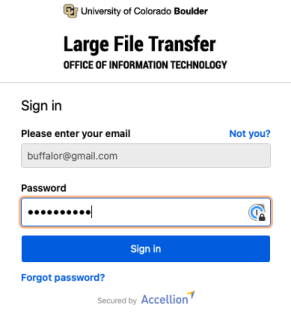
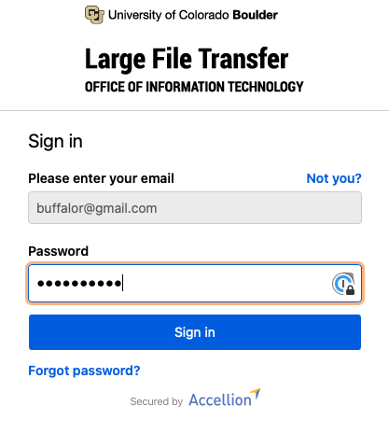
For external users: If you entered an email address that does not end in colorado.edu, you will be prompted to set up a temporary guest account if you have not already done so previously. Guest accounts are valid for 30 days, after which they automatically expire. If you have a guest account that is still active, you will need to log in using your guest account email address. Enter the password you chose when creating this account, then click Sign In.
Step 5
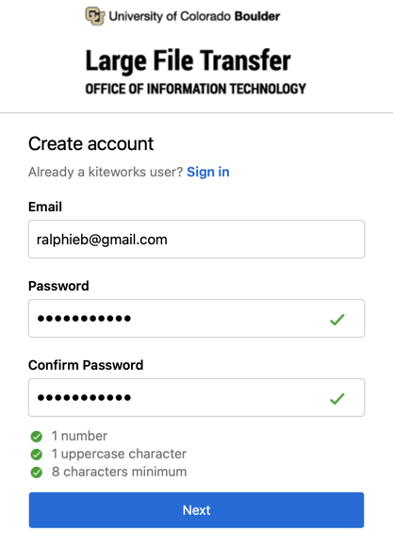
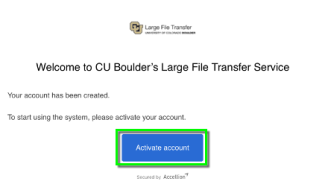
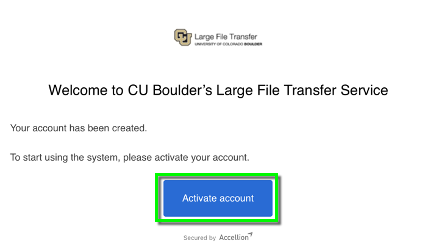
If you entered your credentials correctly and you are already registered with an account, the Large File Transfer webpage will appear. However, if you are not already registered with a temporary guest account, you will be prompted to create one.
The email address field will already contain the email address you are creating the account for. Choose a password for this temporary guest account (must be at least 8 characters long, with at least 1 number and 1 uppercase letter).
Once you have entered your new password in both password fields, click Next. Enter the code you see in the captcha code box, then click Create account.
Step 6
Step 7
You should now be logged into your Inbox in the Large File Transfer service. If you are not presented with the message that was shared with you, select it from the list of messages in your Inbox.
Once the message is selected, you will be able to read the body of the message and see any file attachments. To download the attachments, click the checkbox next to the name of the attached file and click Download.
The file will be downloaded to the default download location on your computer.
