Step 1
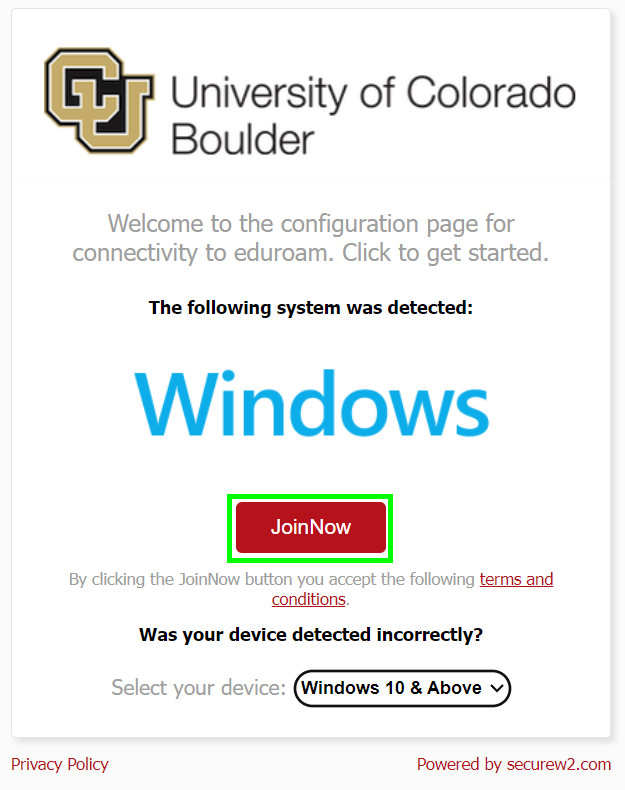
Open a browser and go to the Windows configuration start page (https://cloud.securew2.com/public/41406/eduroam/).
*Note: Use UCB Wireless, UCB Guest or another network to download the app and sign in for the first time. eduroam will fail or show as out of range if you're not on campus while trying to connect.
Step 2


Step 4

Step 5
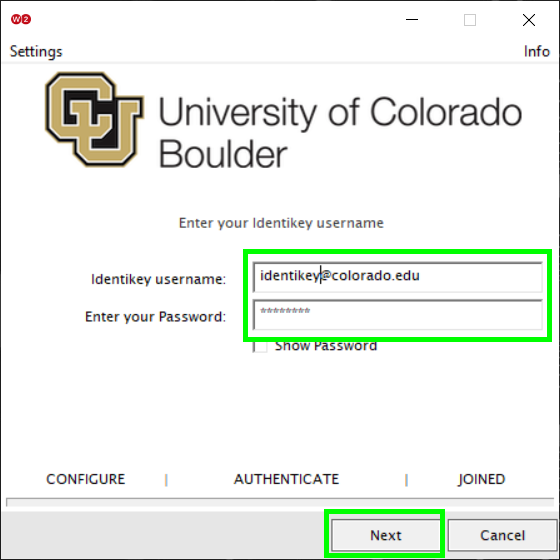
Enter your IdentiKeyUsername@colorado.edu and IdentiKey password, then click Next.