
Zoom - Enable and Customize Waiting Rooms

Zoom provides the capability to control who is admitted to your meetings, even after you've joined as the host, using a feature called Waiting Room. Use this tutorial to enable waiting rooms and customize a message to appear for those that join the meeting room. Learn more about how waiting rooms work.

Layout:
one column
two columns

Step

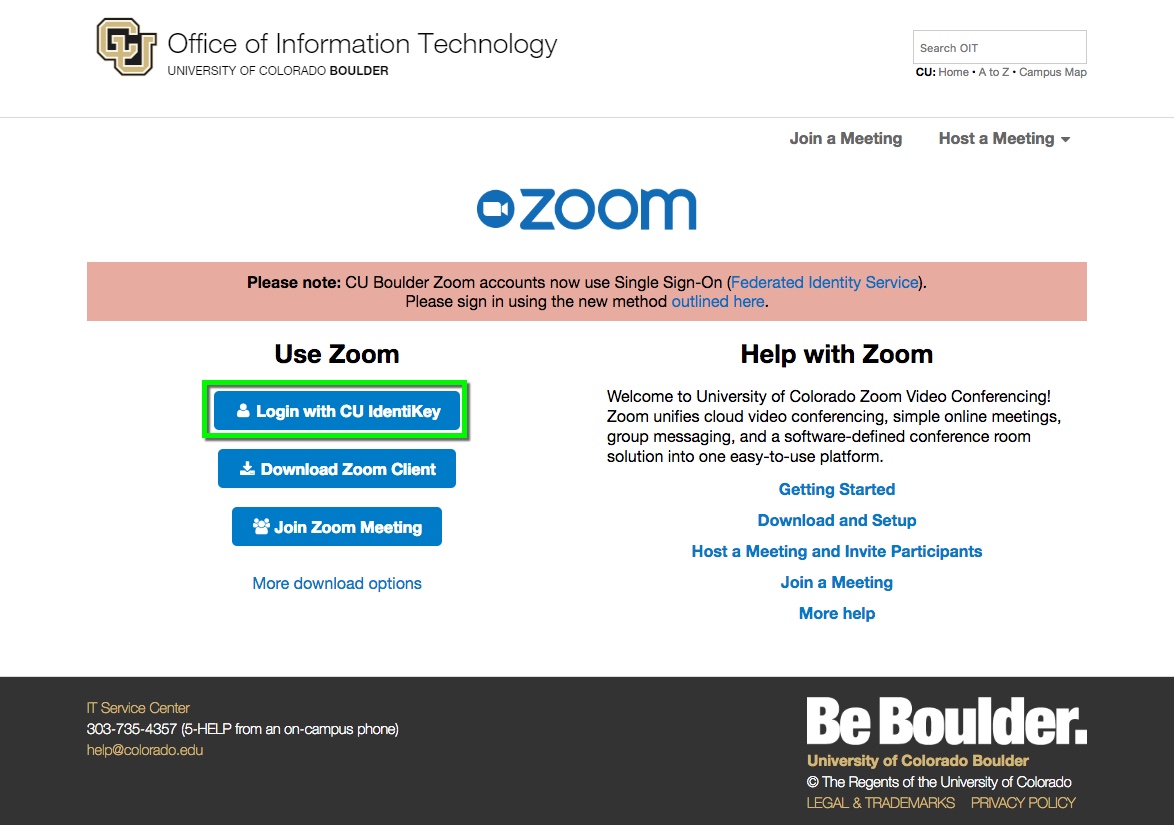
Use a web browser to navigate to https://cuboulder.zoom.us, and select Login with CU Identikey.
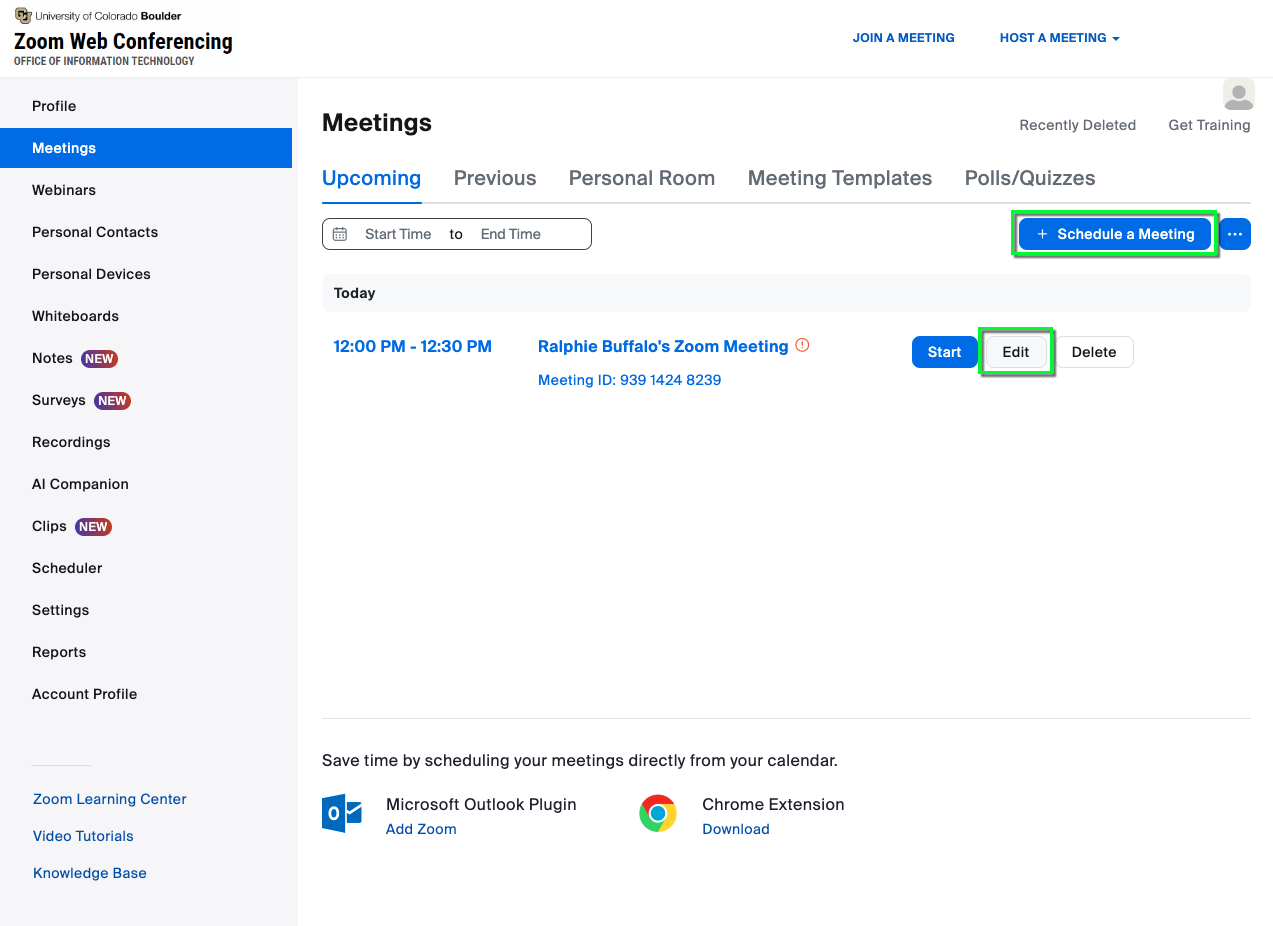
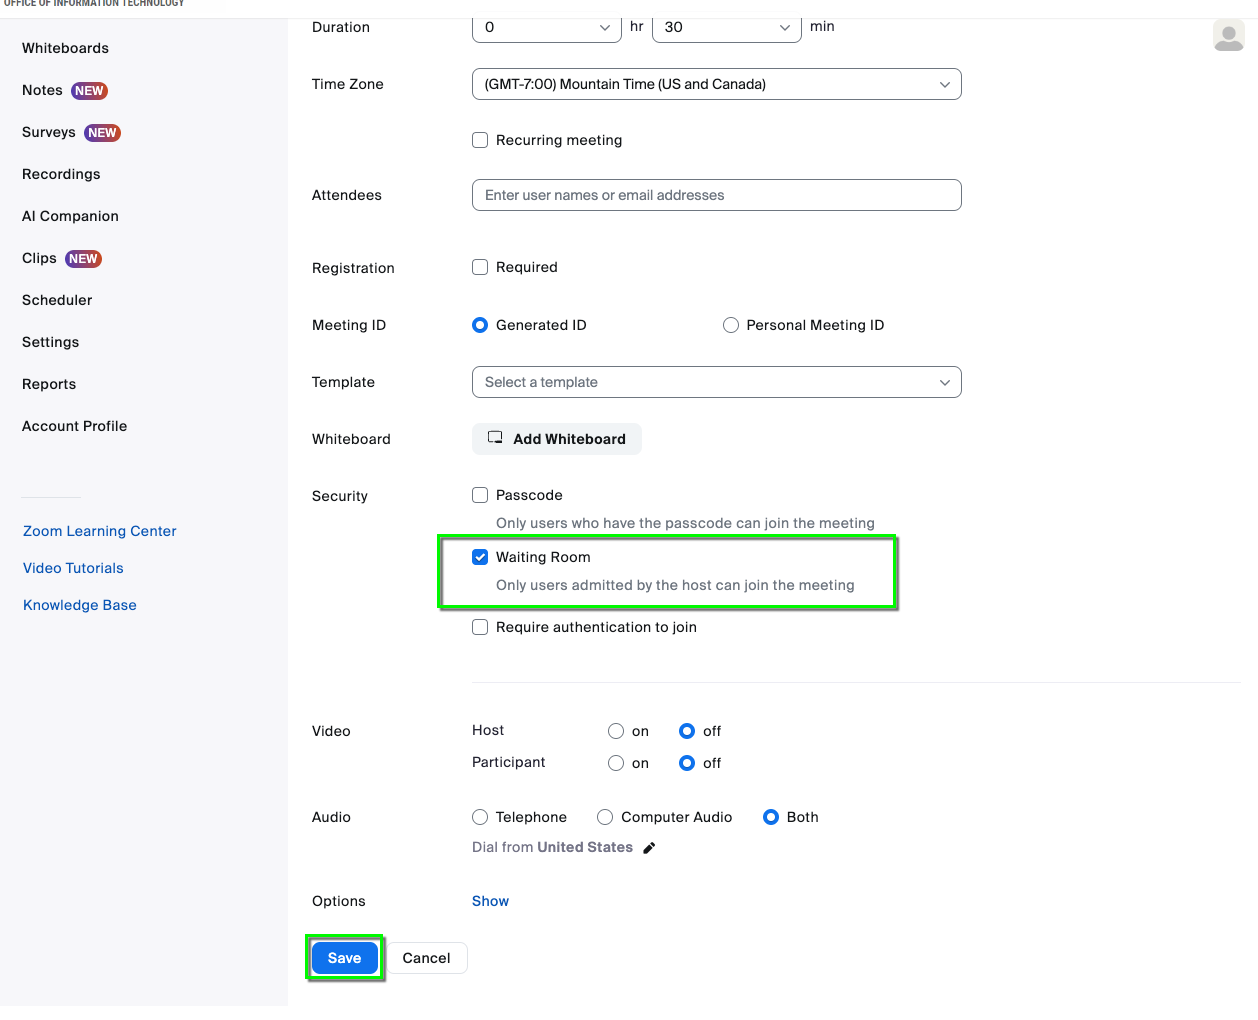
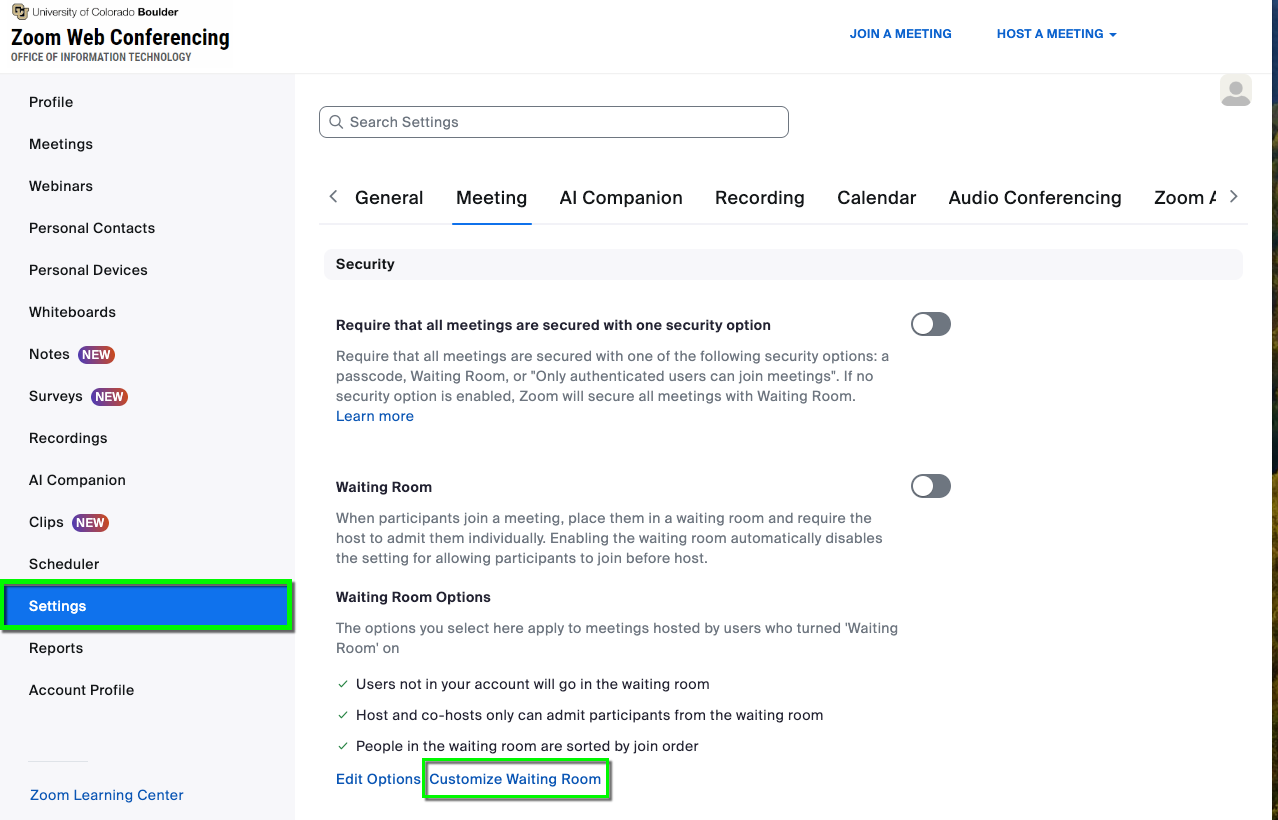
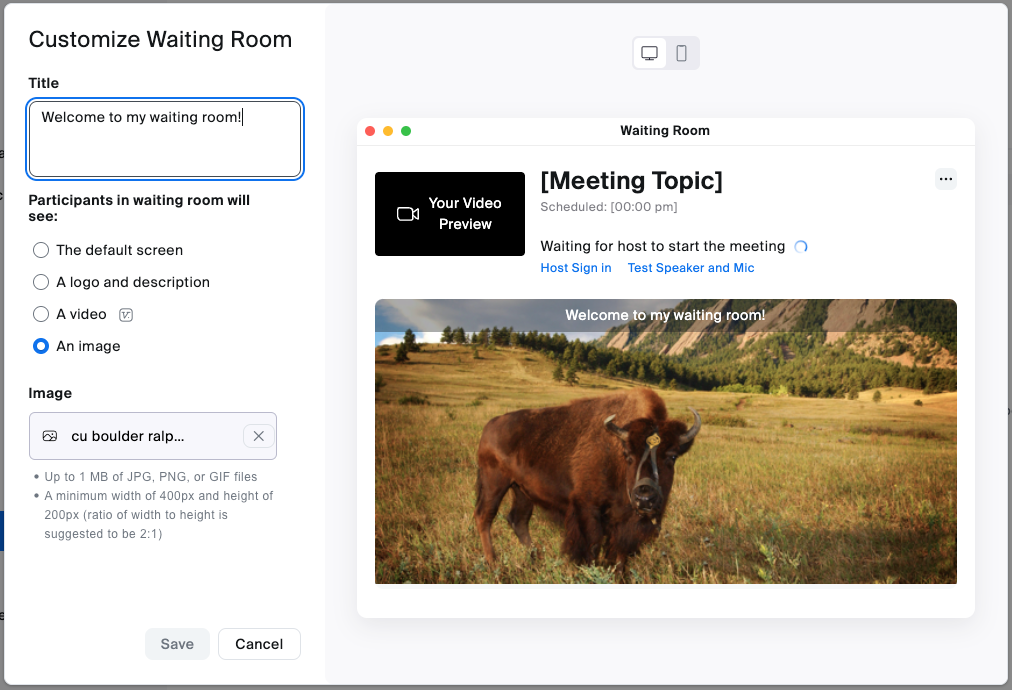
Step

On the Federated Identity Service page, enter your IdentiKey username and password then click Continue.

Step

Select the Meetings tab on the left side bar menu (this should be the default when you login to the Zoom web portal). Click on Schedule a Meeting or hover over an existing meeting and select Edit.

Step

On the meeting details page, scroll down and enable the Waiting room checkbox. Edit any other meeting details needed, and click Save.

Step

Customize Waiting Room

Click Settings on the left hand side menu bar, then Customize Waiting Room

Step

Set up your waiting room by using a customized title, CU Boulder logo, a photo of your choice, or even a video. Zoom shows a preview of what participants will see when they enter your waiting room. 

After making your changes, click Save.