Features
The Cisco Unity Connection Web Inbox lets you manage voice messages and any voice message receipts you receive. You can compose new voice messages, as well as play, reply to, forward, or delete the voice messages you have received.
Log in
- Access the Cisco Unity Connection Web Inbox at https://ciscopca.colorado.edu/inbox/ (you may need to enter the url into a new browser tab/window). OIT recommends using Firefox to access your Web Inbox. Functions such as computer audio will only work with Firefox.
- Log in using your IdentiKey username and password, then click Sign in.
Basic Controls
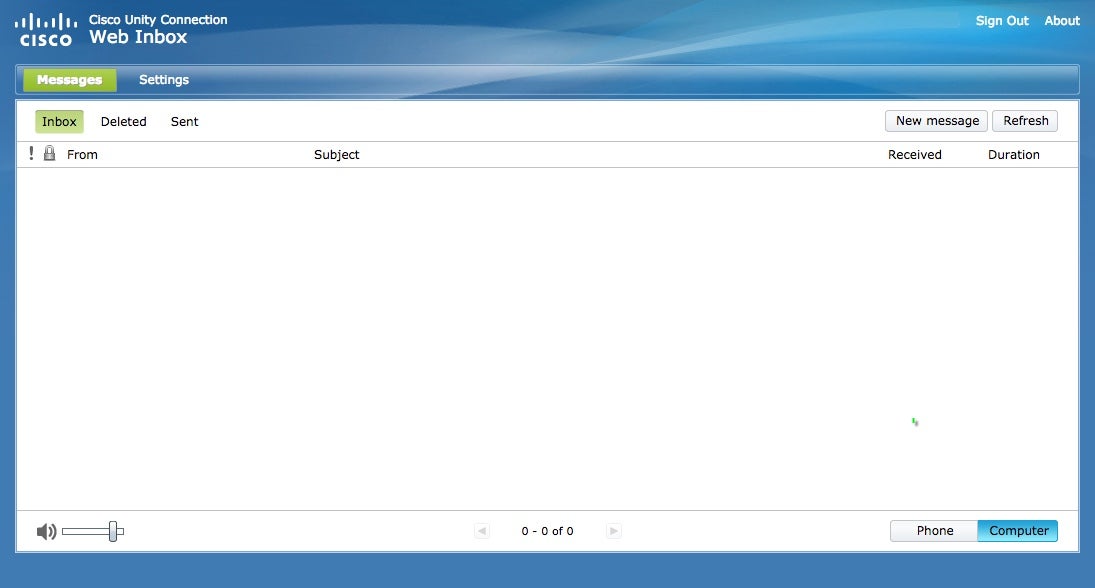
- Click Settings to open the Messaging Assistant in a new browser window or tab to adjust settings and preferences
- Click New Message to compose a new voice message
- Click Inbox, Deleted or Sent to view or manage messages in each folder.
- Change the audio playback volume in the bottom left corner using the slider. (Available only when Computer is selected as the playback and recording device.)
- Selecting Phone connection calls you at the extension you enter in the text box to make a recording or to play audio. You speak and listen through the handset or speakerphone.
- Selecting Computer connection uses the computer microphone and speakers to make a recording or to play audio.
Note: Using computer audio only functions using Firefox.
Inbox Folder
- Cisco Unity Connection Web Inbox has columns for both urgent and secure messages so you can quickly assses the types of messages in your inbox.
- When you select a message in the message list, the message becomes highlighted, and additional controls appear for downloading the message audio, replying, forwarding, deleting, etc.
- When you select a forwarded message, the introduction plays. The original message appears as a separate, indented entry below the introduction.
- Right-click a message to download and save the file on your computer.
- Clicking Reply sends a reply only to the sender; Reply All goes to the sender and all recipients of the message.
- Select Delete to remove the message.
Note: If your administrator has configured your mailbox to save deleted messages temporarily, this action moves the message to the Deleted folder.
Create and Send a New Message
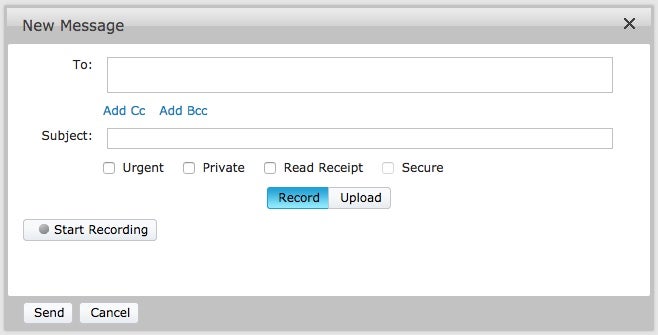
- Click New Message, and a message dialog box will open.
- Enter the first one or more letters of a user's name (first, last, or username) in the To: field. Cisco Unity Connection automatically suggests users whose names match your entry.
- If necessary, open the Add cc or Add Bcc recipeints field to enter additional recipients who will receive a copy or blind copy of the message.
- Select any/all appropriate message qualities using the check boxes.
- Select Record then Start Recording to capture your message.
- Alternatively, click Upload then Browse to send a recording you already have on your computer.
- When ready, click Send to finish the process. Clicking Cancel will end the request and delete any recordings you have made.
Save Voicemail Messages
- Right-click a message to download and save the file on your computer.
- Note: messages in your folder that are older than 30 days will automatically be moved to Deleted Folder.
Deleted Folder
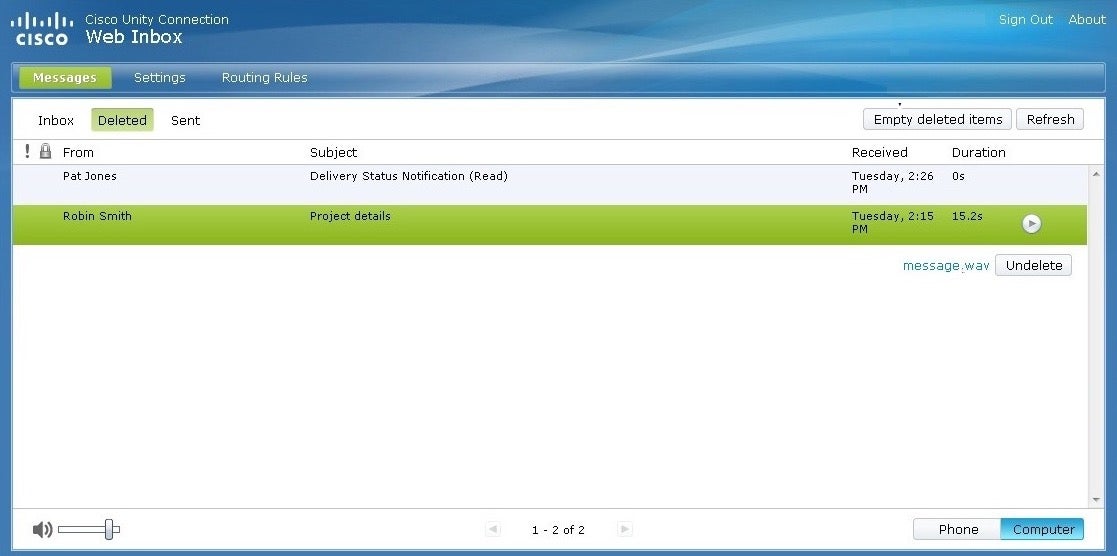
- Click Empty Deleted Items to permanently delete all messages in this folder.
- Select the Undelete button to move the selected message back to the Inbox folder.
- Right-click a message to download the audio and save the file on your computer.
Note: This option is not available for secure messages. - Messages in the Deleted folder are removed permanently after 14 days.