Step
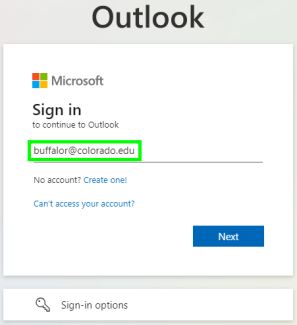
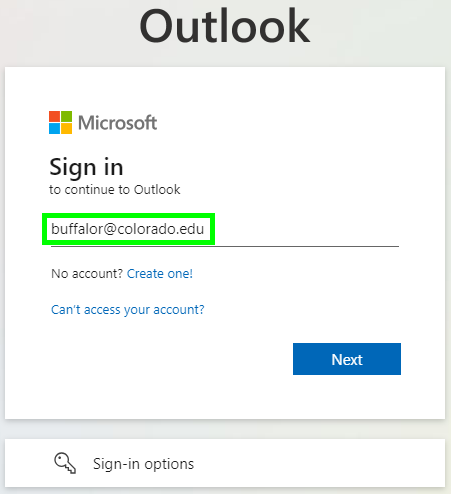
Log into Outlook on the web with your IdentiKeyUsername@colorado.edu and IdentiKey password.
Step
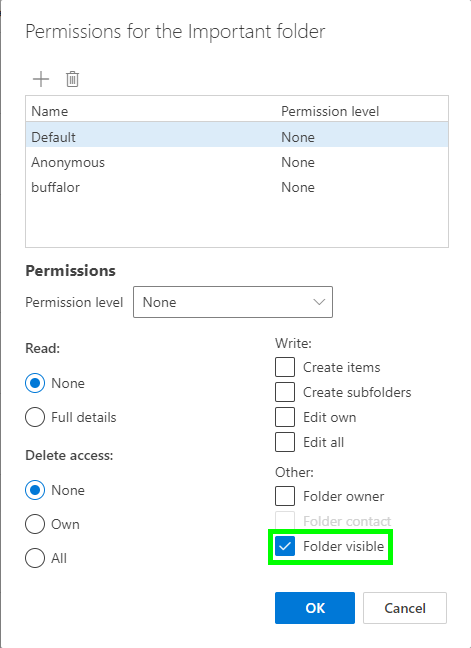
Before email folders/mailboxes can be shared with other users on Microsoft 365, you must set up the account's default folder permissions. If this step is not performed before sharing, the folders will remain inaccessible to those users.
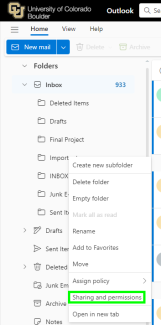
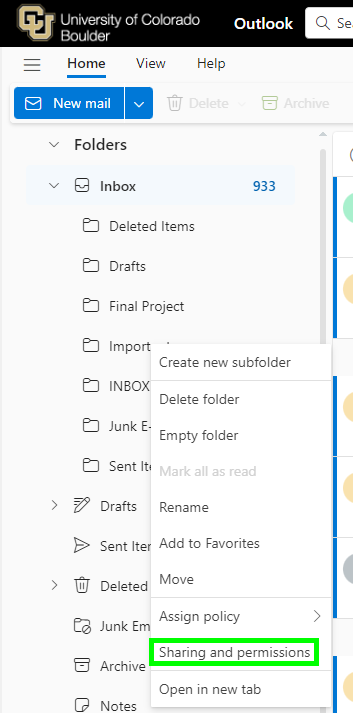
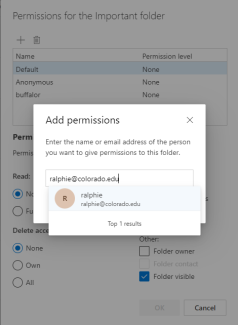
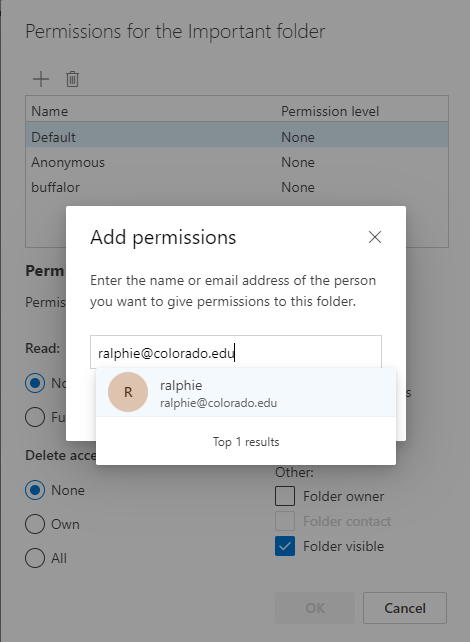
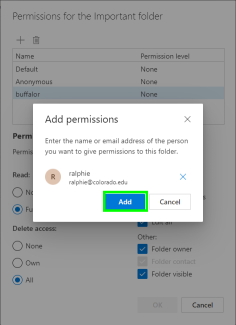
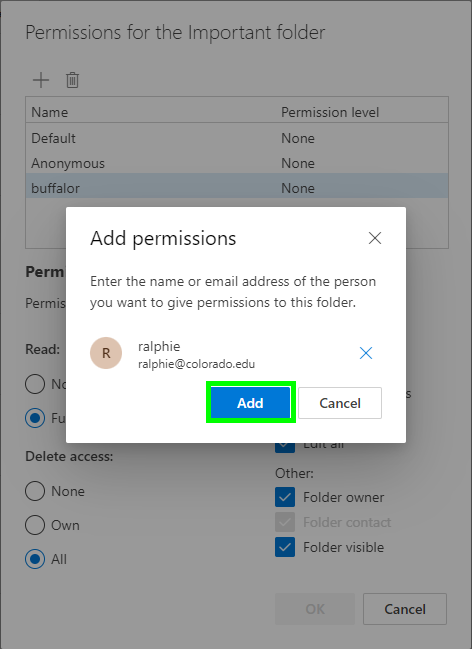
Right click the folder or mailbox you wish to share and select Sharing and permissions
Step
Step
Step
Step
It is good practice to send an email message to the account you just shared the folder with to inform that they now have access.
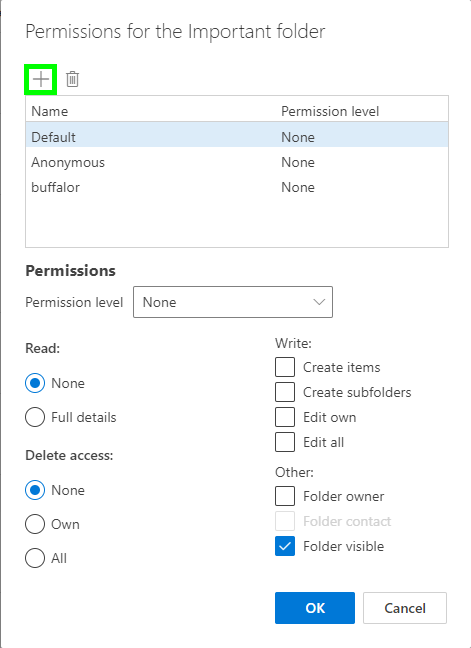
- If you need to edit someone's permissions, select their name from the list, change their permissions accordingly and click OK.
- If you need to unshare a folder with someone, select their name from the list of permissions, click the trash can and click OK.
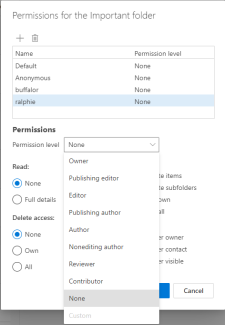
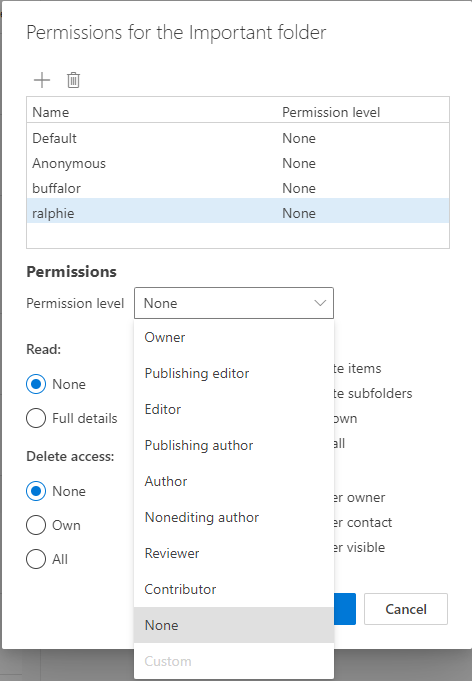
| Permission Level | Description |
| Owner | Full rights to the folder, including assigning permissions to others |
| Publishing Editor | Create, read, edit, and delete all items, and create subfolders |
| Editor | Create, read, edit, and delete all items, and create subfolders |
| Publishing Author | Create and read items and subfolders, and edit and delete created items |
| Author | Create and read items, and edit and delete items you create |
| Non-editing Author | Create and read items, and delete items you create |
| Reviewer | Read items only |
| Contributor | Create items only (folder contents are not visible) |
| None | No permissions (you cannot open the folder) |
Step
Shared folders must be manually added to your list of folders. There are no automatic notifications when a folder is shared, so it is important that the folder sharer let the recipient know about it.
To learn about adding a shared folder to your account, visit the Add a Shared Email Folder or Mailbox tutorial.

