Technology Equipped Classrooms - Large Lecture Hall Quick Start Guide

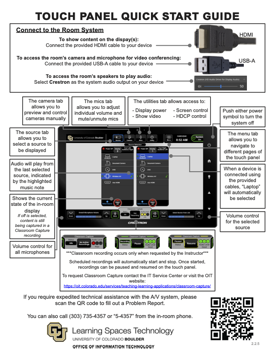
Use this tutorial for assistance with technology in Large Lecture Halls. For a one page physical copy of this guide, download the quick start guides:

Fill out the Report a Classroom Technology problem form to report a problem or request assistance with classroom technology.

Layout:
one column
two columns

Step

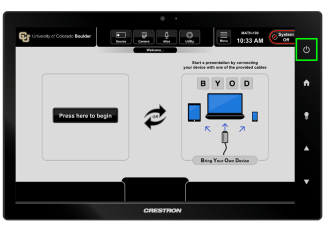
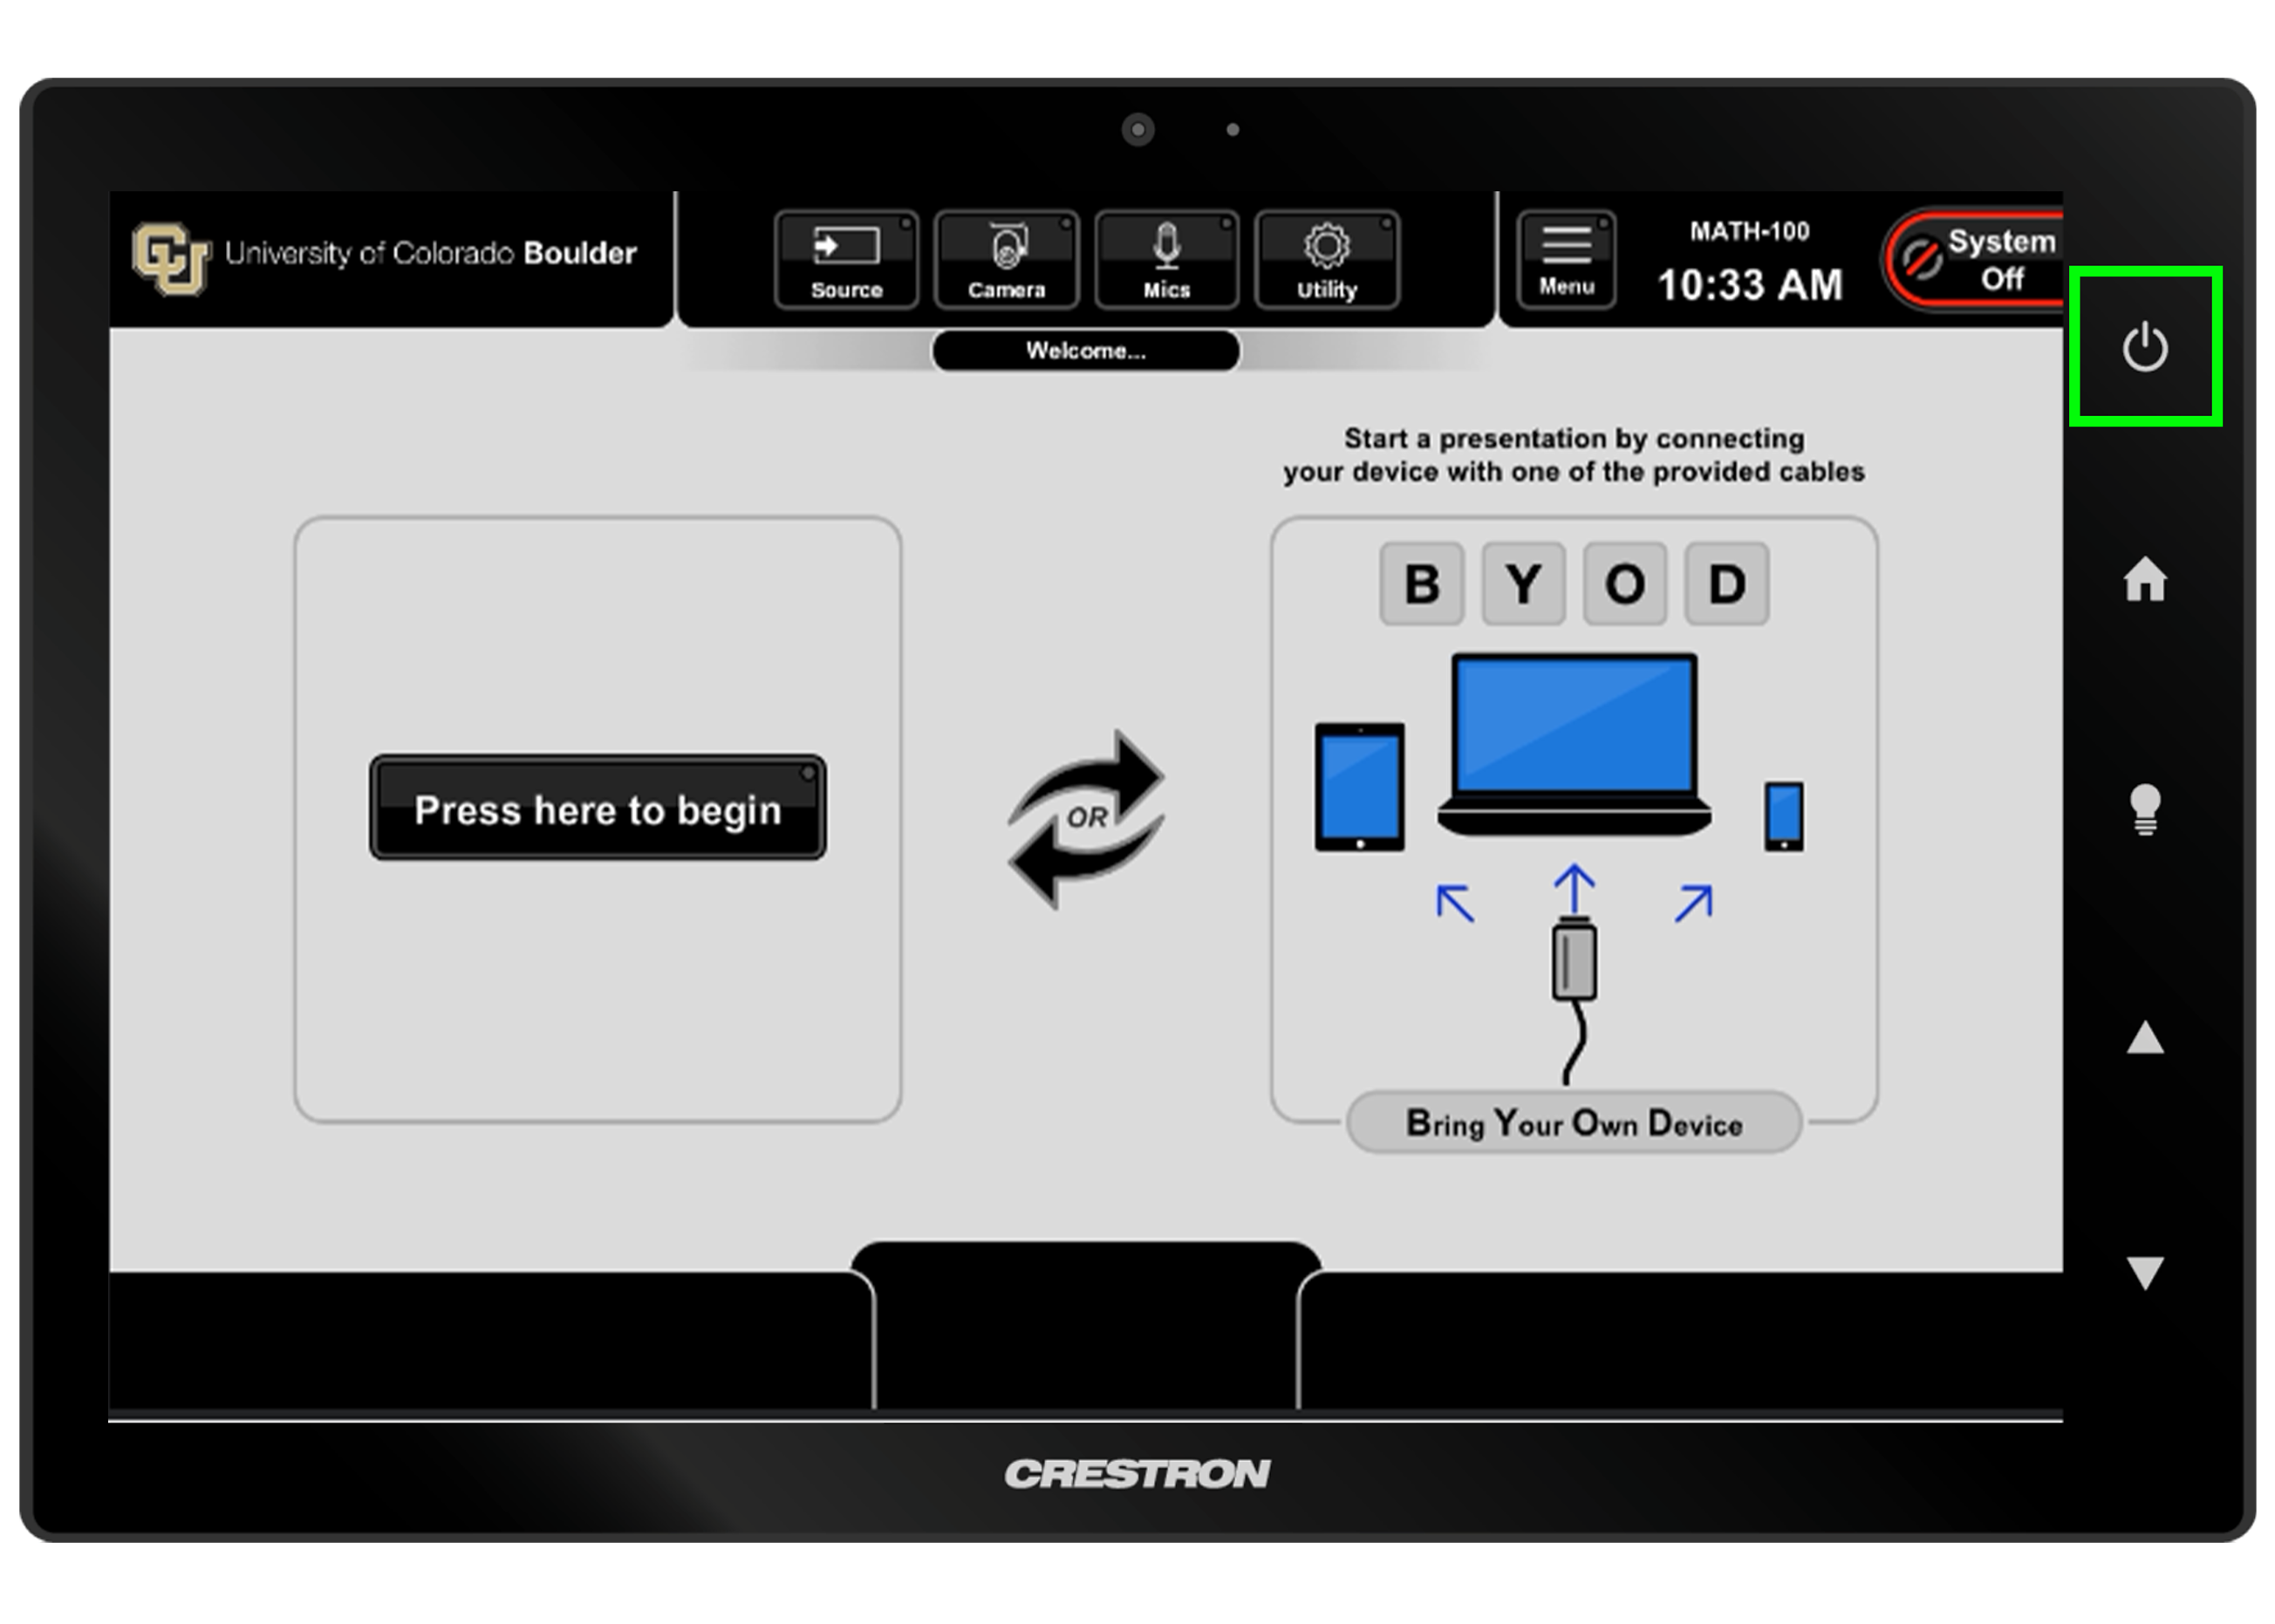
Tap the screen to wake the panel. Connect your device or tap Press here to begin

The power symbol or the system off button can be used to turn the system off after use. 

Step

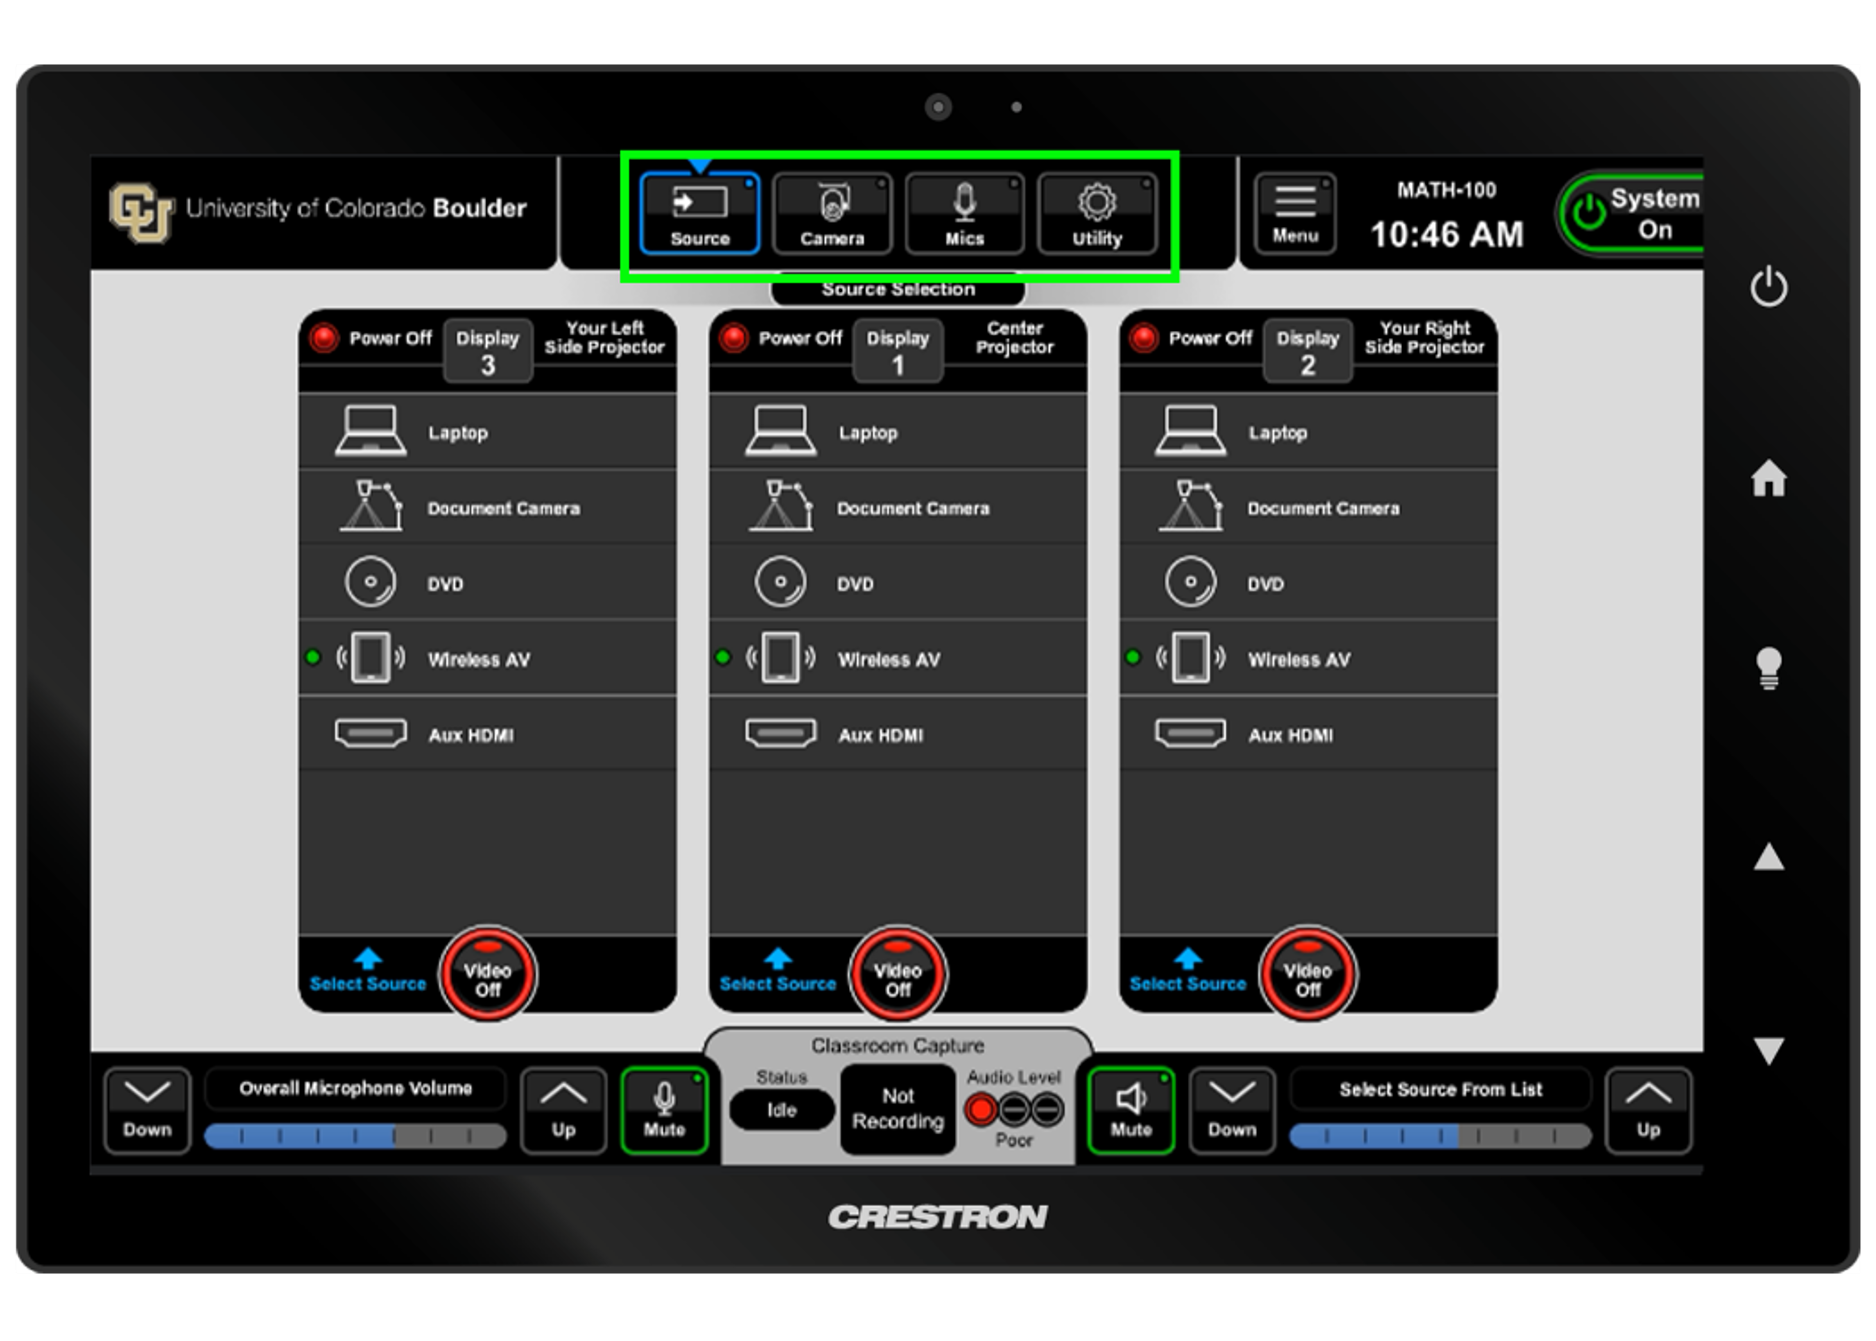
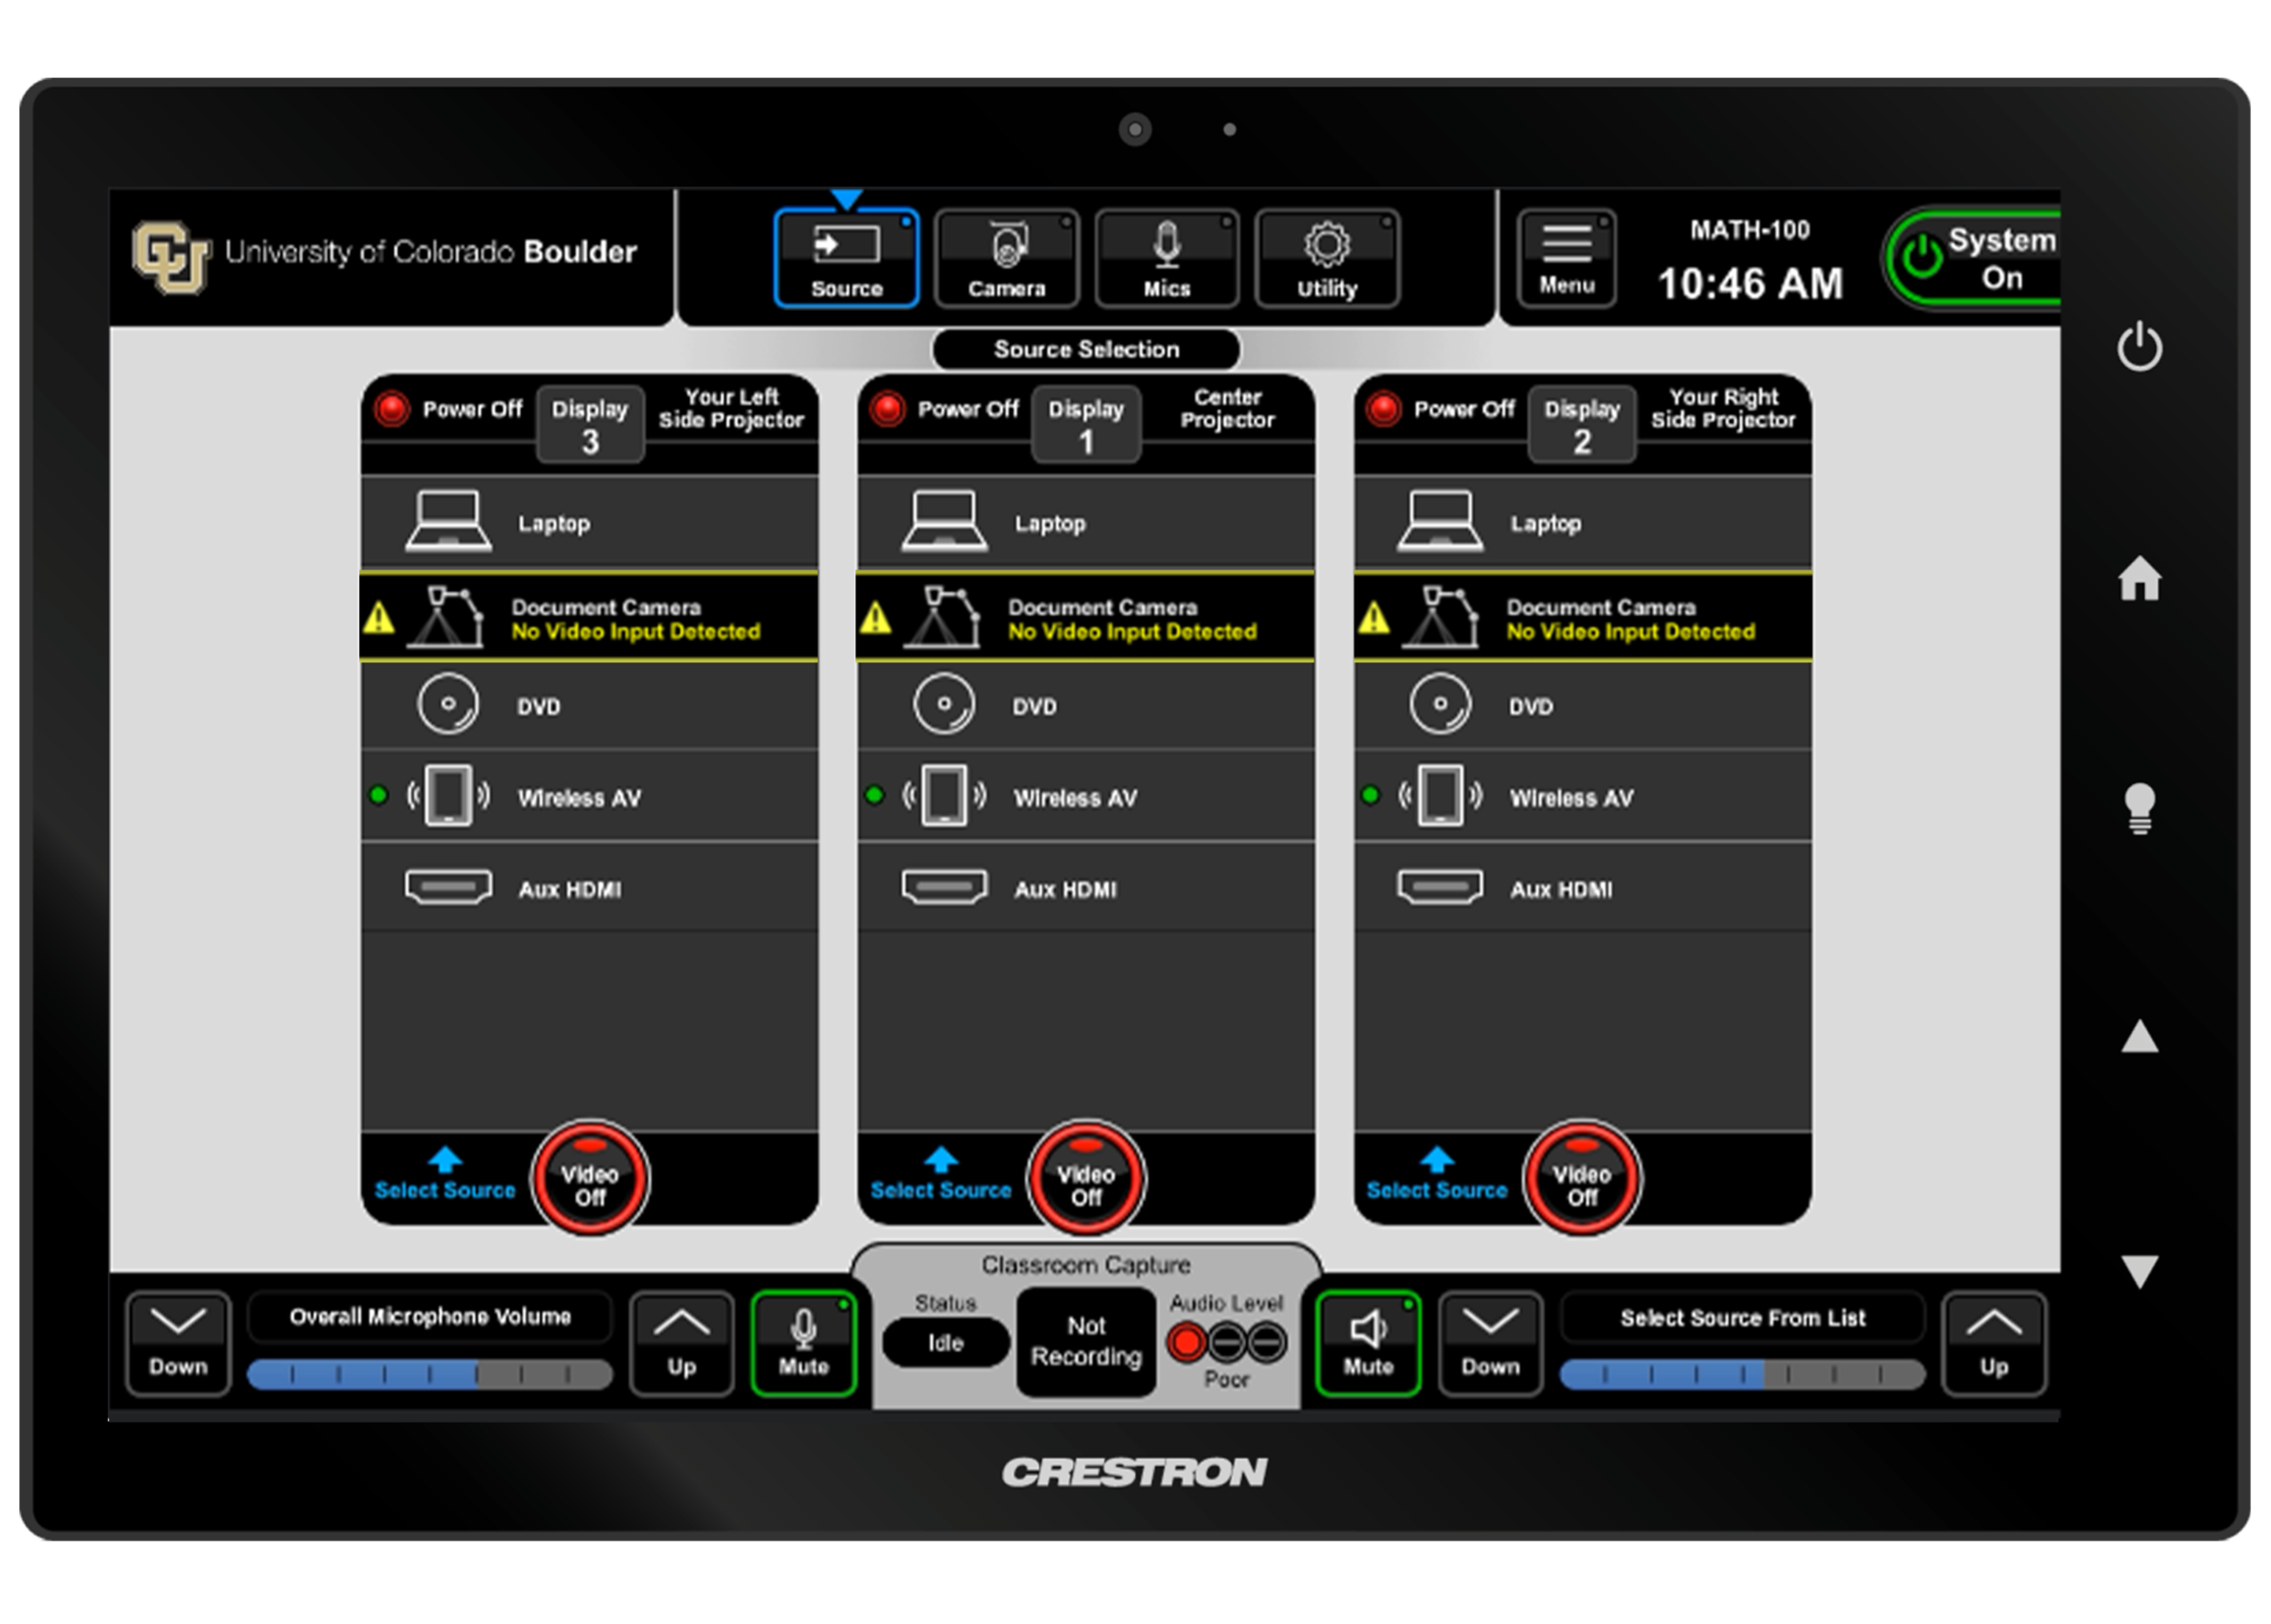
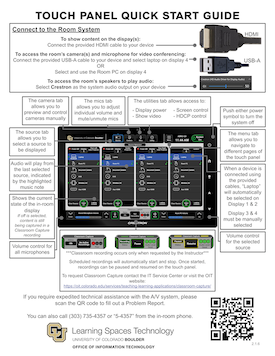
Use the selections on the top of the touch panel to navigate to different pages. 

  • Source: Select what to display in the classroom (Laptop, Document Camera, Wireless AV, DVD)
  • Camera: Preview and control cameras manually
  • Mics: Unmute/mute or adjust microphone volume levels
  • Utility: Access to display power, screen control, show video, and HDCP control

Step

Access camera and microphone

  • Using personal device: Connect the provided USB-A cable to your device.
  • In a room with a dedicated Room PC: Select and use Room PC on Display 4 OR use your own device by connecting USB-A cable to your device then select Laptop on Display 4 to override room PC.

Step

Document Camera

To show document camera content on the display, select Document Camera from the source list and turn the document camera on. 

On the source list, the document camera will appear outlined in yellow until the physical device is powered on. 

Step

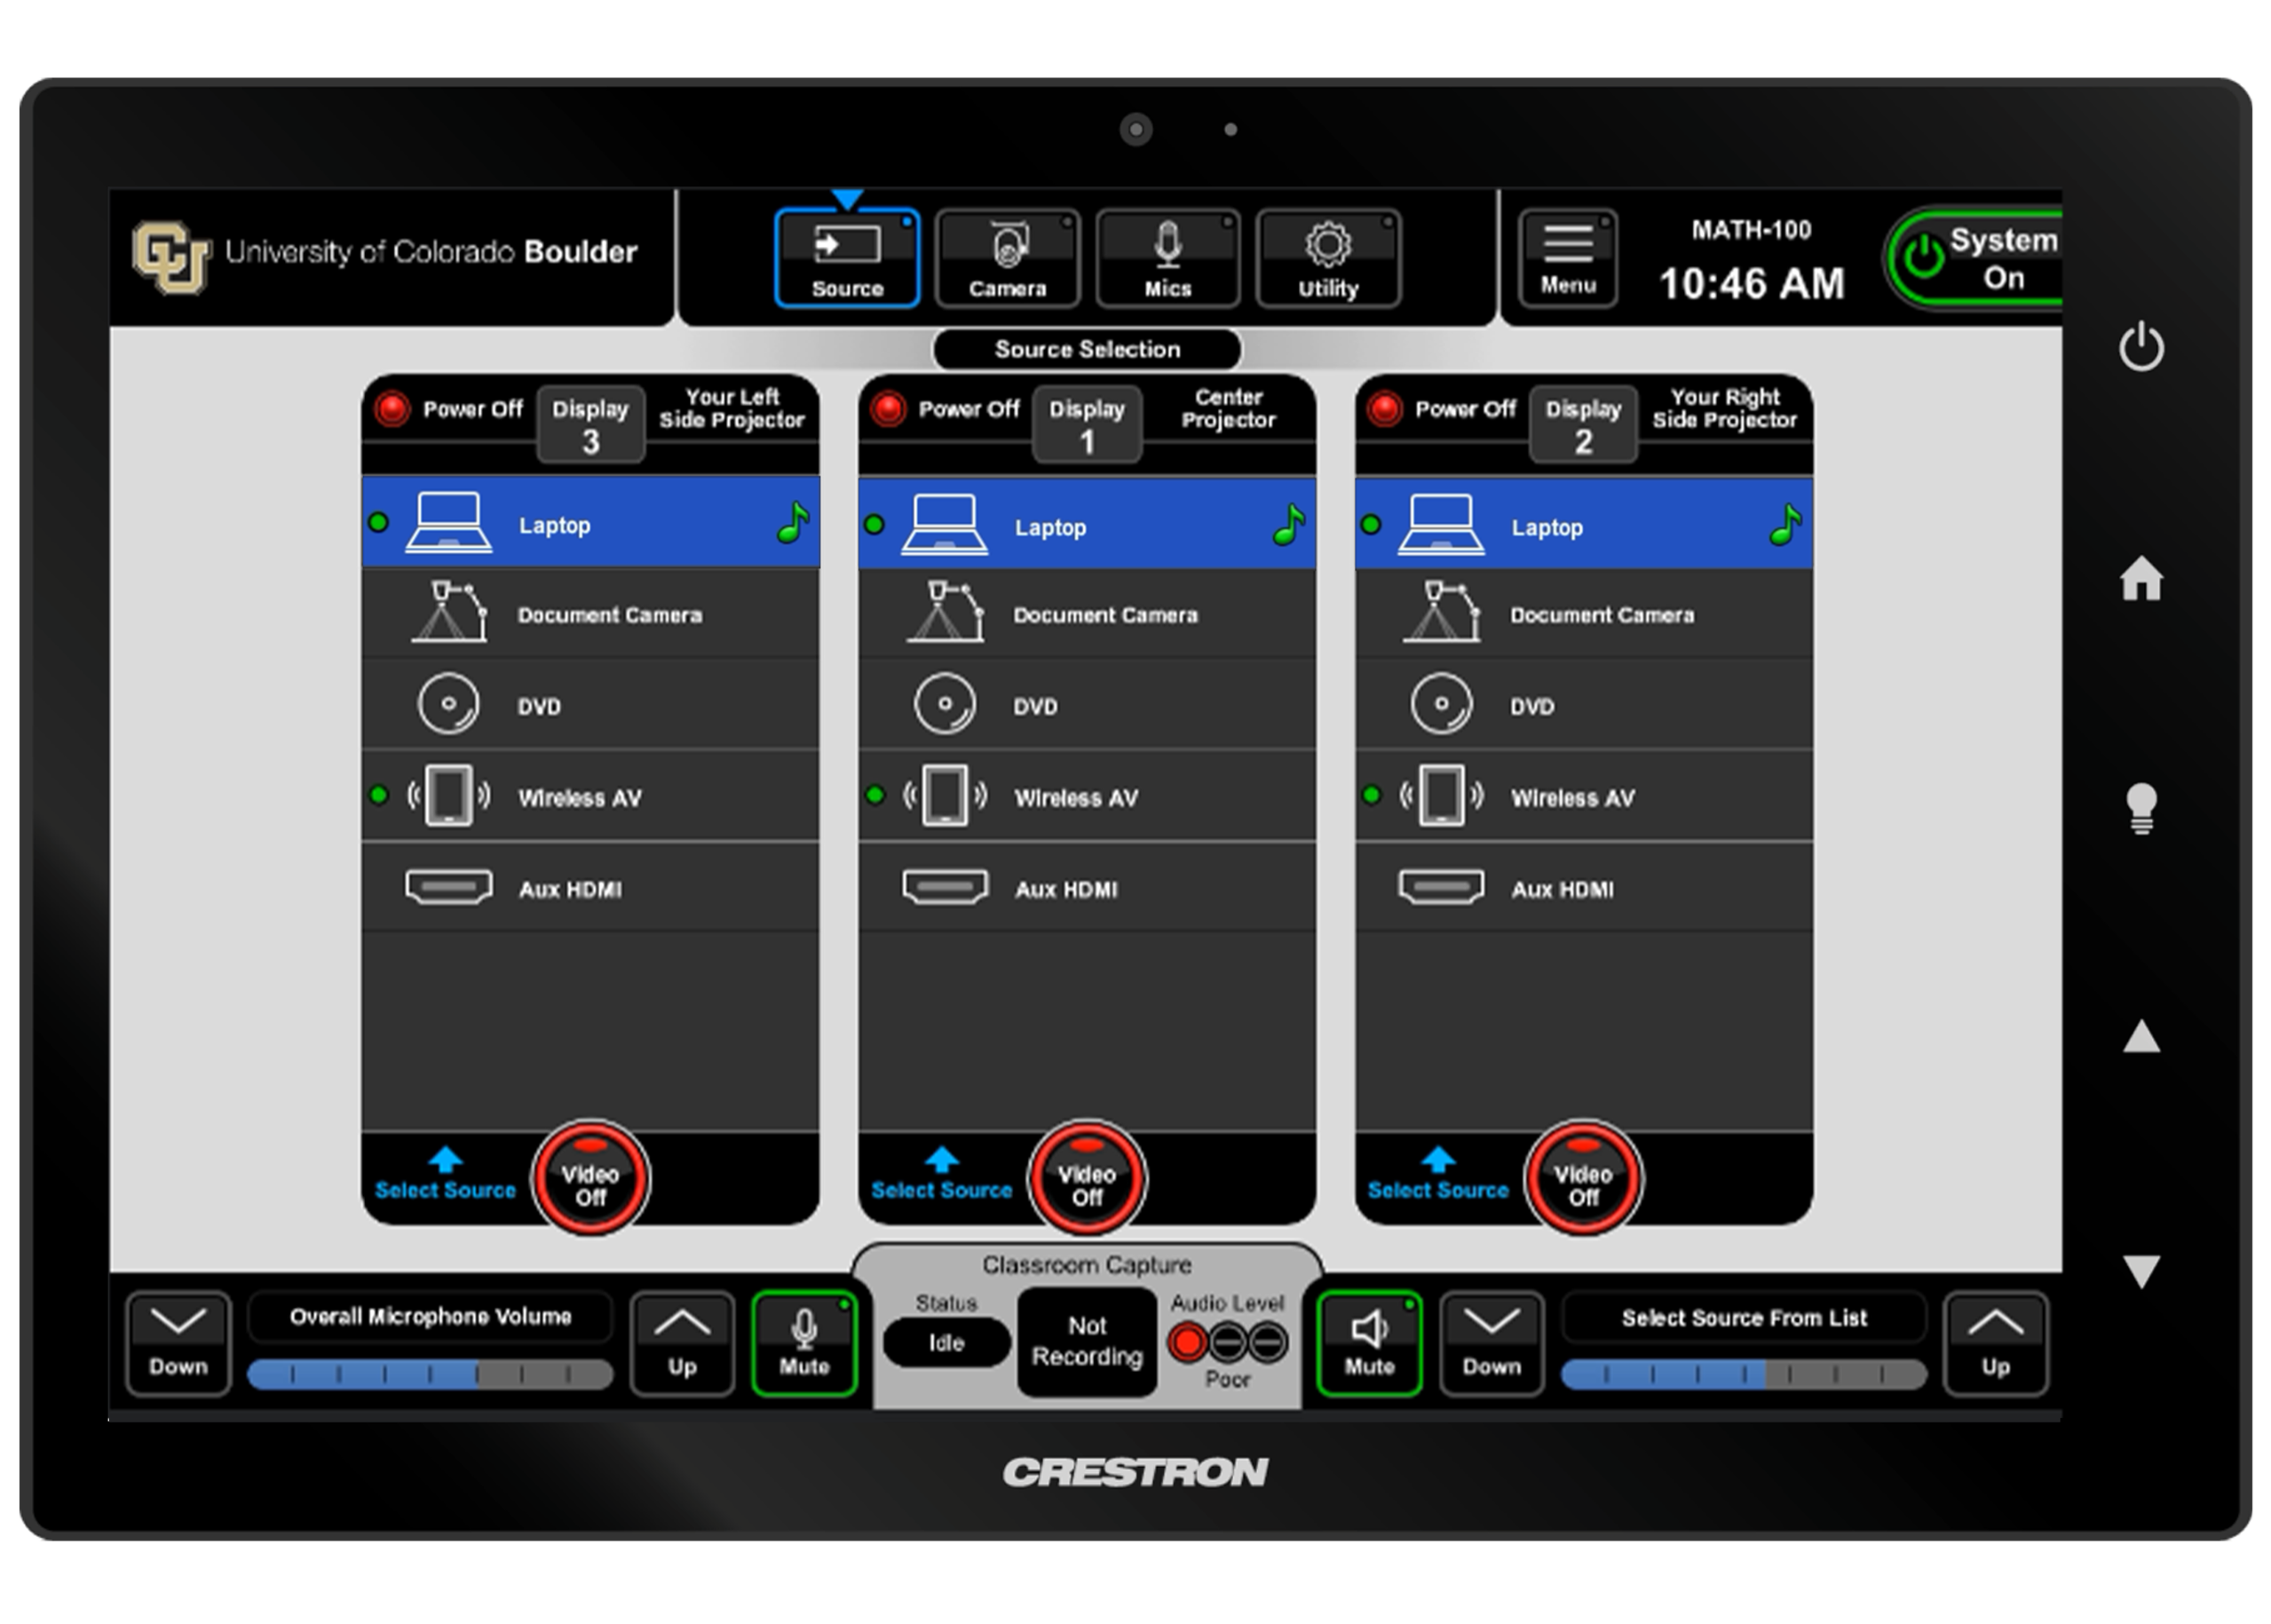
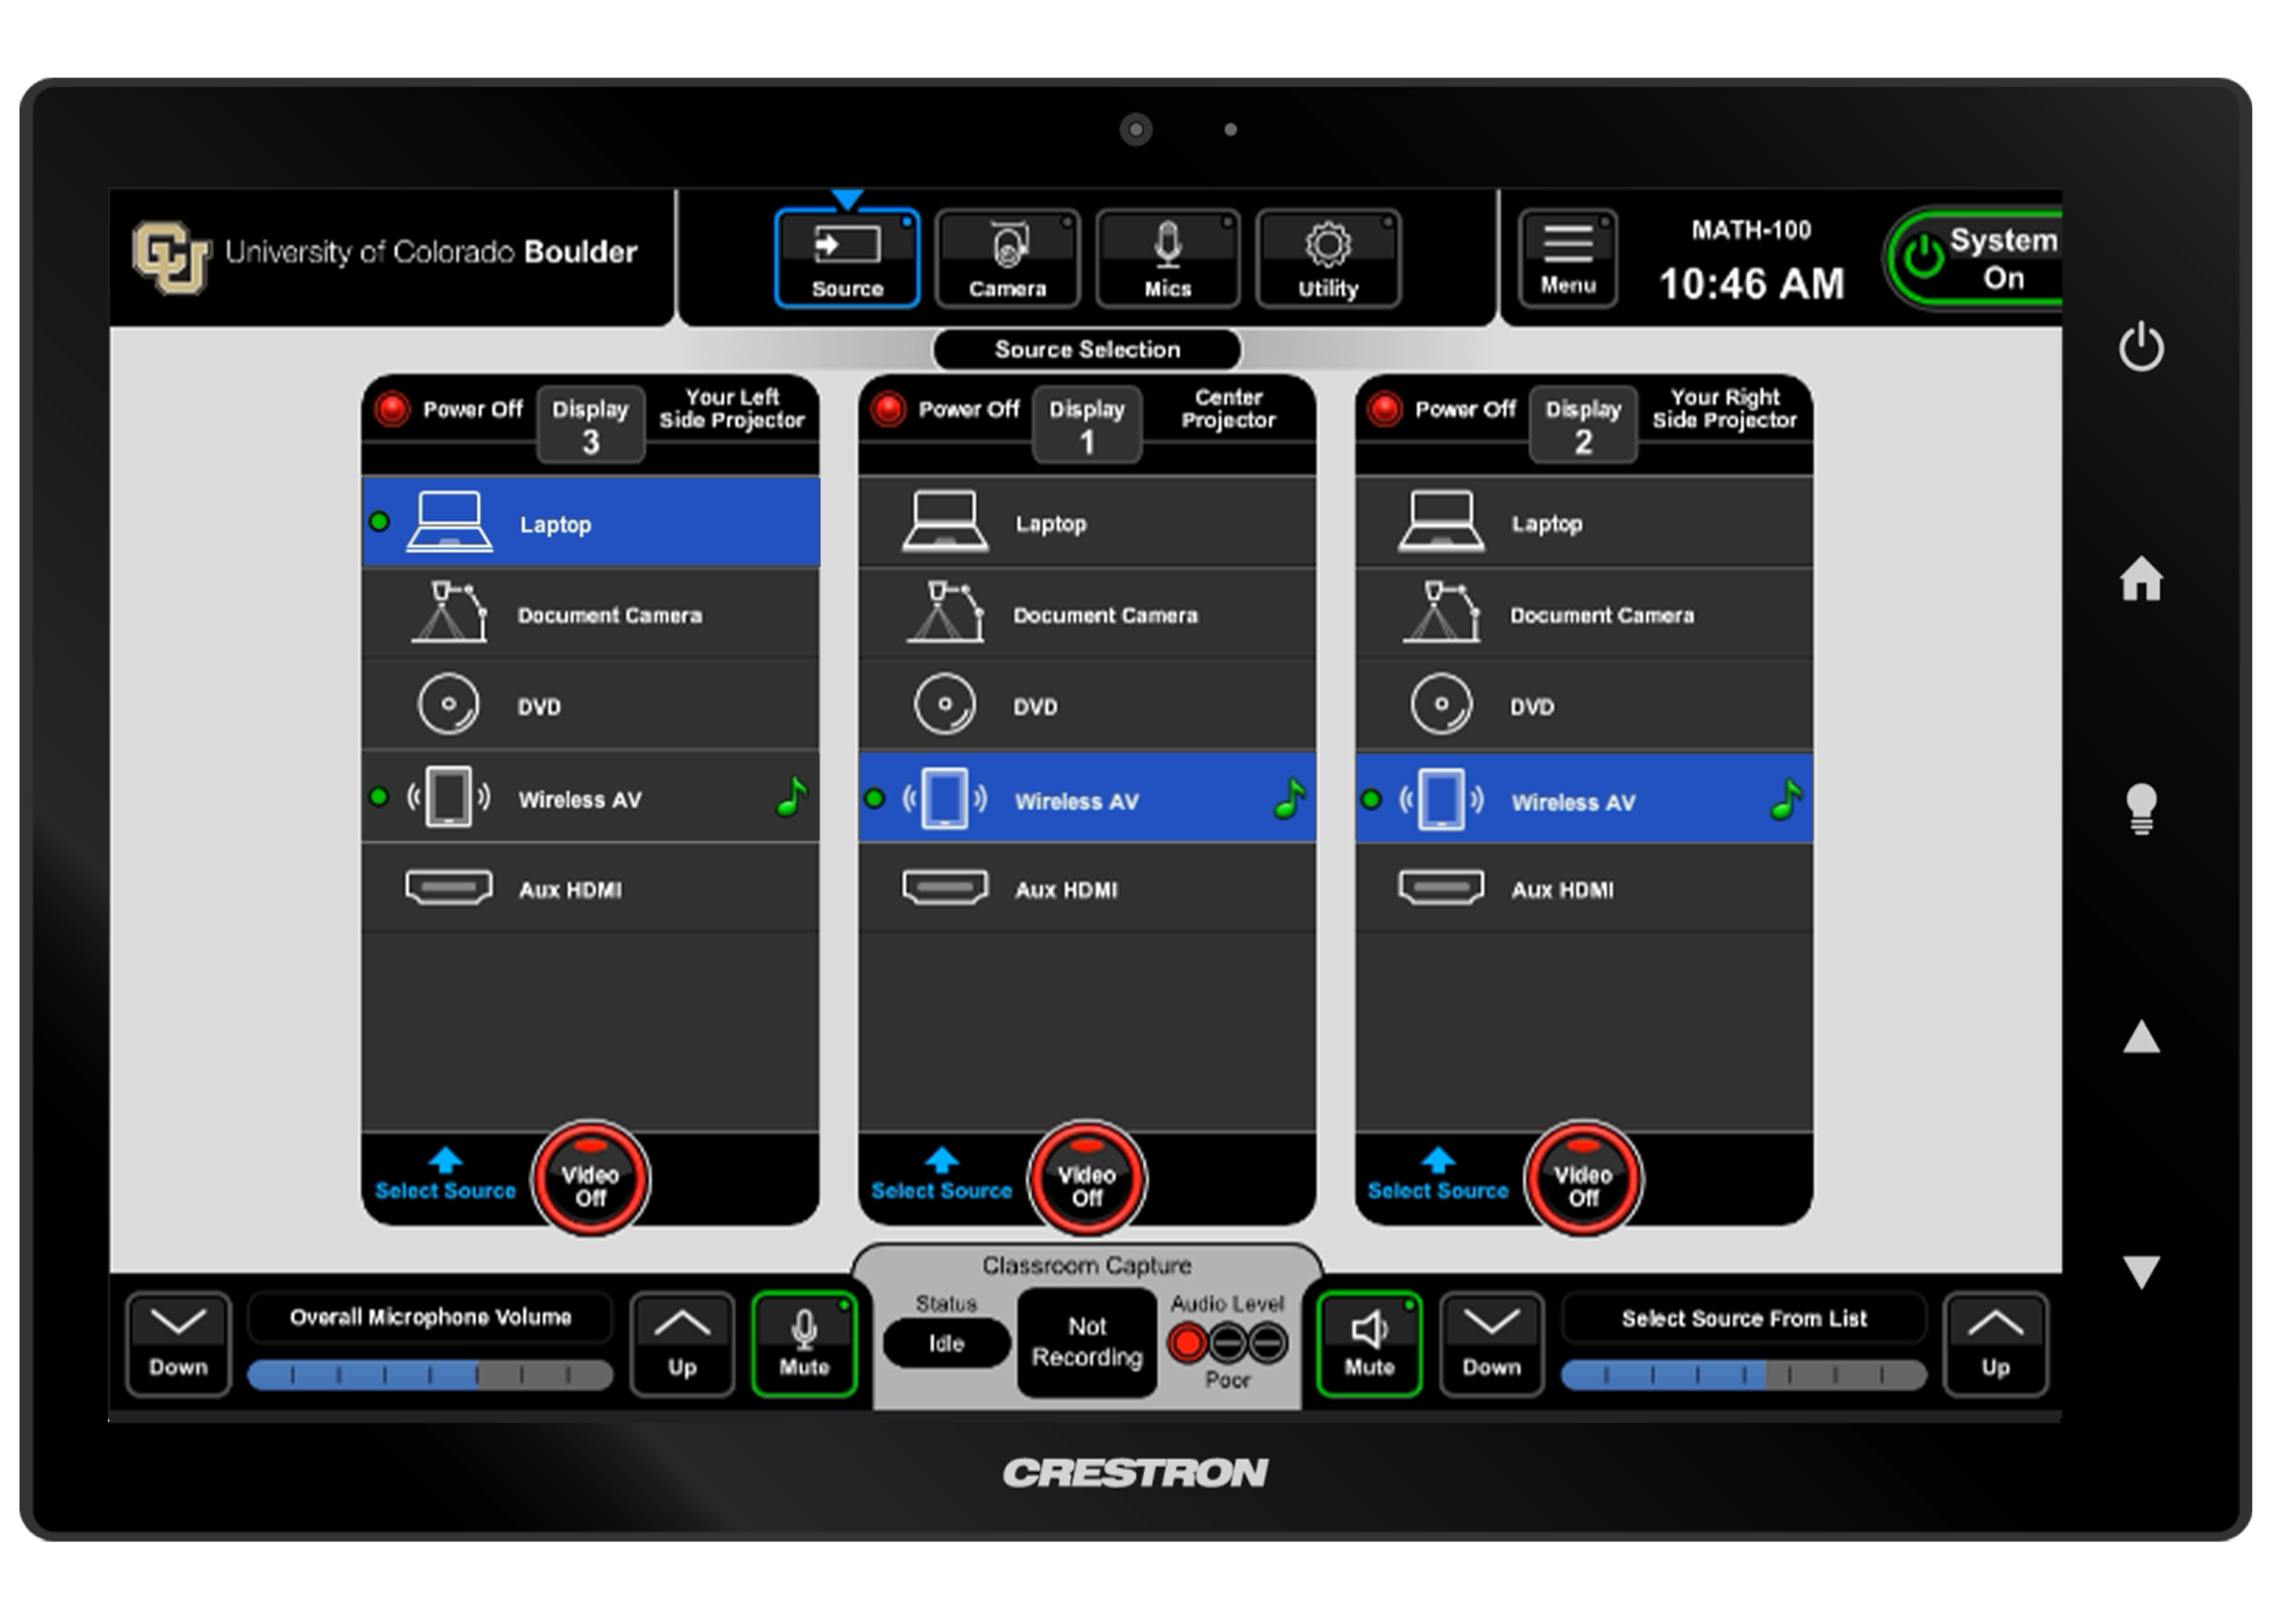
The description of where each display is located in the room can be found in the top right corner of each display selection box. (e.g. Your Left Side Projector)

Please Note: Audio will play from the last selected source, indicated by the highlighted music note (e.g. Wireless AV on Displays 1 & 2 in this example)
Step

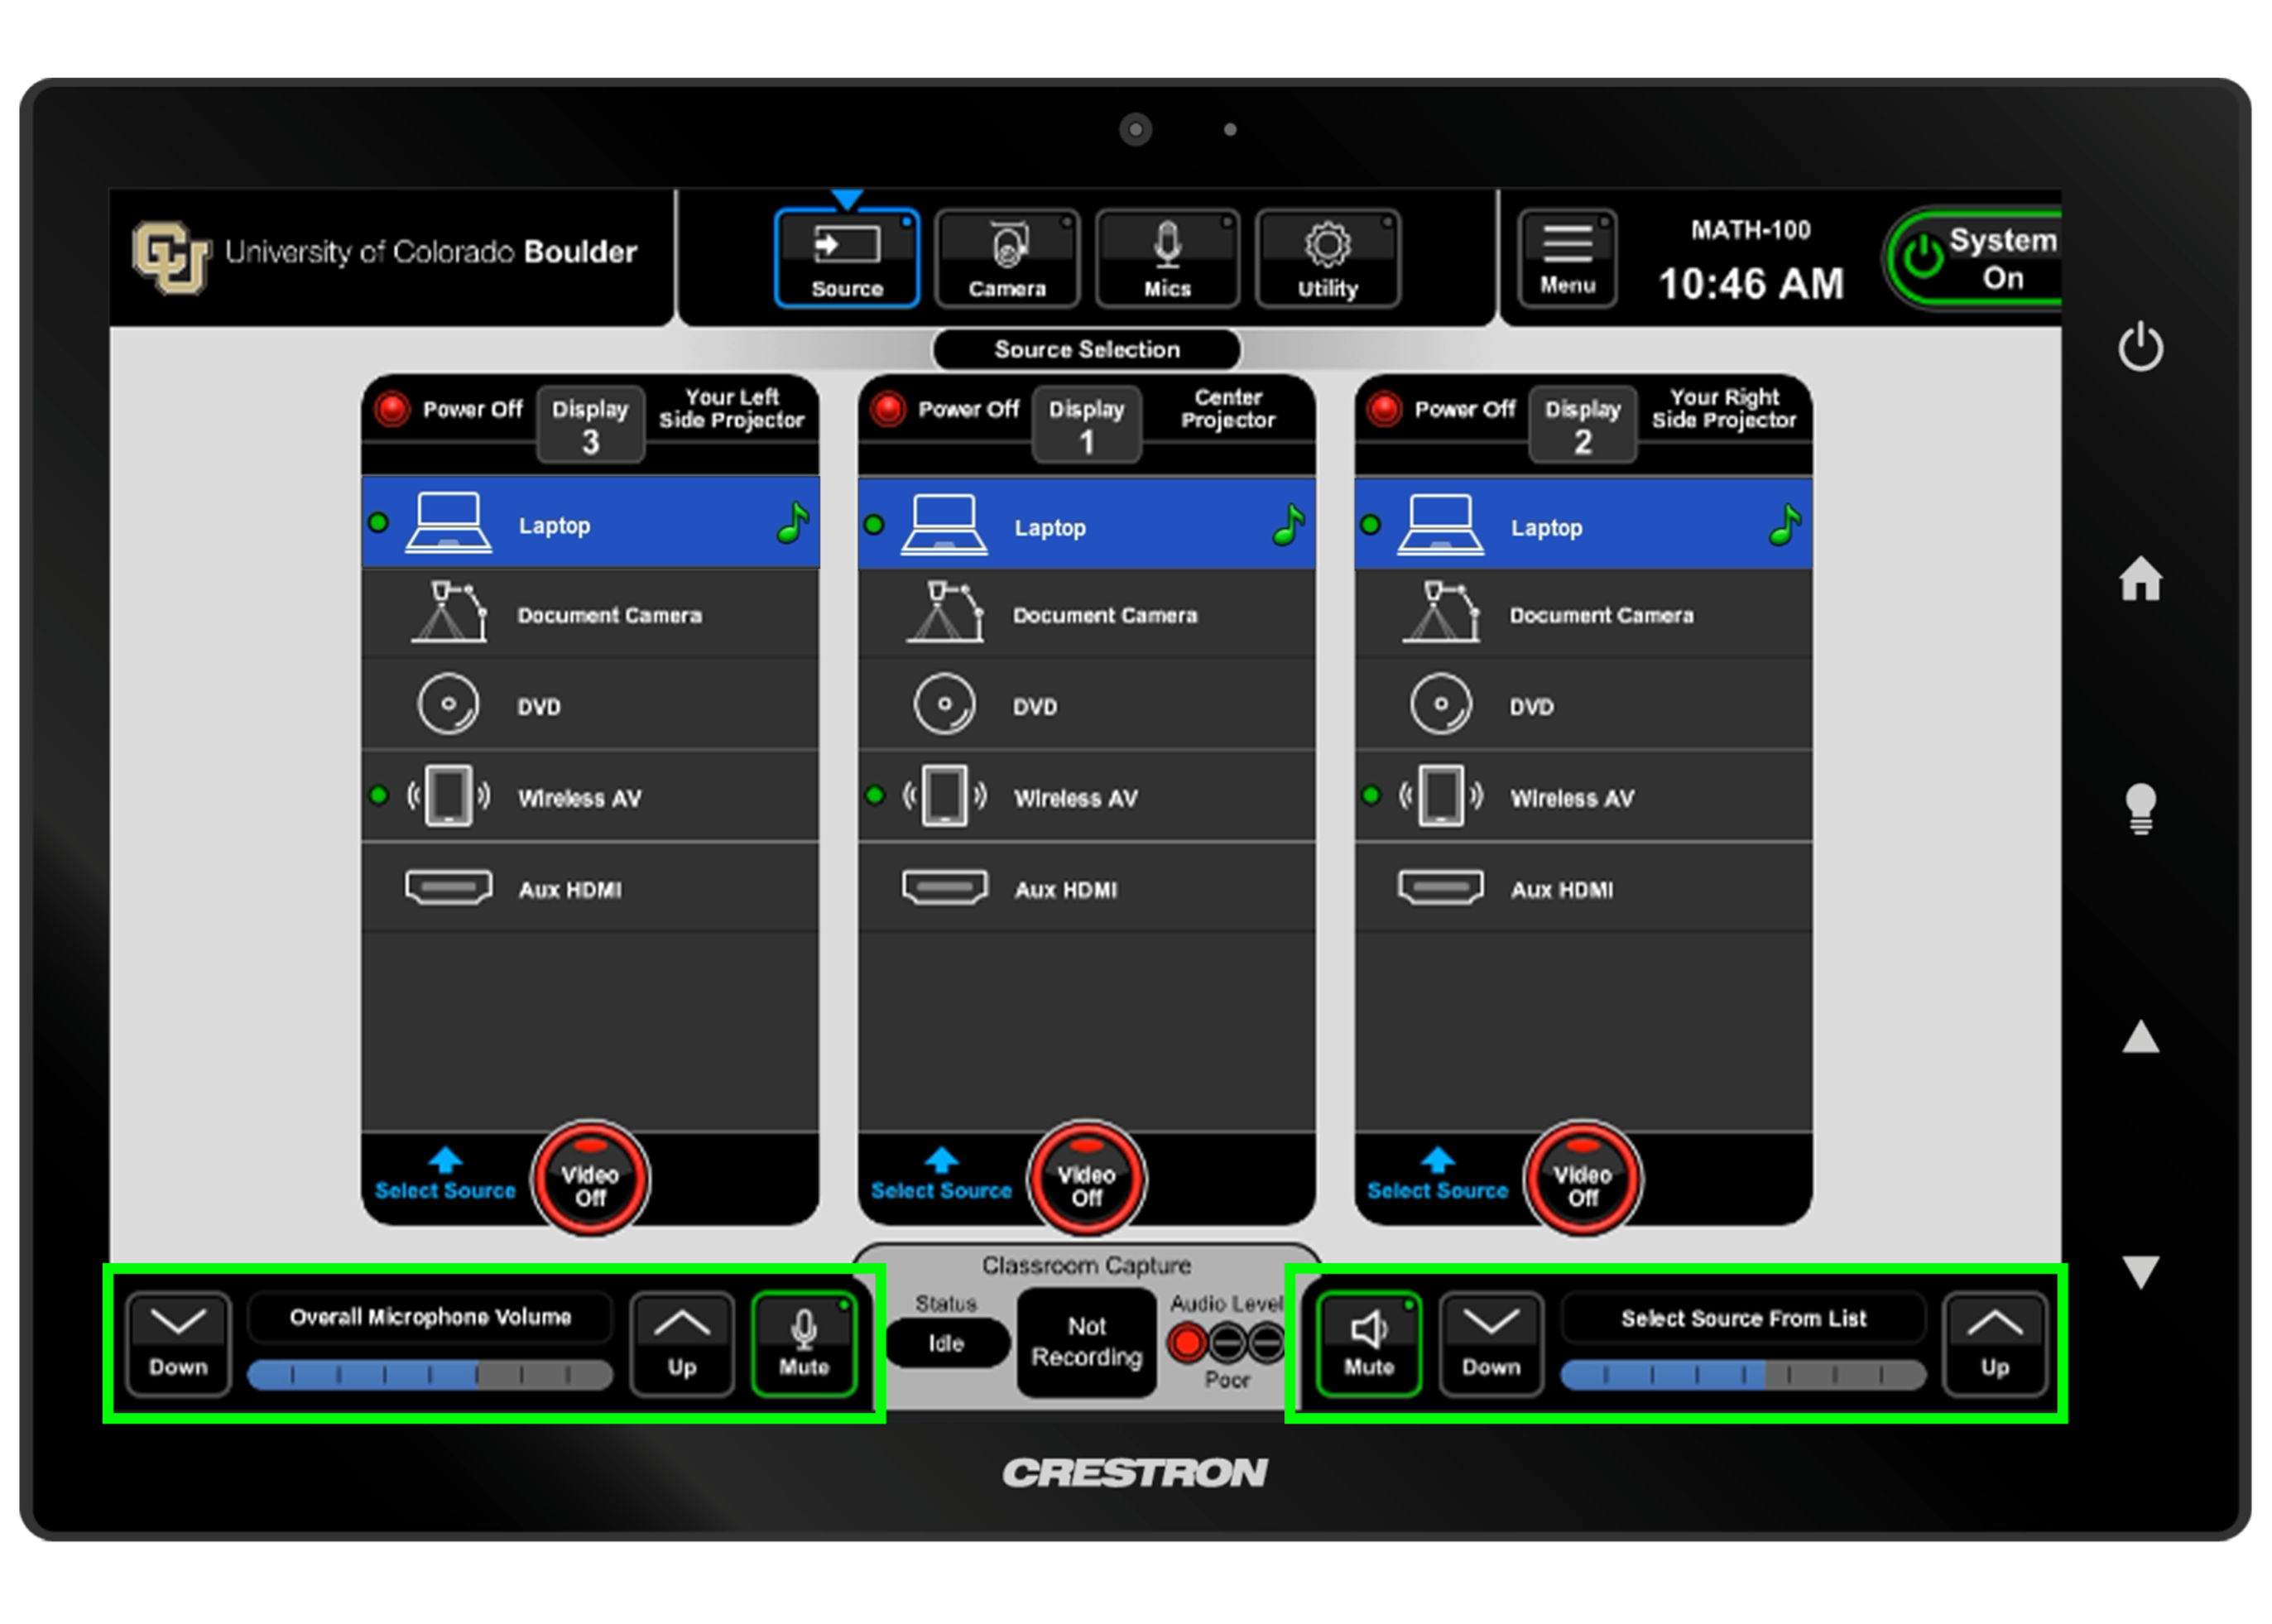
Options to adjust the volume for the microphones on the bottom left of the touch panel, and the selected source (Laptop, DVD, etc.) on the bottom right.