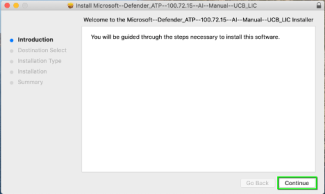
Step 1
Download the Defender for Endpoint Onboarding Package for macOS. You will be prompted to login with your IdentiKey username and password.
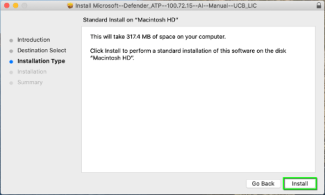
Step 2


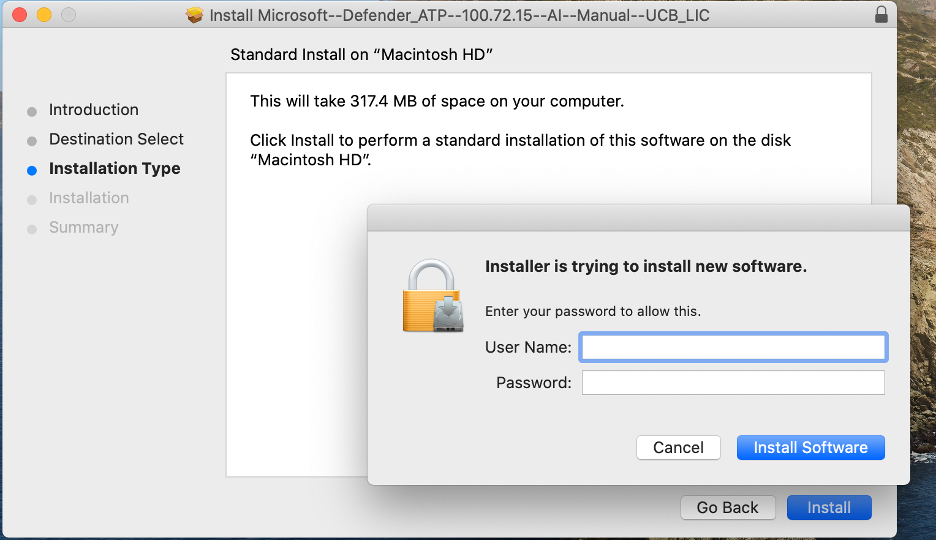
Step 5


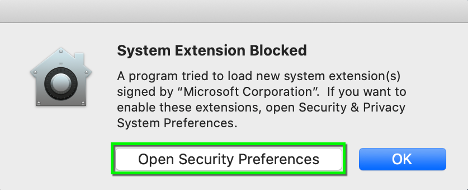
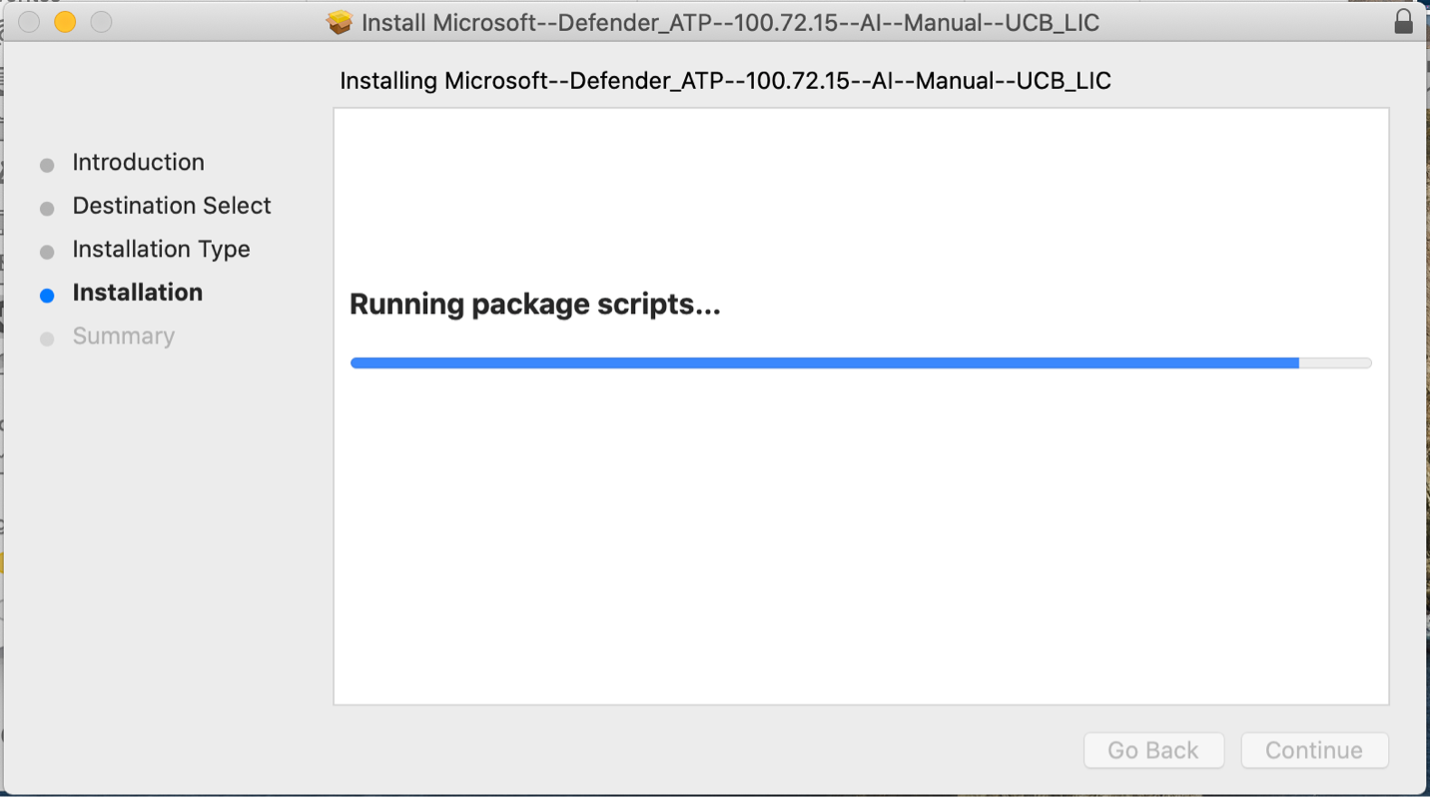
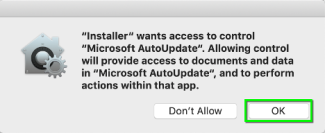
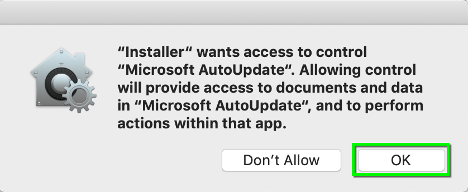
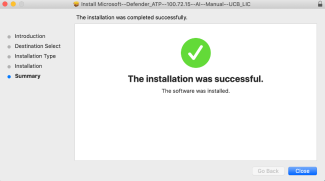
Step 7
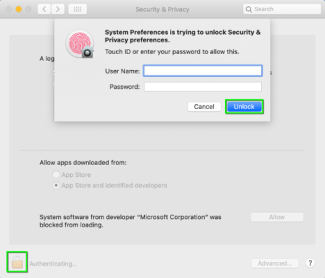
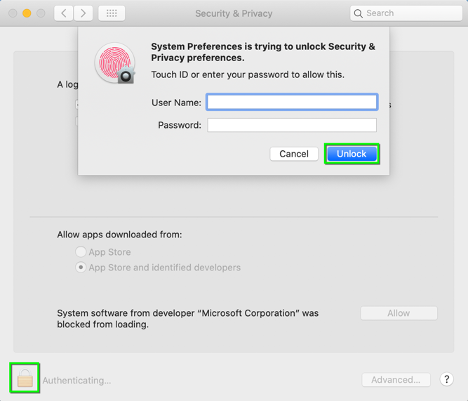
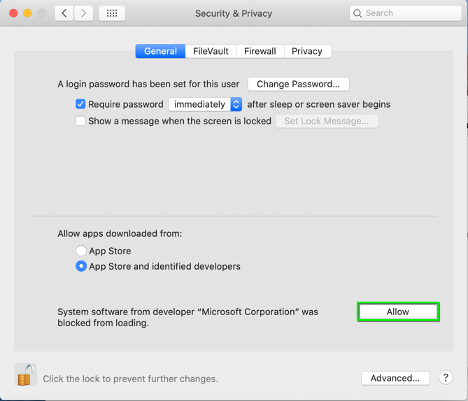
In the Security & Privacy panel of System Preferences on macOS High Sierra and later, you will see a message that “System software from developer “Microsoft Corporation” was blocked from loading.
Unlock this preference pane by clicking the lock icon at the bottom left, then enter Administrator credentials authorized to install software on the system.