CUClickers - Set up an “Attendance Only” course with iClicker

Follow this tutorial to set up an "Attendance Only" course in iClicker. Before you get started, make sure you've created an instructor account. To create one, follow the instructions in our Set up iClicker Cloud for instructors tutorial.

Layout:
one column
two columns

Step 1

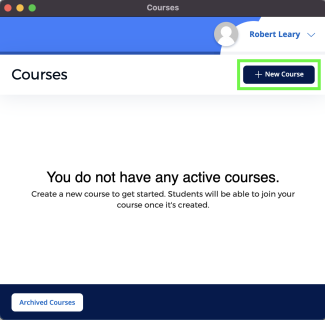
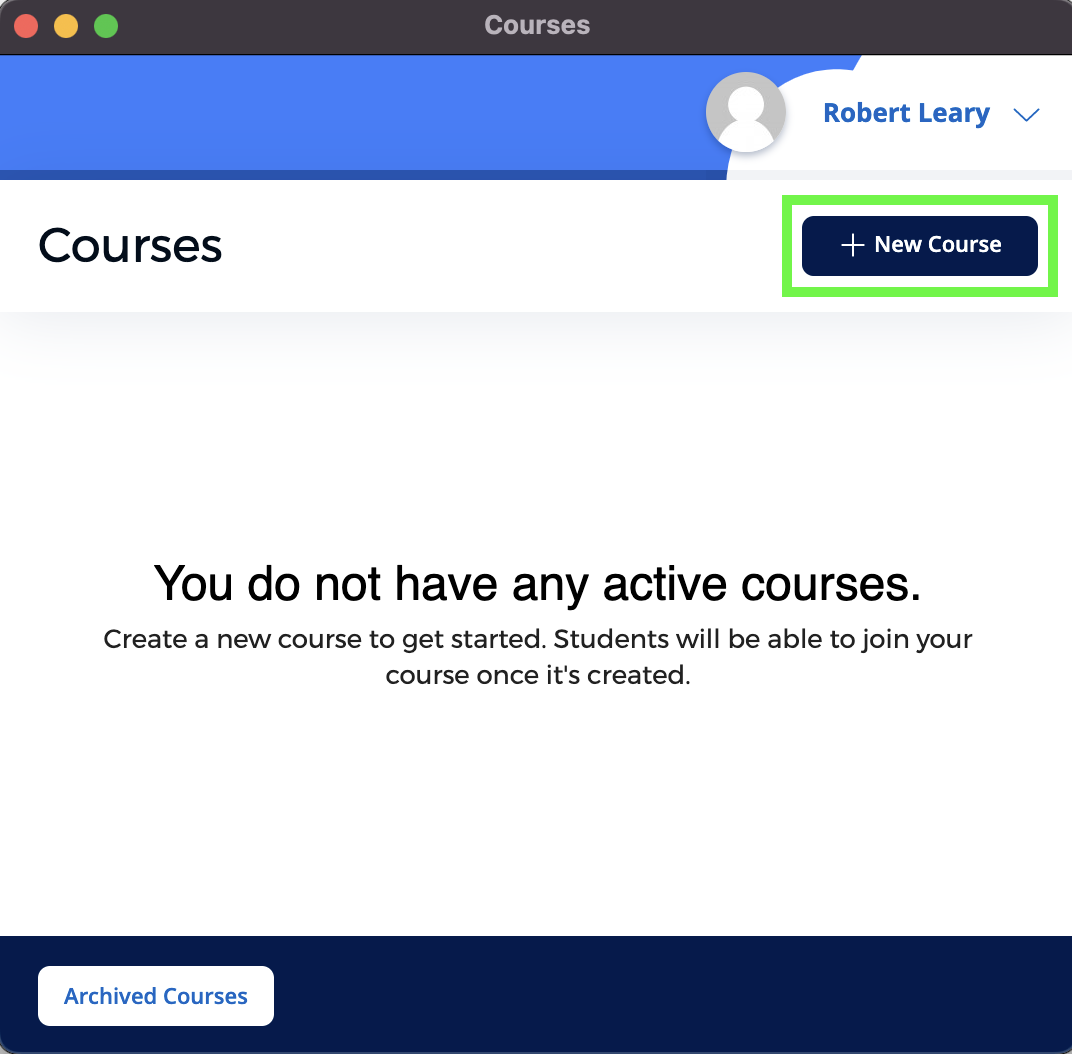
Click +New Course.

Step 2

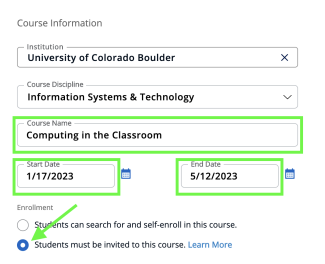
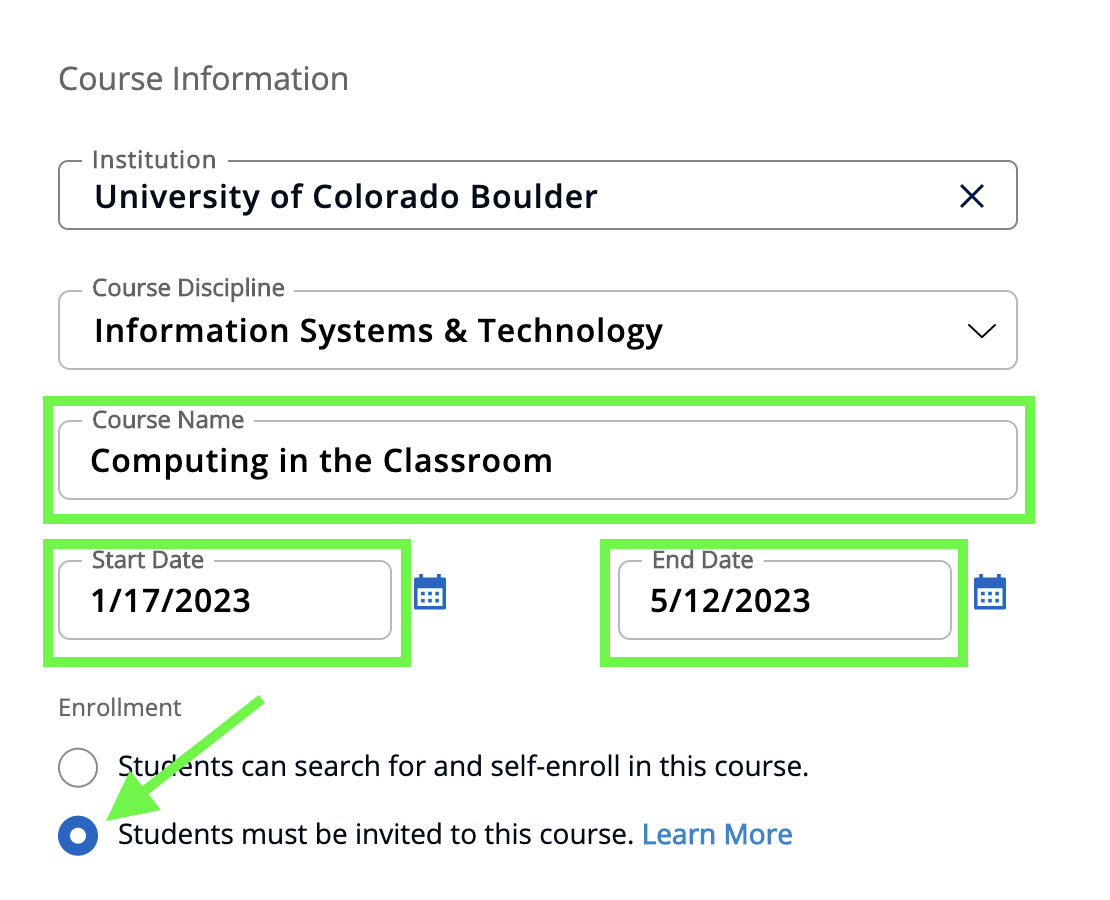
Fill out the course name and start and end dates, and make sure to check Students must be invited to this course.

Step 3

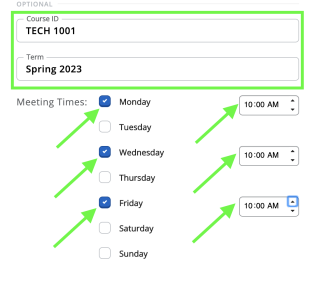
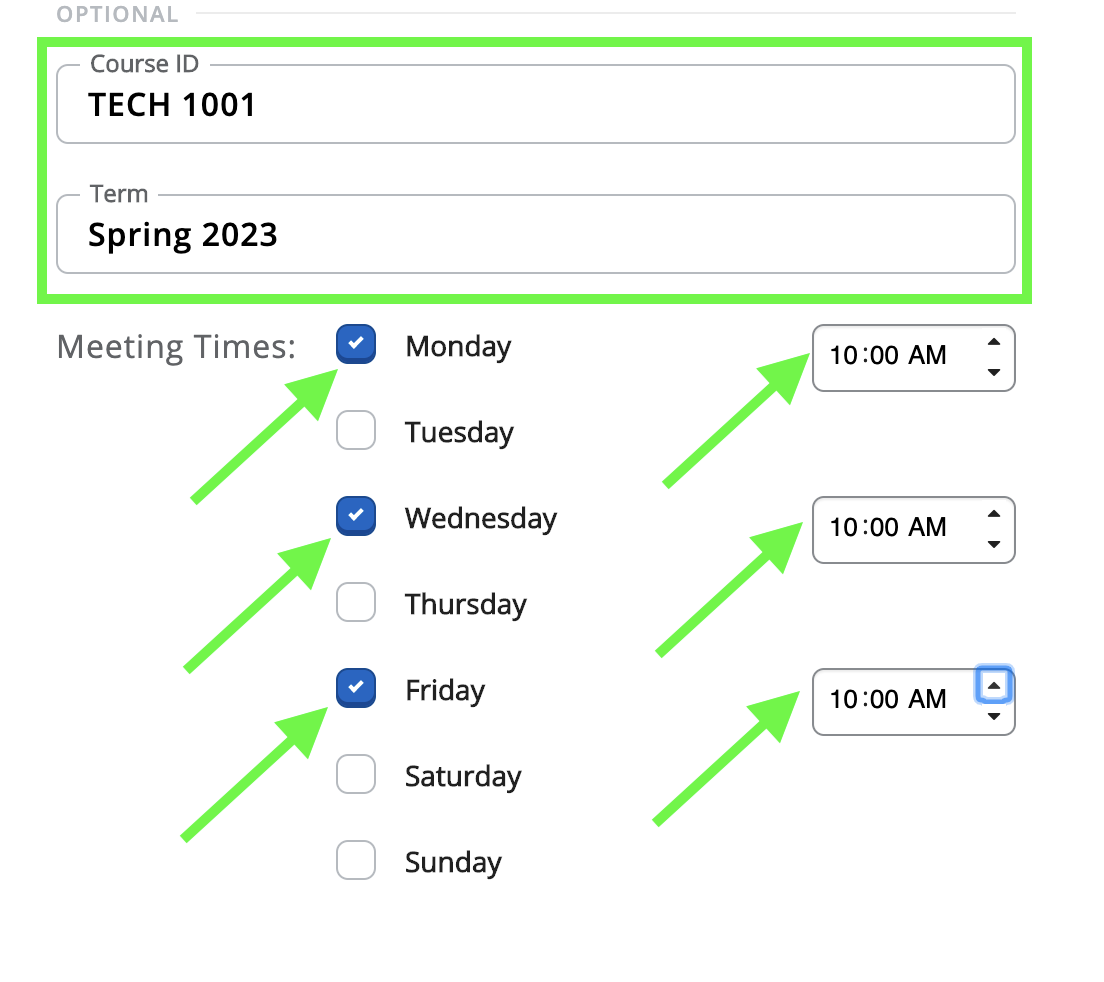
Fill out the course ID (e.g., PSYC 2010), Term, and Class days and start times (not end times), then click Create.

Step 4

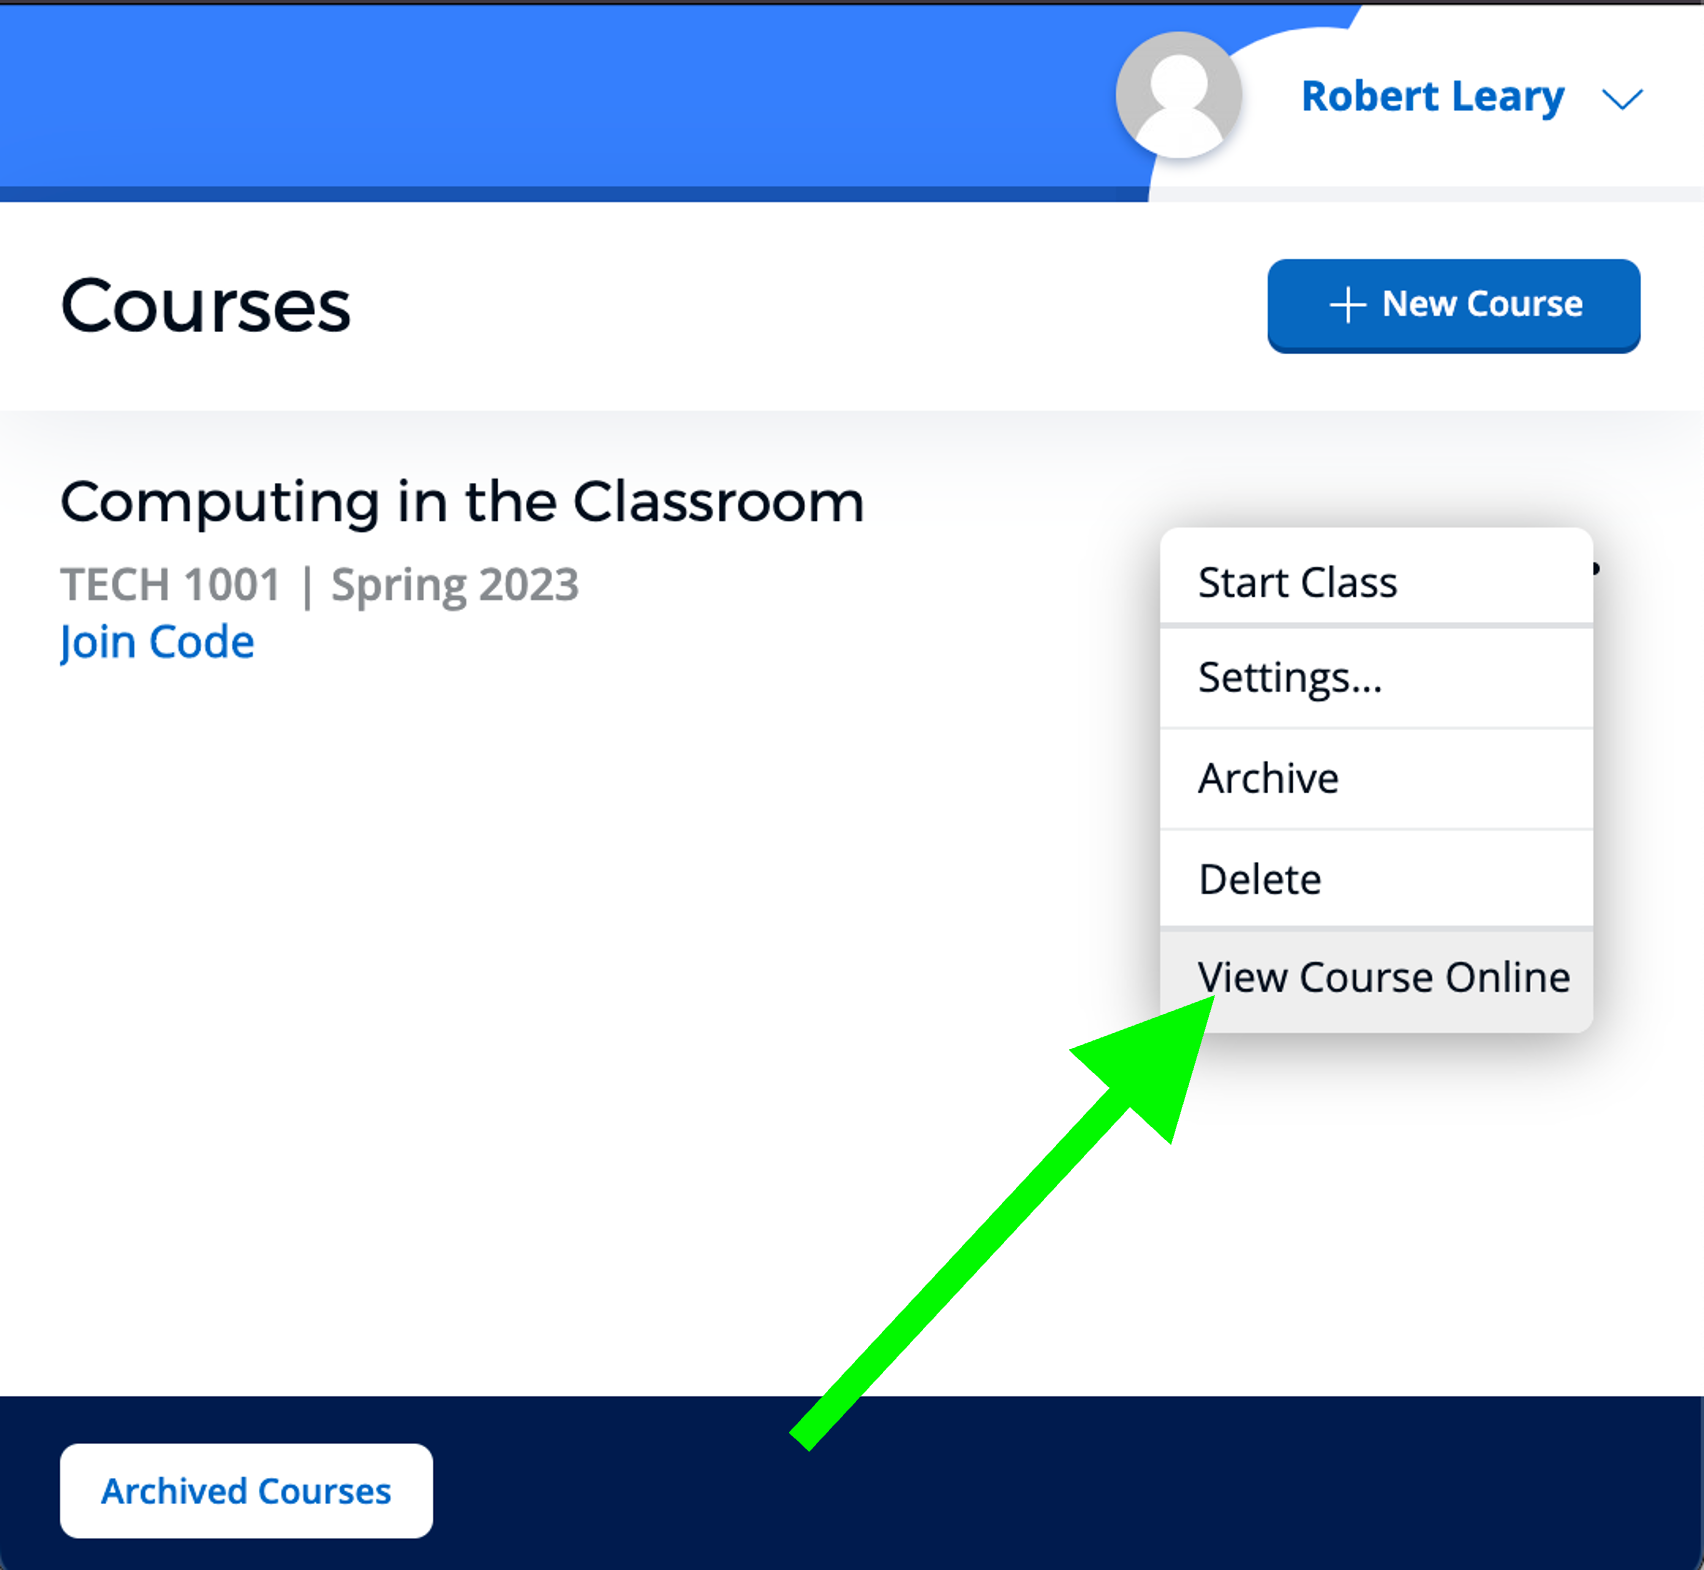
Click on the three-dot icon, then choose View Course Online.

Step 5

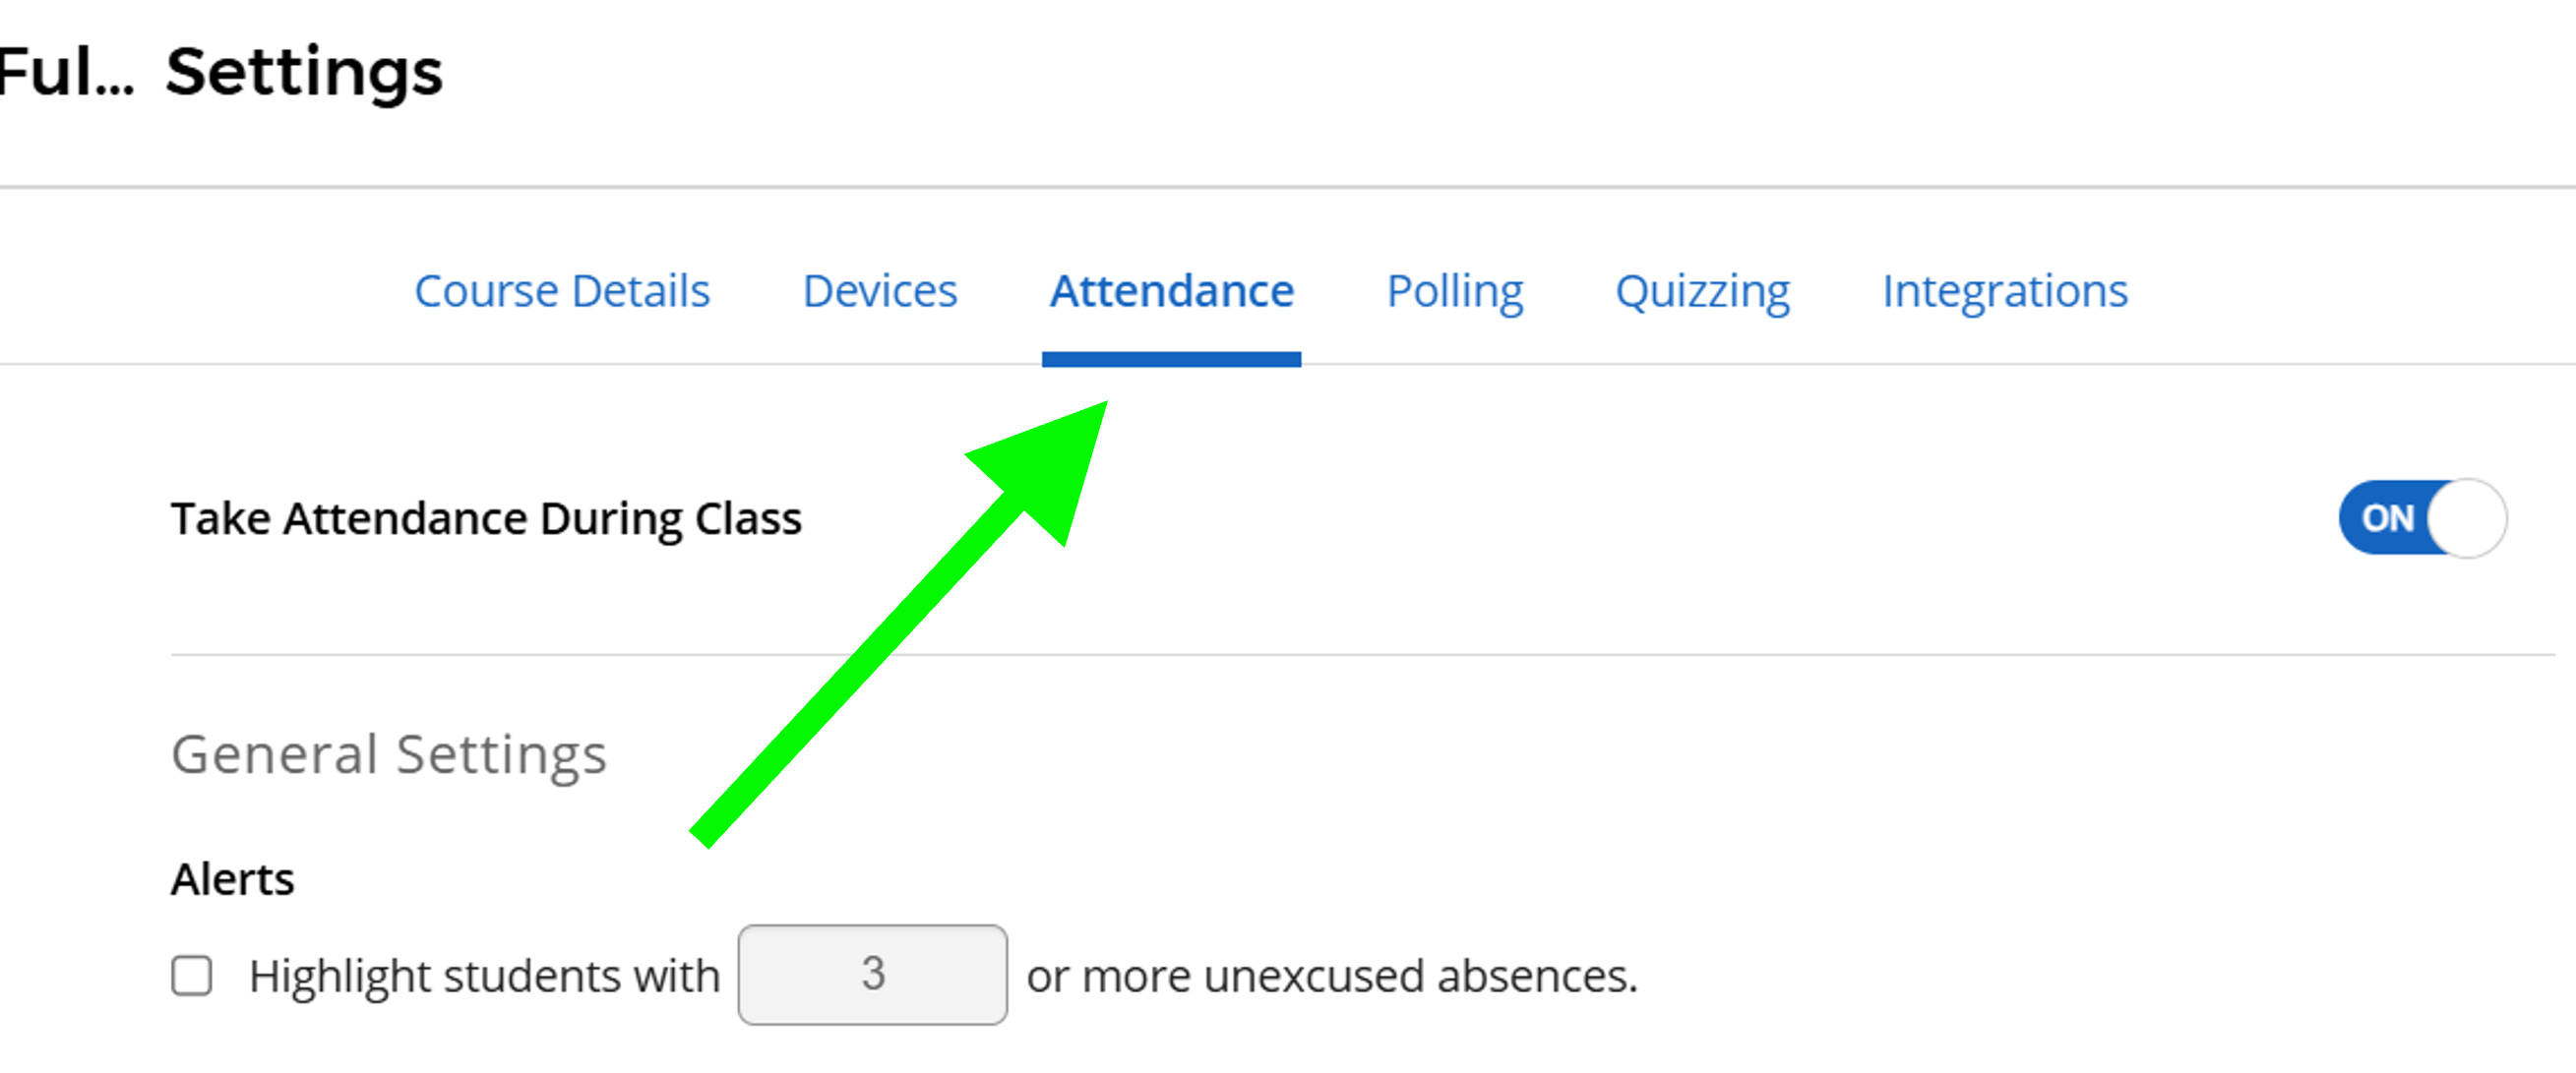
Sign in to your account, choose your class, go to Settings, then the Attendance tab.

Step 6

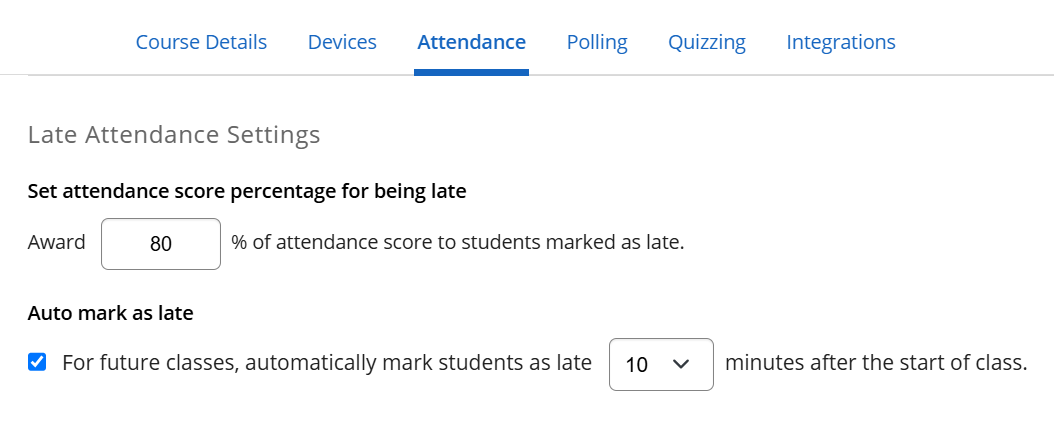
Set appropriate late settings if you wish to automatically deduct points from students that arrive a specified amount of time after class begins.

Step 7

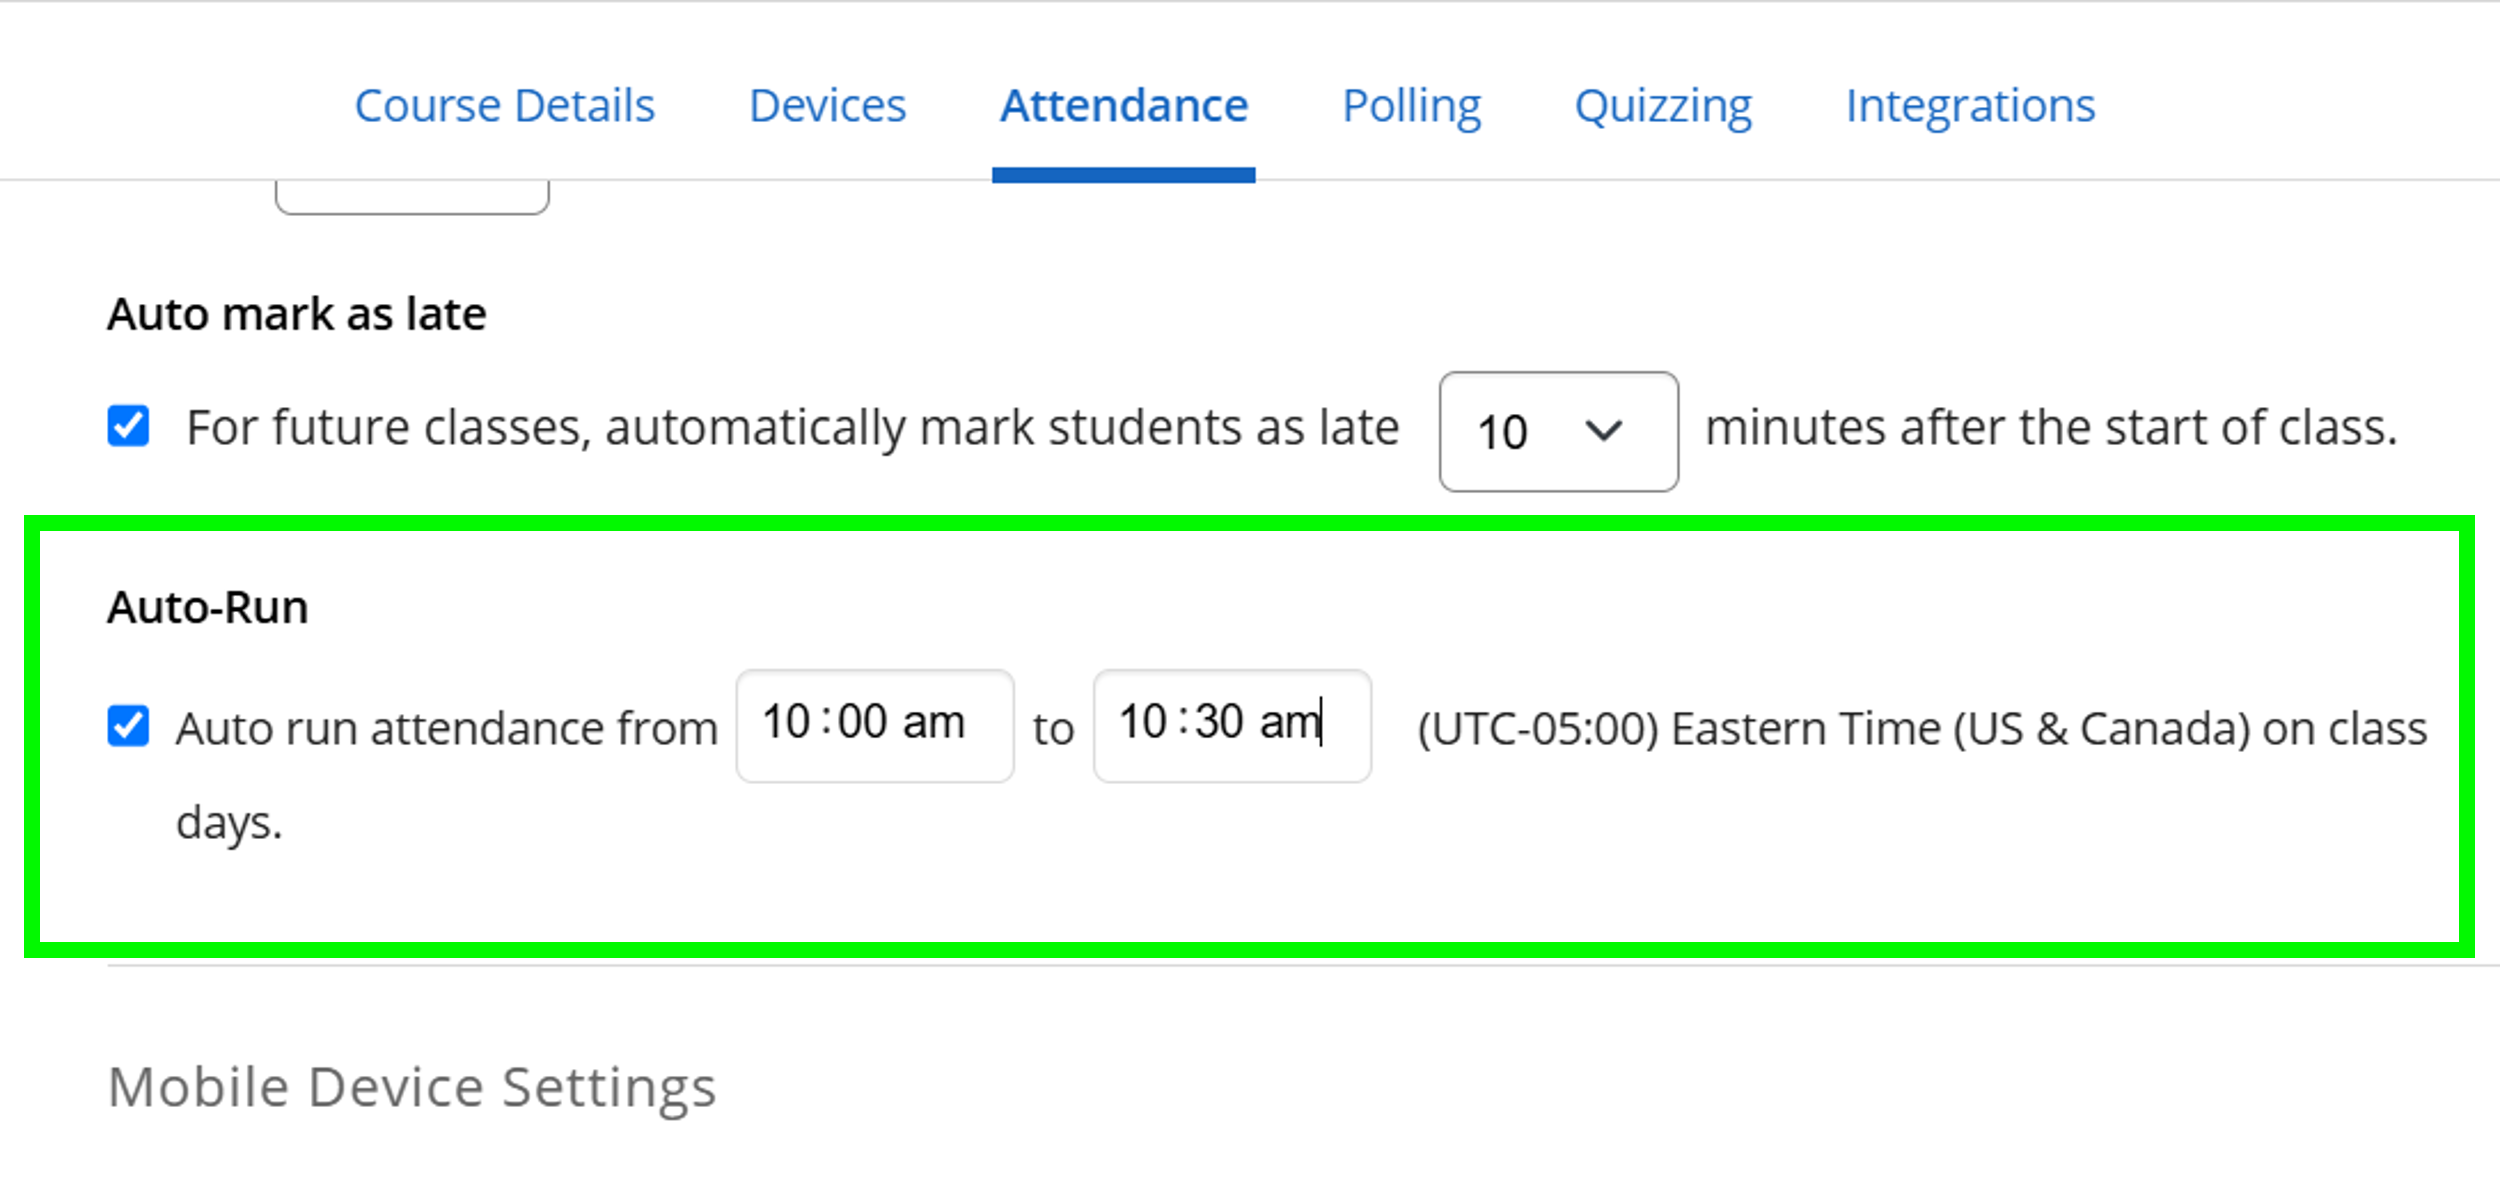
Set attendance to auto-run during the first half hour of your class.

Step 8

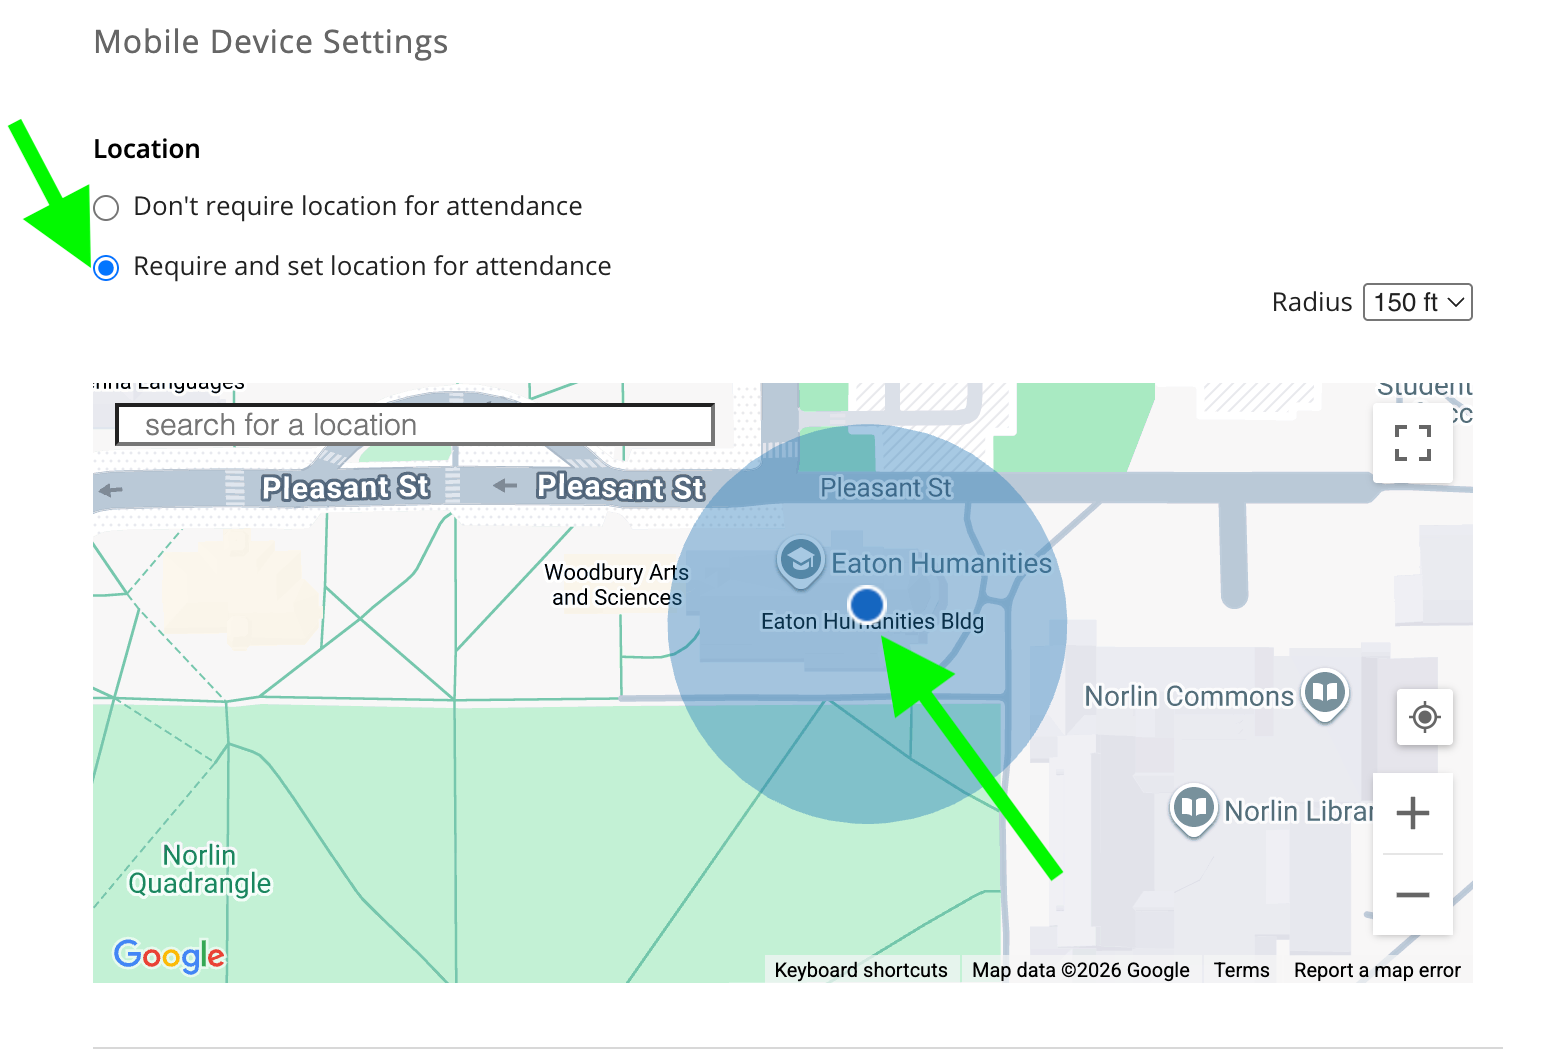
Choose require and set location for attendance, then find and select your building on the map (you may need to enable your web browser to access your location in your privacy settings).

Step 9

Click Save and set up Roster and Grade Sync if you haven’t already done so.

Step 10

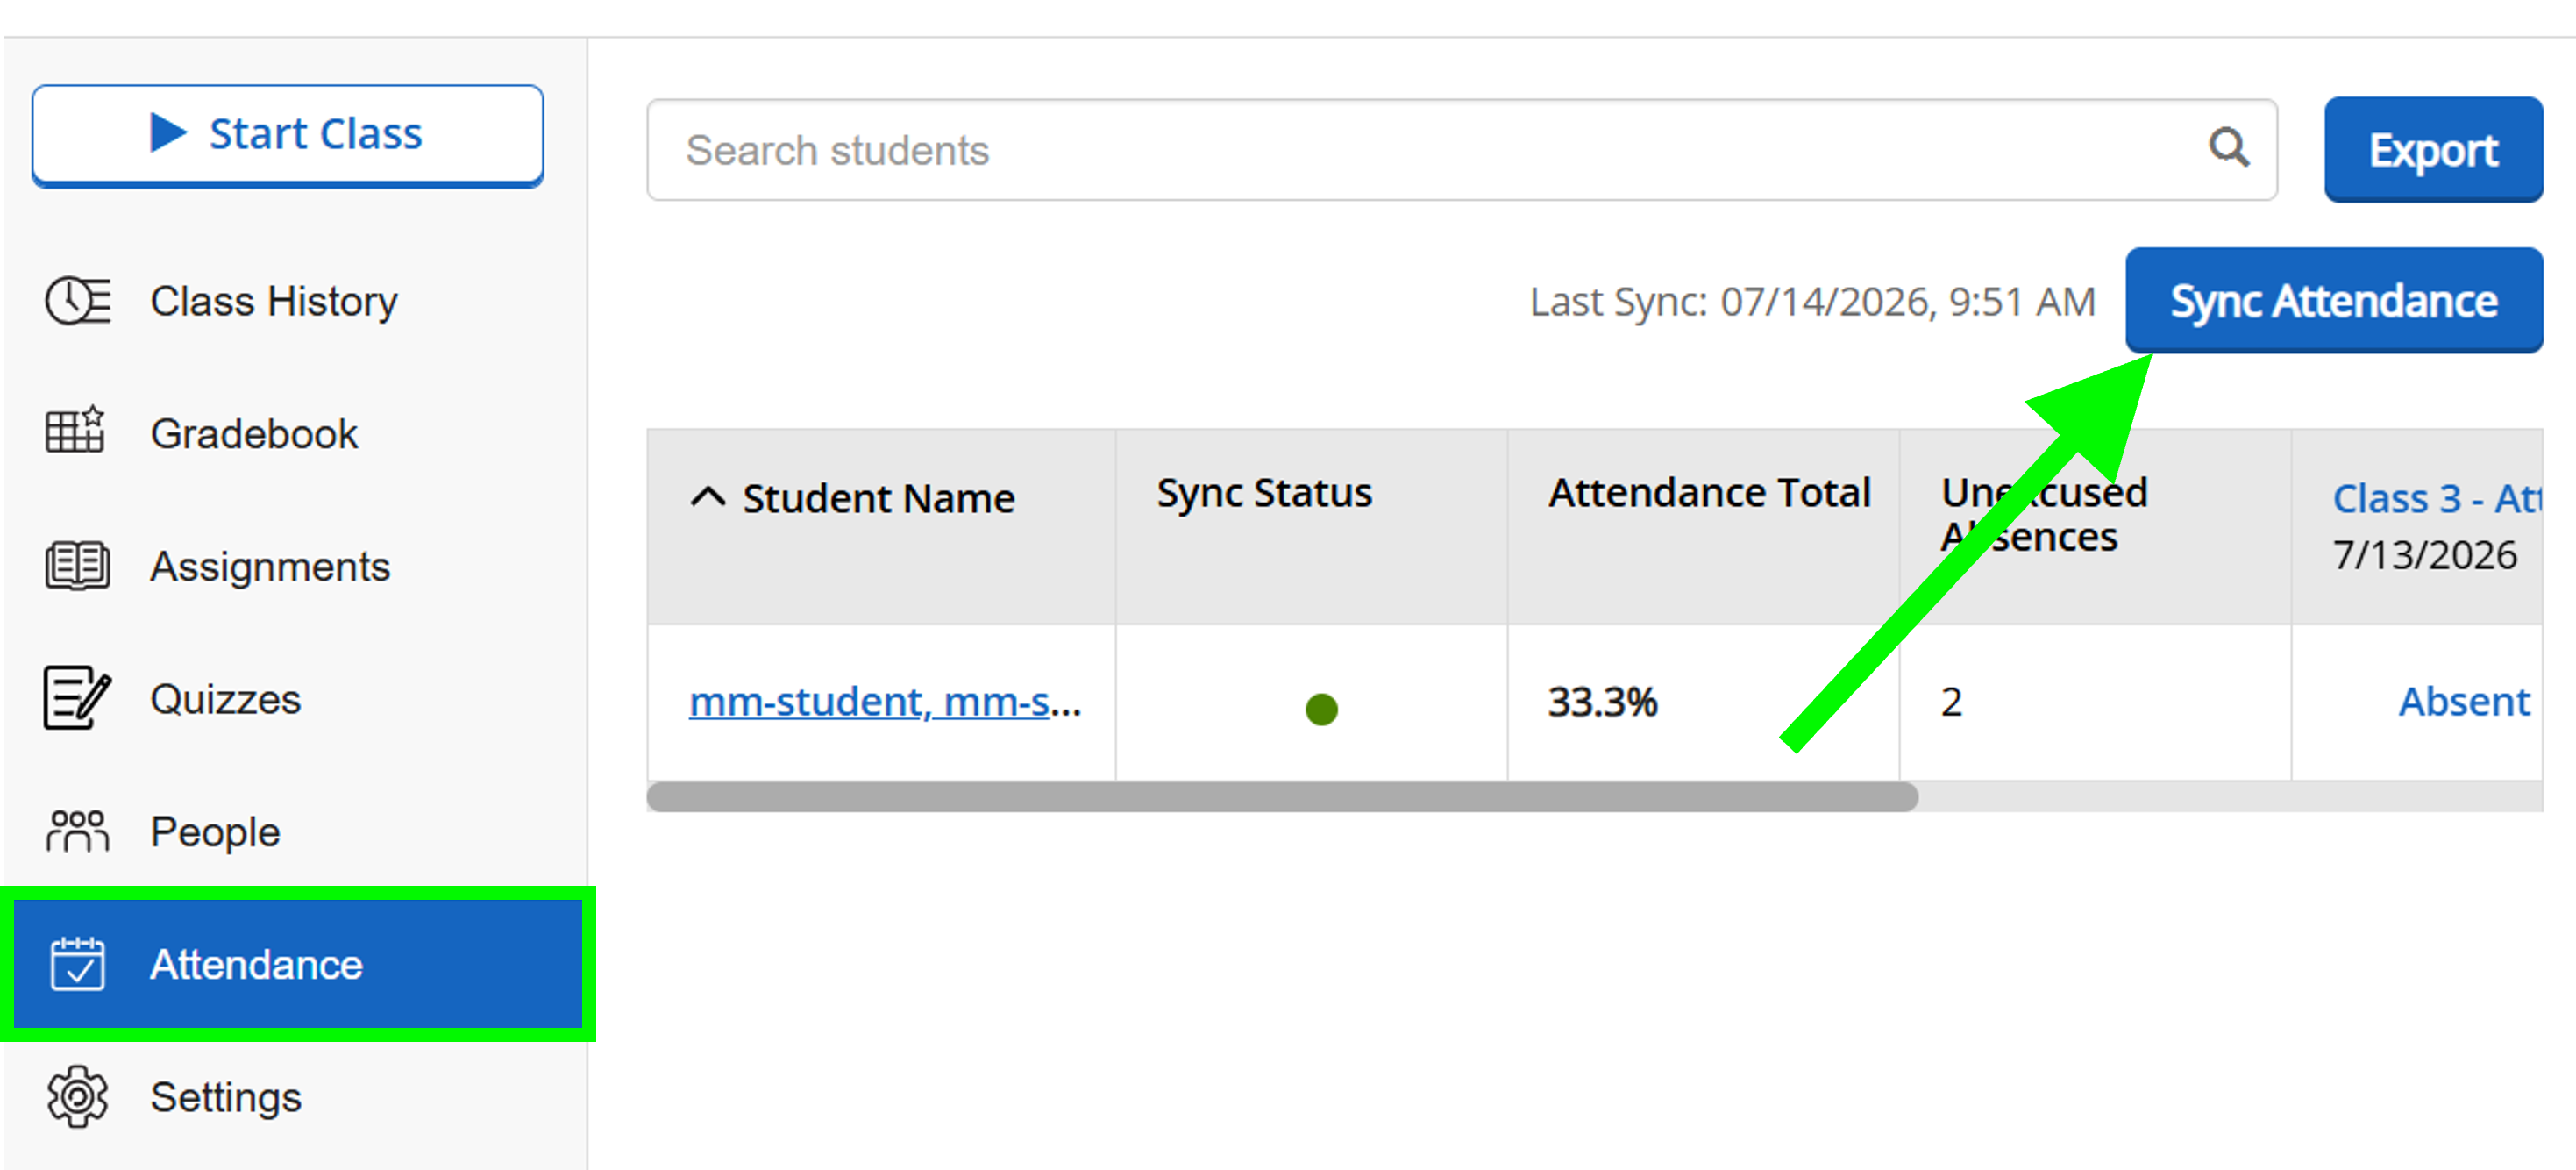
Click Attendance and Sync Attendance once you have completed at least one course session to automatically sync attendance data with your Canvas course. Doing this regularly will allow students to keep track of their attendance score in Canvas.