Step 1
- If your device is connected to the internet: Continue to Step 2.
- If your device isn't connected to the internet: Use eduroam, CU Guest or a wired connection to complete this process.
Step 2
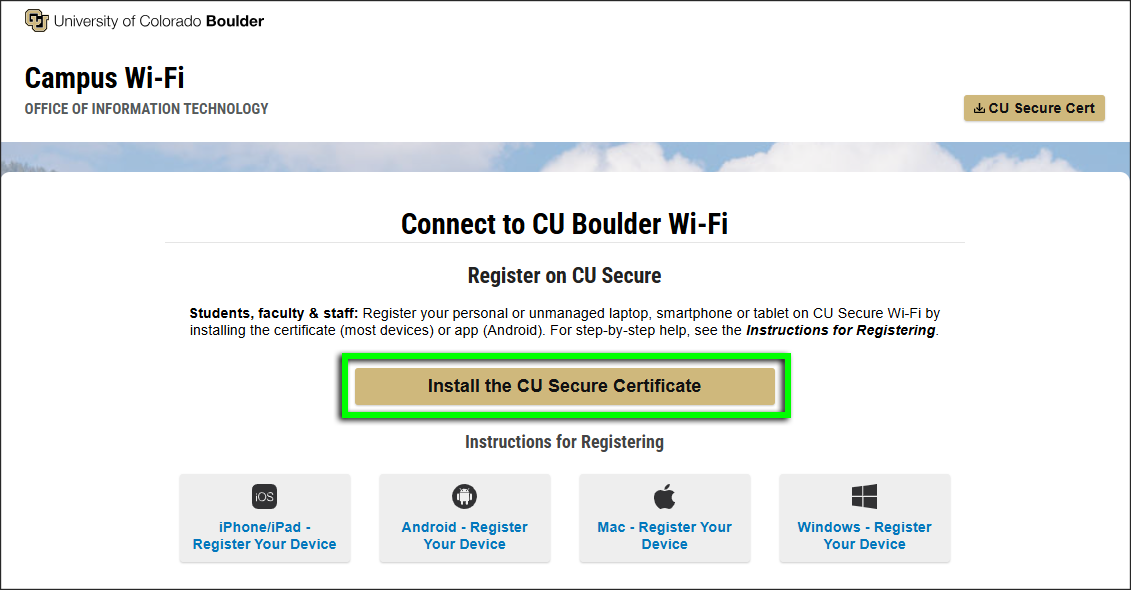
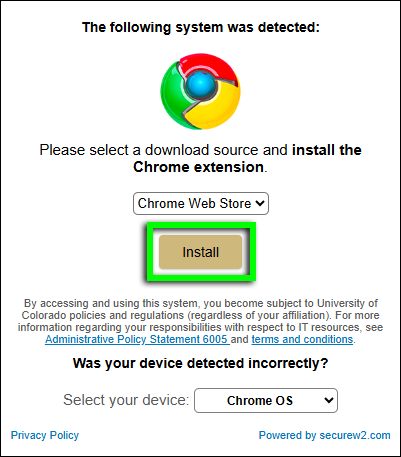
Go to wifi.colorado.edu, then click the Install the CU Secure Certificate button.

Step 3
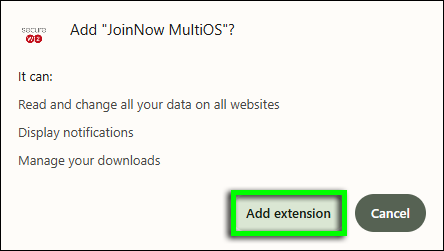
Step 5


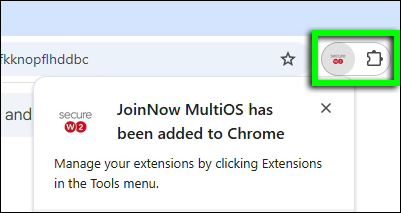
Step 8

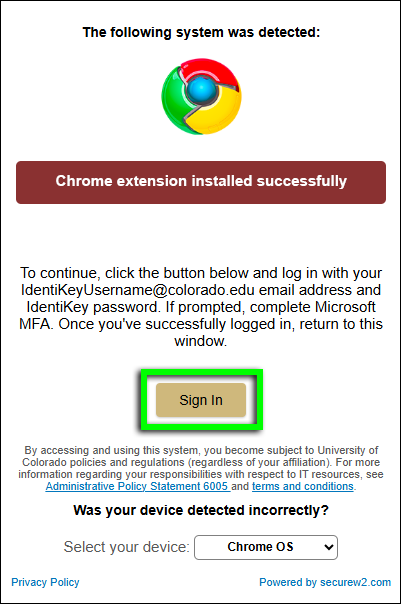


Step 11
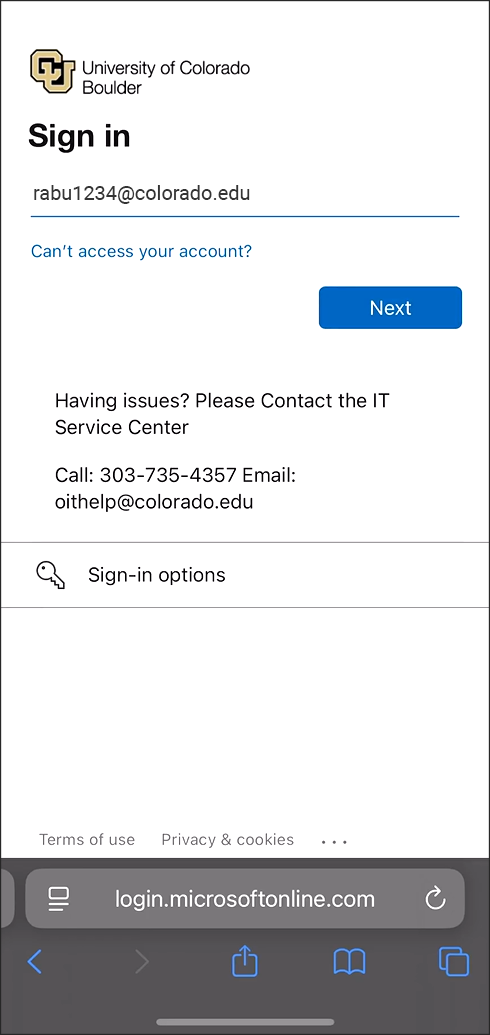
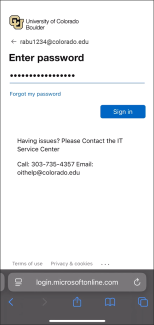
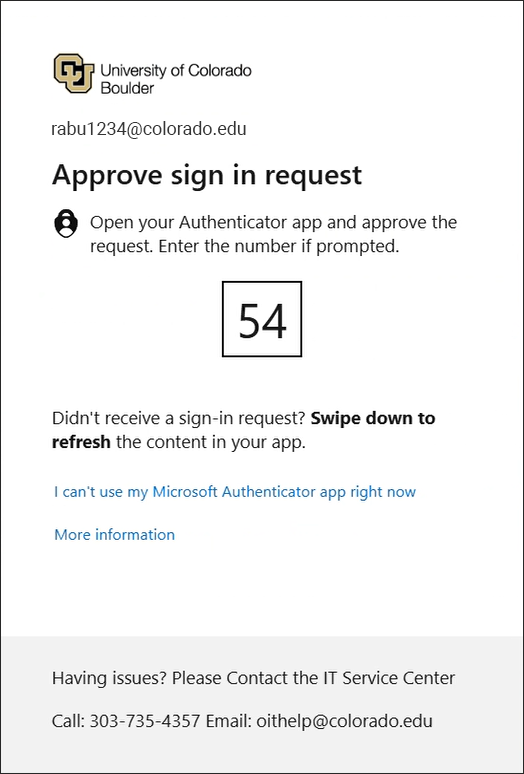
If prompted, complete Microsoft multi-factor authentication.
If you receive an error message, see our troubleshooting page for next steps.


Step 13
The registration page will display a "Loading" message, then confirm that "Enrollment succeeded."
Step 14
After a few seconds, a new Network tab will open in your browser. The registration page will instruct you to switch to that new tab.
Step 15
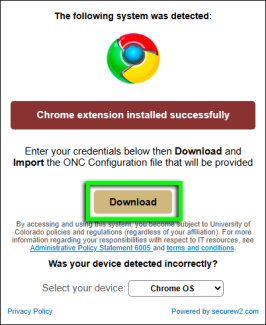
On the Network tab, scroll down to the Import ONC file section and click Choose File.
Step 16
Locate and select your downloaded ONC file, then click Open.
Step 17
If the certificate installs successfully, you'll receive an email from CU Boulder Secure Wi-Fi (securewifi_noreply@colorado.edu) confirming your device is registered on CU Secure.
Your device should connect to CU Secure Wi-Fi automatically when in range. If it doesn't, go to your available Wi-Fi networks and select CU Secure.