Step 1
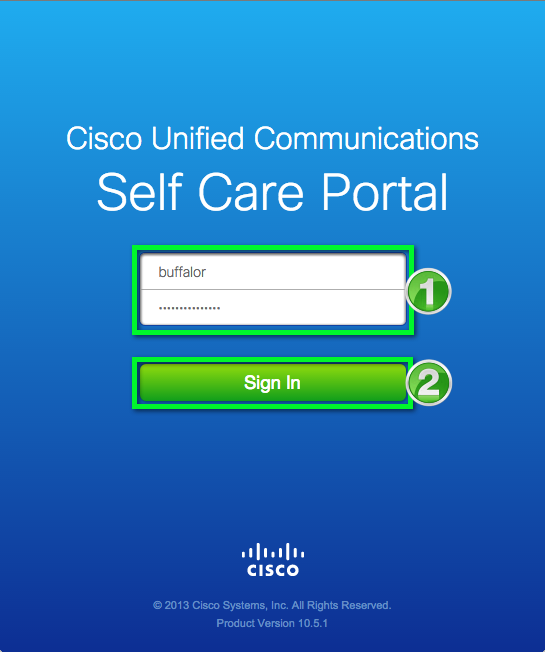
Open a web browser and go to the Cisco Self Care Portal .
Note: Please allow 1 full day for the Self Care Portal to be activated after your new Cisco VoIP phone is installed.
Step 2
Enter your IdentiKey username and password, then click Sign in.
Note: To access the Cisco Self Care Portal, you must be on the campus network or using a VPN connection.

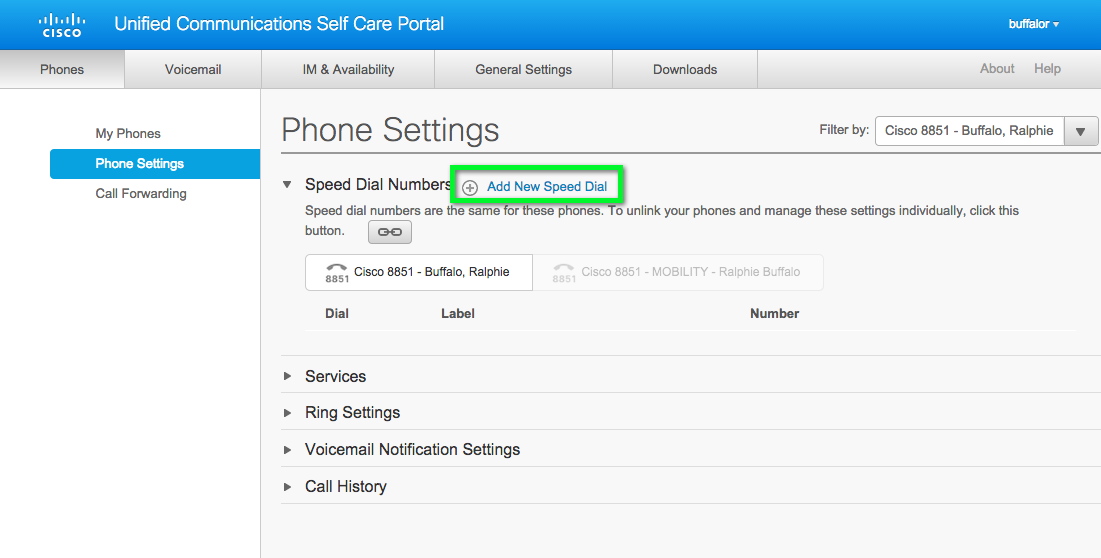
Step 3

Step 4

Step 5


Step 7
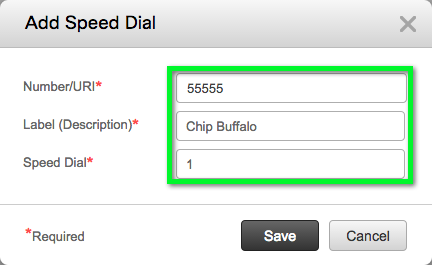
In the Add Speed Dial window that appears, enter the following information in the corresponding fields:
- Number/URI: The number or extension you would like to assign. If adding an off-campus number, you need to add an 8 to beginning of the number.
- Label (Description): The label you would like to appear on your phone's display screen.
- Speed Dial: The speed dial number (1 through 99) you wish to assign.

Step 8
Note: Speed dial number "1" will be shown on the first available line key on the left side of your phone, but will not be the first key, because that key is programmed with your extension. The 8851 phones have 5 line keys, leaving up to 4 keys that may have speed dial numbers, if they are not already programmed as shared lines. Up to 99 speed dial numbers can be programmed, but they may not all be shown on keys on your phone. To call speed dials that are not shown on the keys of your phone:
- Do not pick up the handset
- Dialing the 2-digit speed dial number
- Press the ".." softkey under the display
- Press the "Speed dial" softkey under the display

Step 10

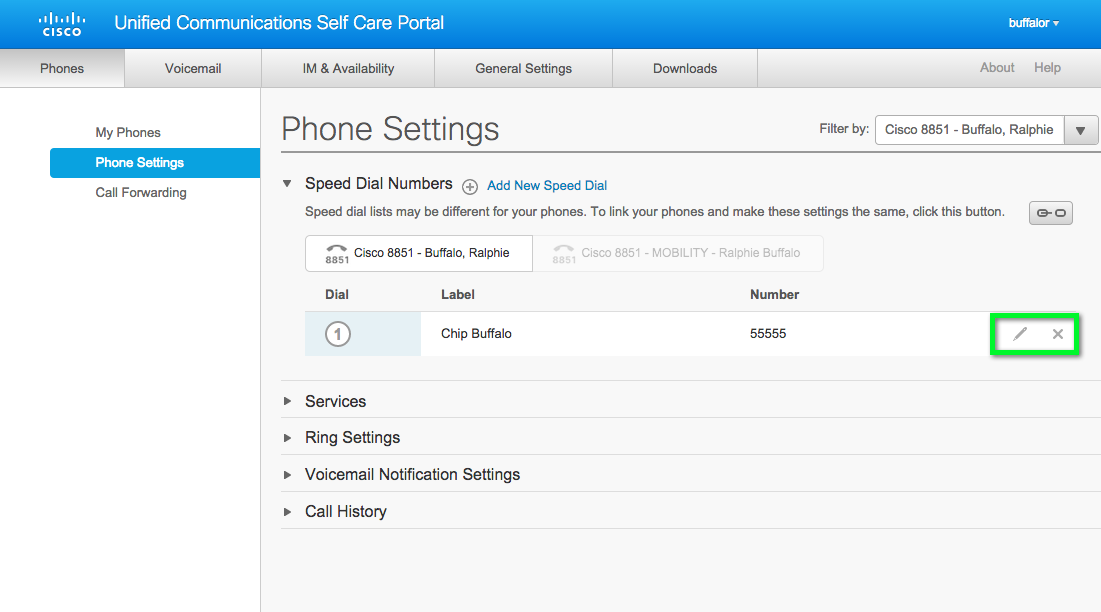
Step 11
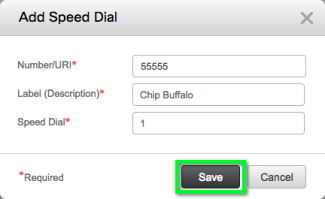
When you are finished adding / editing speed dial numbers, click Save, and the labels for each speed dial number will appear next to the associated line key on your phone's screen.