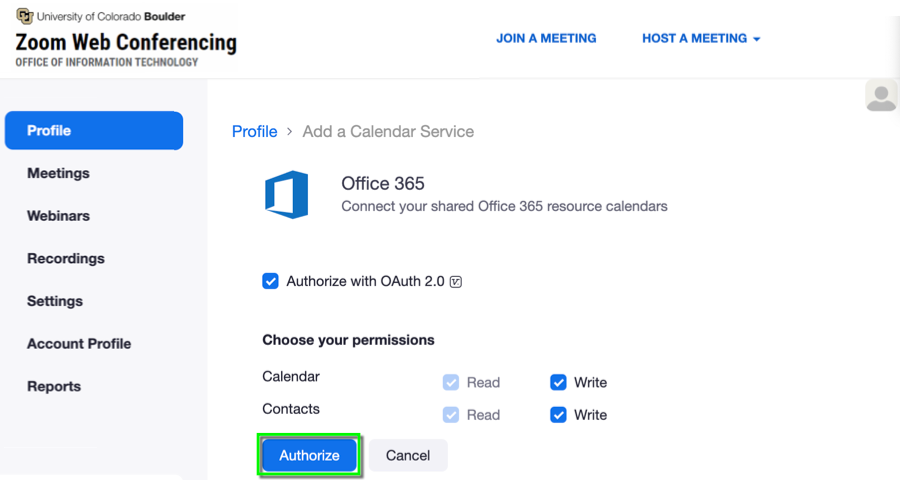
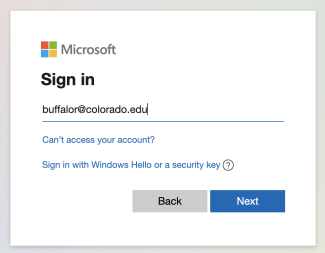
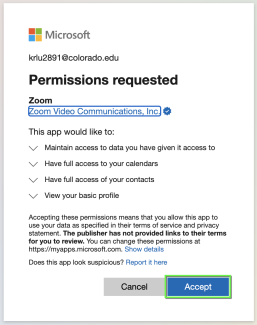
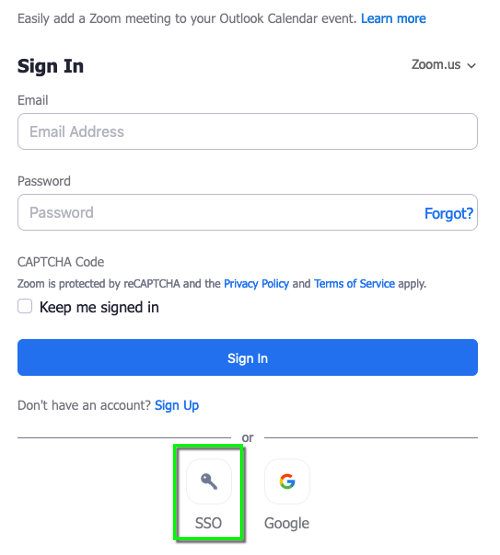
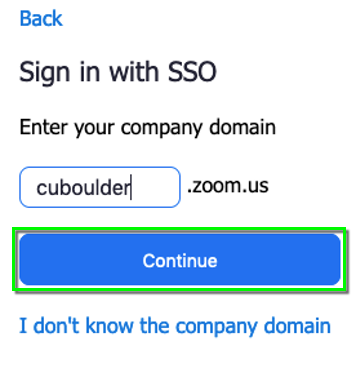
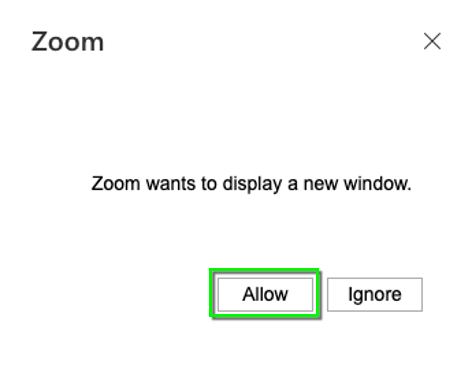
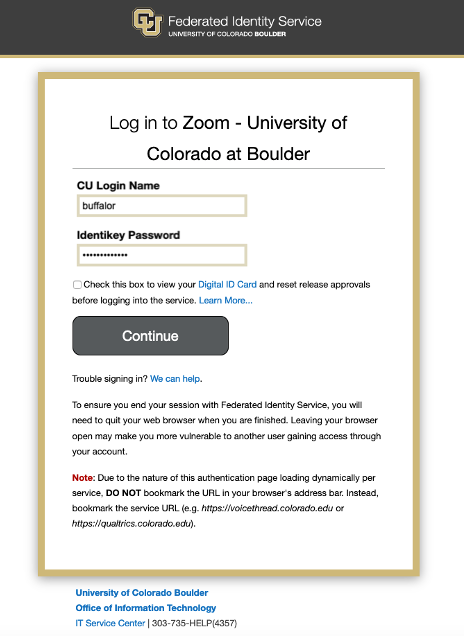
Zoom - Schedule a Meeting with the Microsoft Zoom Add-in for Outlook

While scheduling a meeting using the Zoom add-in for Outlook or Outlook on the web, you may be prompted to sign in to the Microsoft Zoom Add-in for Outlook. This tutorial shows that process for CU Boulder users. 

Layout:
one column
two columns

Step 1

After clicking Add a New Meeting or Settings in the Zoom section of the New Meeting or New Appointment menu, you will see a Zoom pop up. Click Allow

Step 2

At Sign In Panel, click SSO

Please note: Do not sign in with email and password.

Step 3

In the Enter your company domain field, type "cuboulder" then click Continue.

Step 4

Sign in to the Federated Identity Service using your IdentiKey username and password

Step 5

After you authenticate, you will be returned to your new Outlook meeting or appointment. 

Step 6

If you continue to be prompted to log in, check your Zoom profile:

Step 7

Select Office 365, then click next.

Step 8

On the Add a Calendar Resource screen, click Authorize.

Step 9

This will prompt you to sign in to your Office 365 account with your identikey@colorado.edu email and password.

Step 10

Click Accept to finish the Zoom permission request.