Step 1
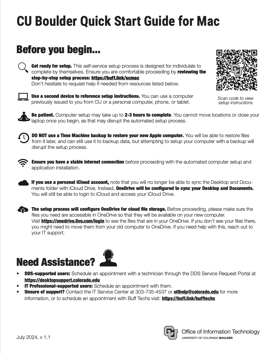
To begin, unbox your device and make sure to plug the power cable into the computer. If using Wi-Fi, make sure your Wi-Fi is working and turn on the computer. If you are using a wired connection, make sure to plug in your Ethernet cable and turn on the computer. After starting your computer, Apple Setup Assistant will walk you through the initial setup of your device. This is a quick guide to which settings to choose or be aware of. The order of the screens and steps might vary based on your current operating system and updates.
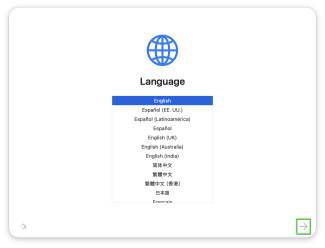
On the Welcome screen, select your preferred language from the list then click the arrow to continue.


Step 3
Select Set up as new to proceed without restoring from a backup, or if you have data in OneDrive that will sync later in the process.
Please note: Users with a Time Machine drive or previous Mac may choose to restore data from those sources now. Care should be taken when restoring Applications as some software may become unusable when restoring from backup instead of installing directly. Follow OIT's Transfer Data from a Time Machine Backup tutorial and consult with your departmental IT professional, BTP or Buff Techs before restoring from Time Machine.
Step 4

Step 5
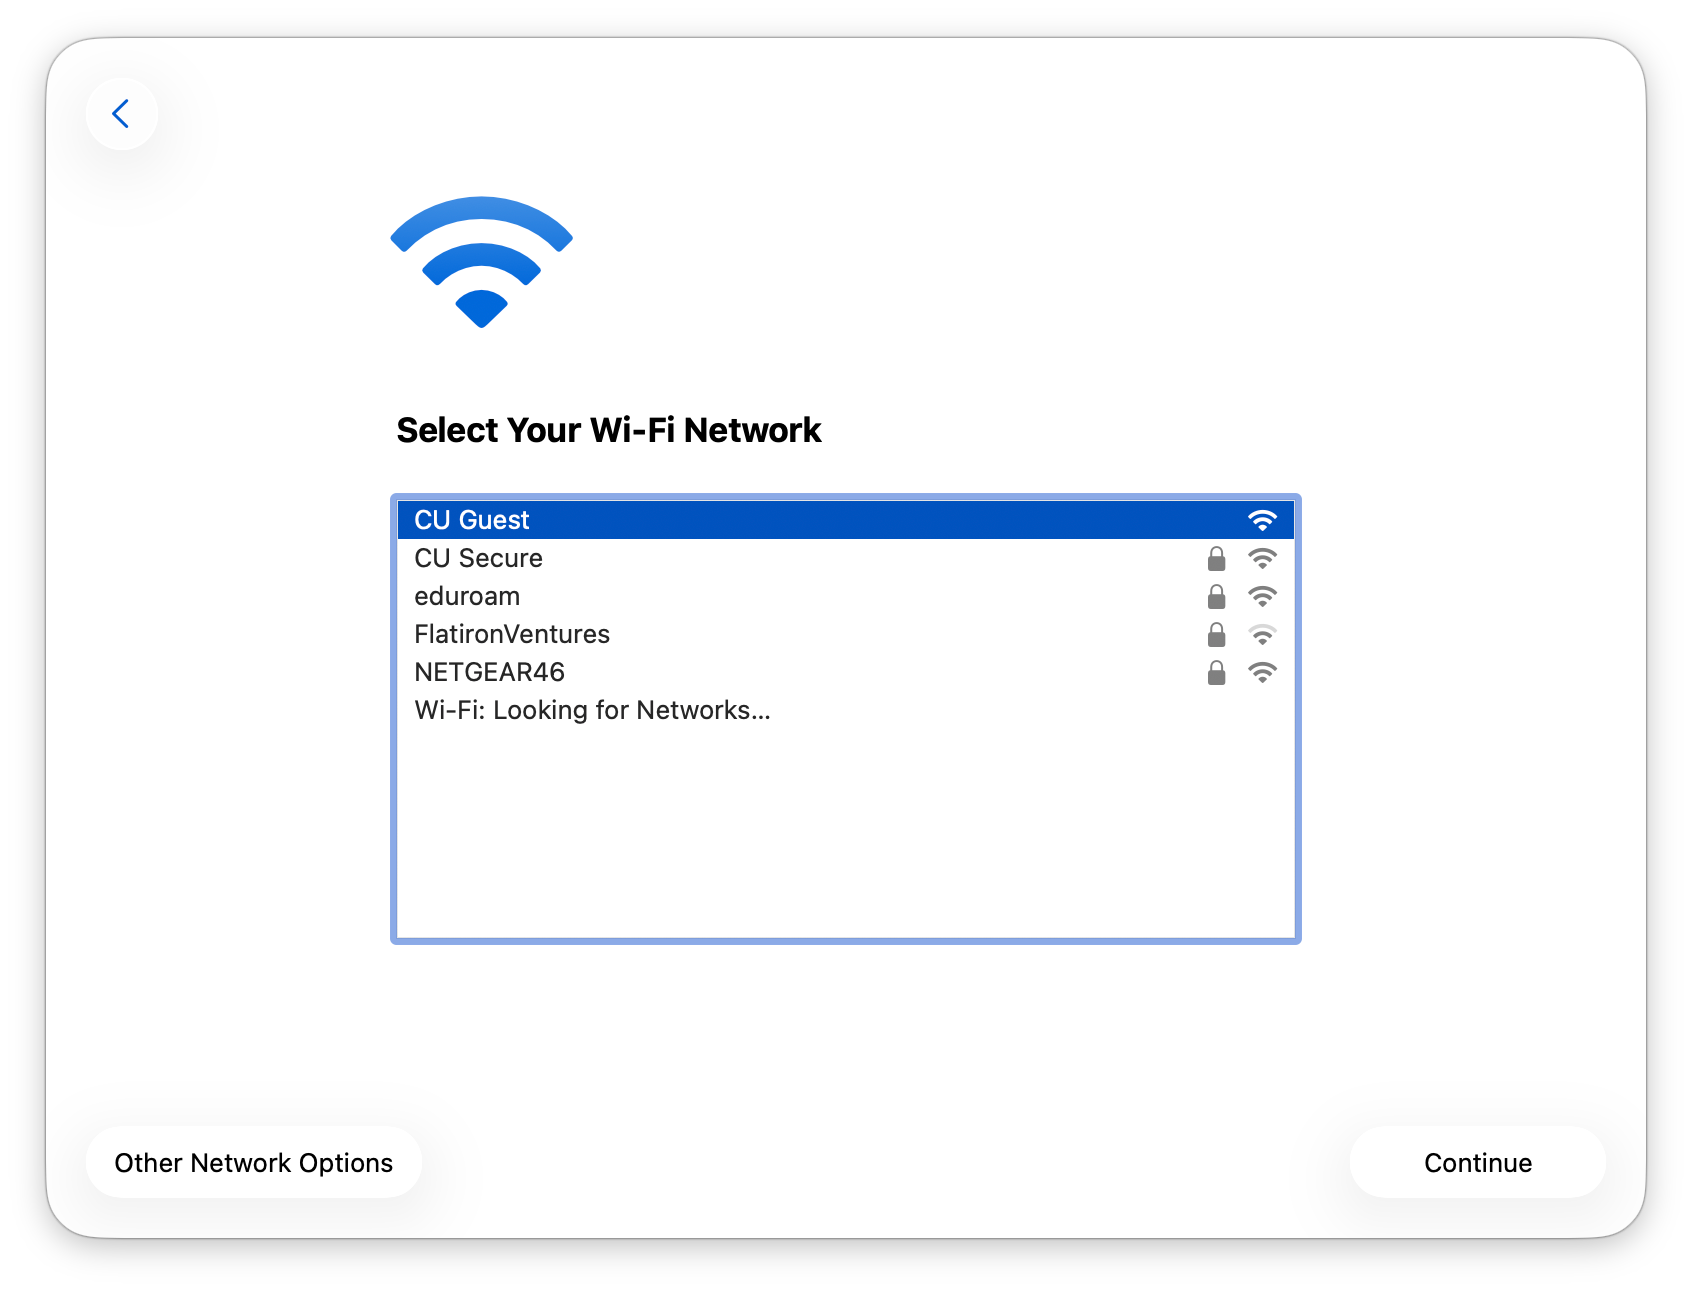
A screen will load where you can connect to the internet with an Ethernet cable or a wireless network. You must connect to the internet before proceeding, otherwise your computer will automatically enroll later and you may need to repeat the setup process again to resolve unexpected behavior.
- Off campus: If you are connecting to a wireless router at home, you may need to enter your wireless password.
- On campus: If you are setting up the computer while on the CU Boulder campus, connect using a wired connection, or connect to the CU Guest Wi-Fi network.
Please note: After setup is complete, secure computing devices will connect to CU Secure Wi-Fi automatically when in range. Re-registration is not necessary for 2 years.

Step 6
You will next be prompted to begin the University of Colorado Boulder's enrollment process. After you click Enroll, the Remote Management screen will display messages informing you that your device is connecting to 'casper.colorado.edu' and installing various profiles and applications.
Note: if you do not see "This Mac is owned by: Univ Of Colorado At Boulder" on this screen, your computer failed to enroll correctly in the Secure Computing framework. Skip down to Step 27 for Troubleshooting tips.


Step 7

Step 8

Step 9
Various components of CU Boulder's Secure Computing standards including default software will be installed at this time. This list may vary slightly depending on your role, but includes:
- Alertus
- Always on VPN
- Cisco Secure Client VPN
- Jamf Connect
- Microsoft Defender
- Microsoft 365 apps (Outlook, Word, Excel, PowerPoint, etc.)
- Microsoft OneDrive
- Microsoft Teams
- Web browsers (Google Chrome, Mozilla Firefox)
- Zoom

Step 10
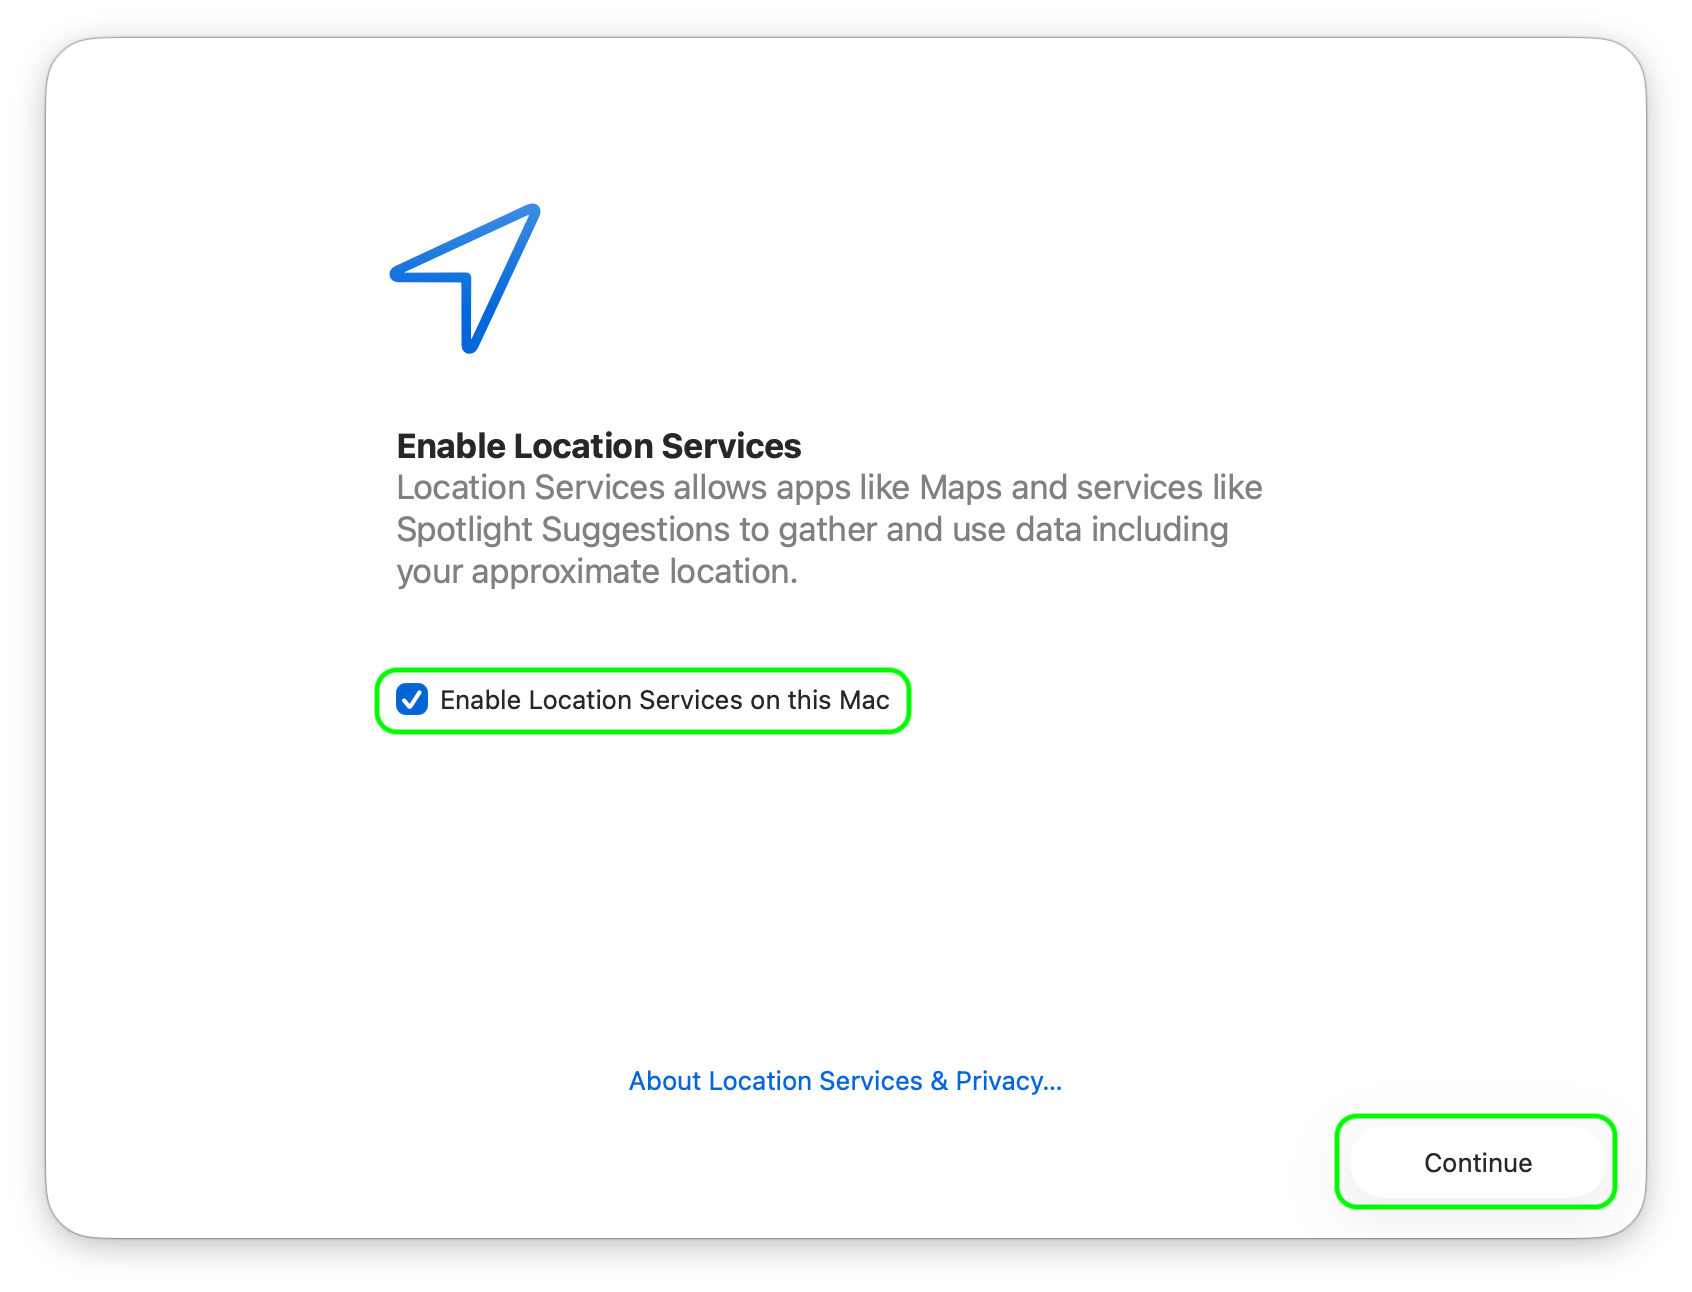
Select Enable Location Services on this Mac and click Continue. Please make sure to enable this setting, as it is required for E911 Services in Microsoft Teams Calls and to set the correct time zone settings needed for security updates.


Step 12
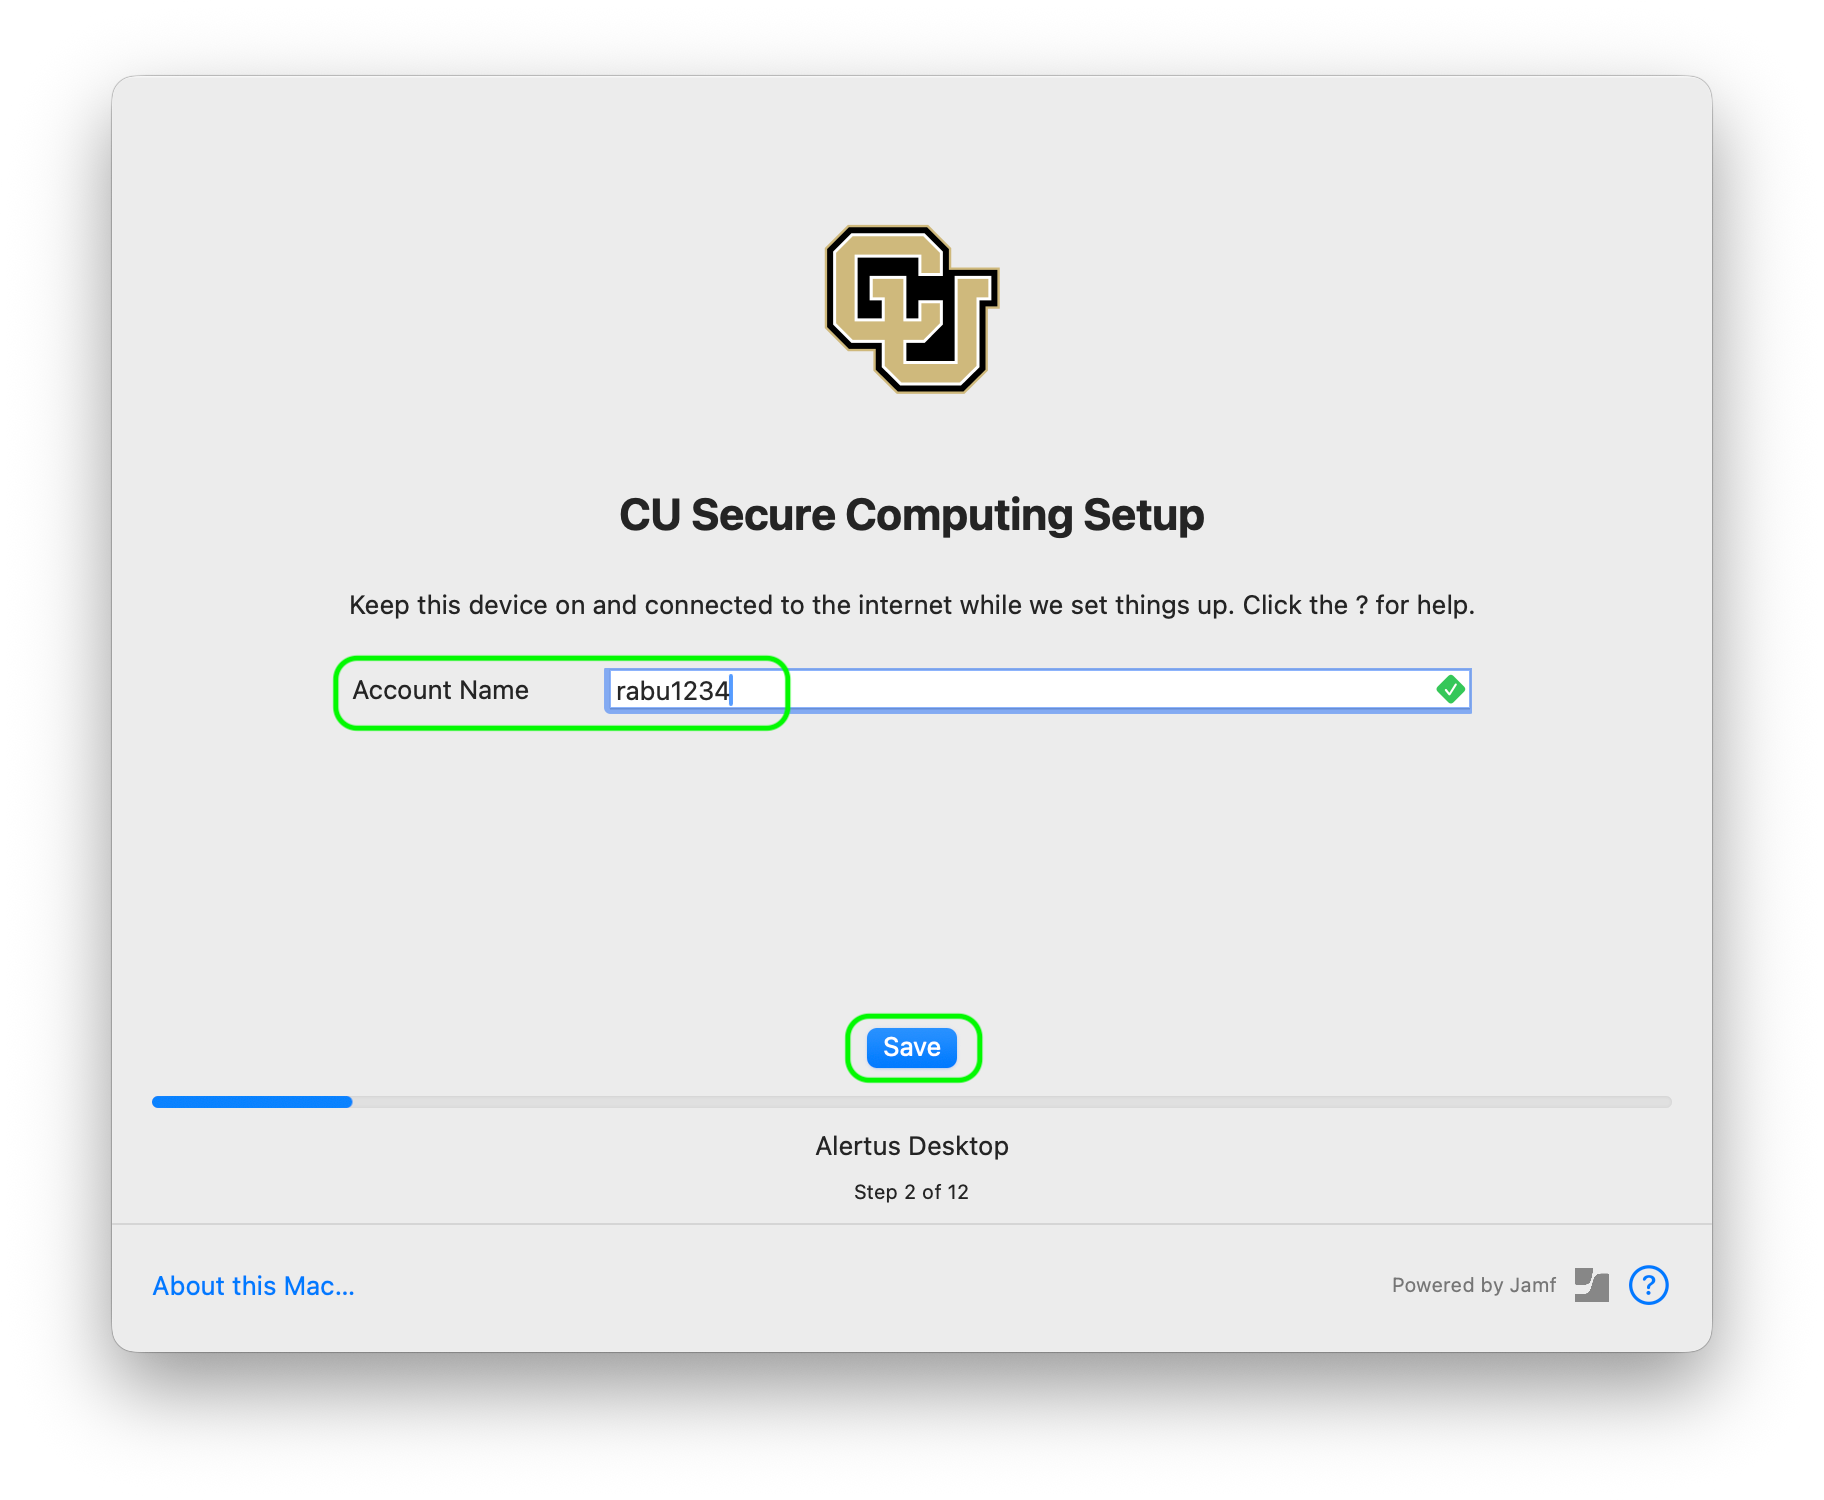
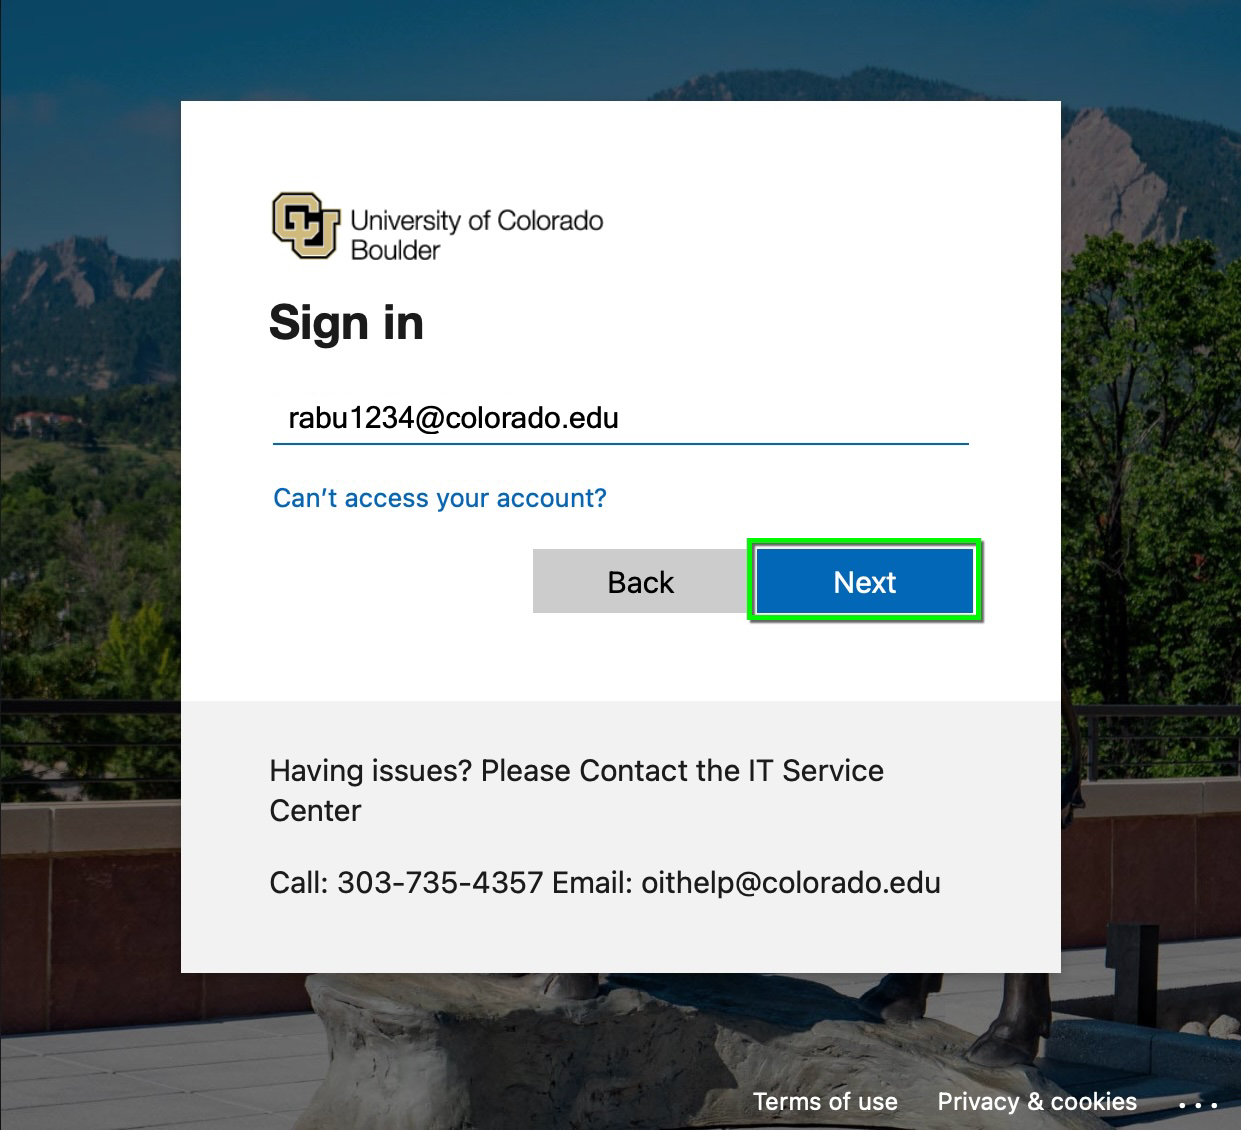
After finishing these steps, Apple Setup Assistant will complete and bring you to the new login screen. This new login screen will allow you to sign in and create an account on your new computer using your University of Colorado IdentiKey credentials. Please type in your IdentiKeyUsername@colorado.edu email address, then click Next.

Step 13
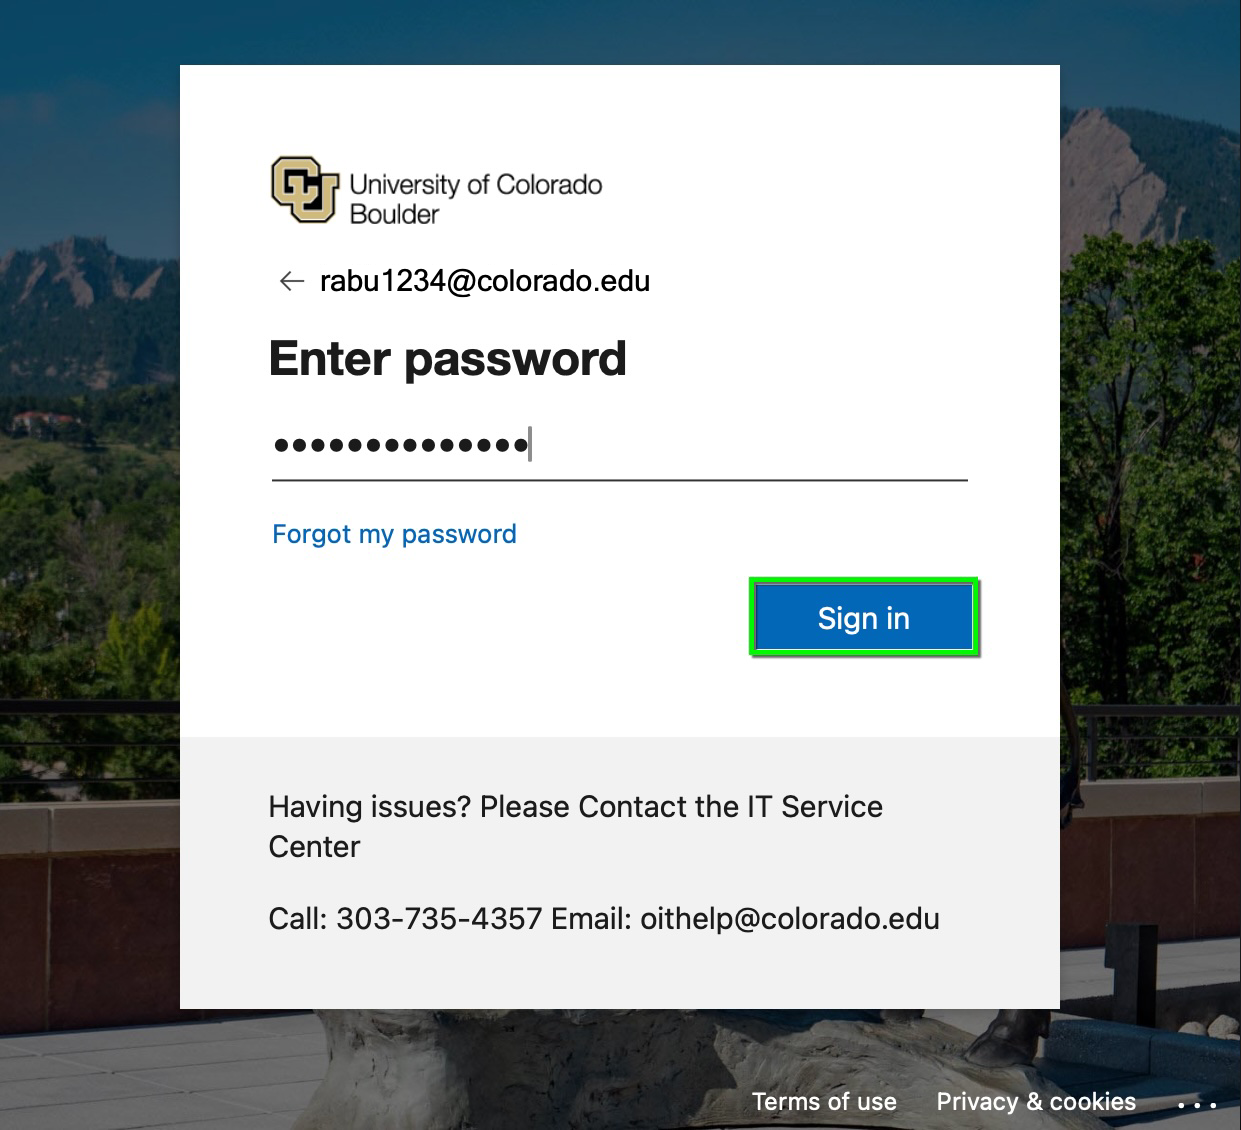
Enter your IdentiKey password and click Sign In to authenticate your identity with the University of Colorado. You may be prompted to complete Microsoft multi-factor authentication by sending your personal mobile device a text message with a one-time code.

Step 14
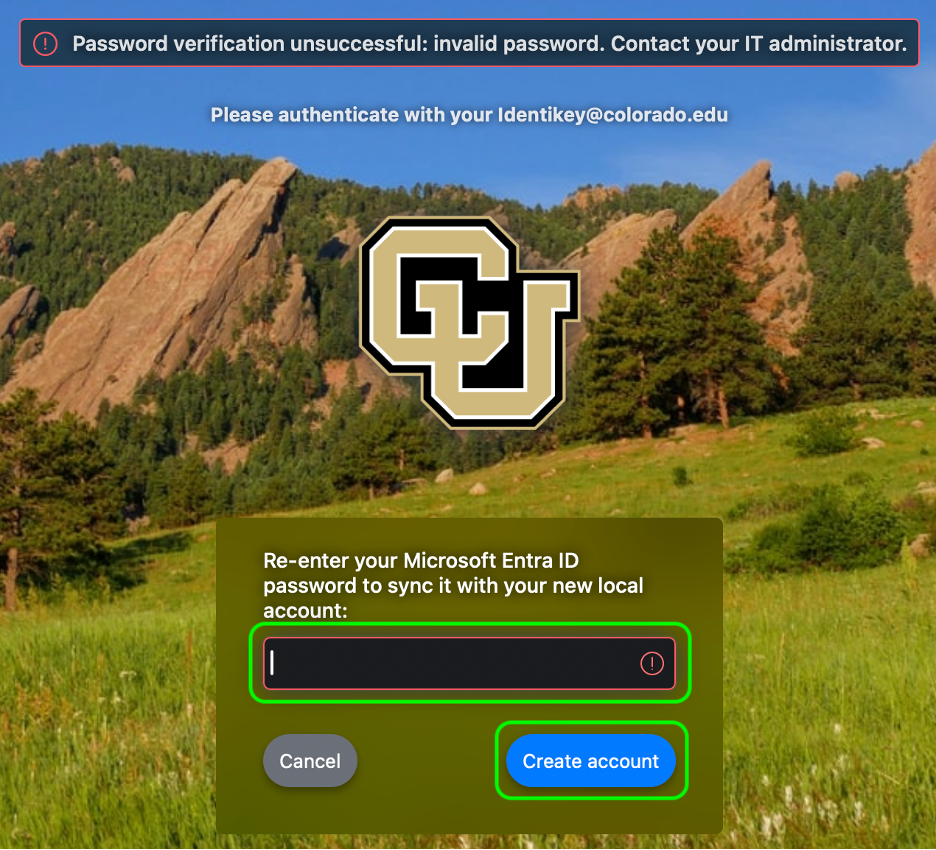
Please note: If you get an error when trying to authenticate with MFA, it is the result of a current known issue. You can either skip using passwordless authentication or try to authenticate and be re-routed by Jamf (as shown). Learn more on the Secure Computing Known Issues page.


Step 16
Step 17
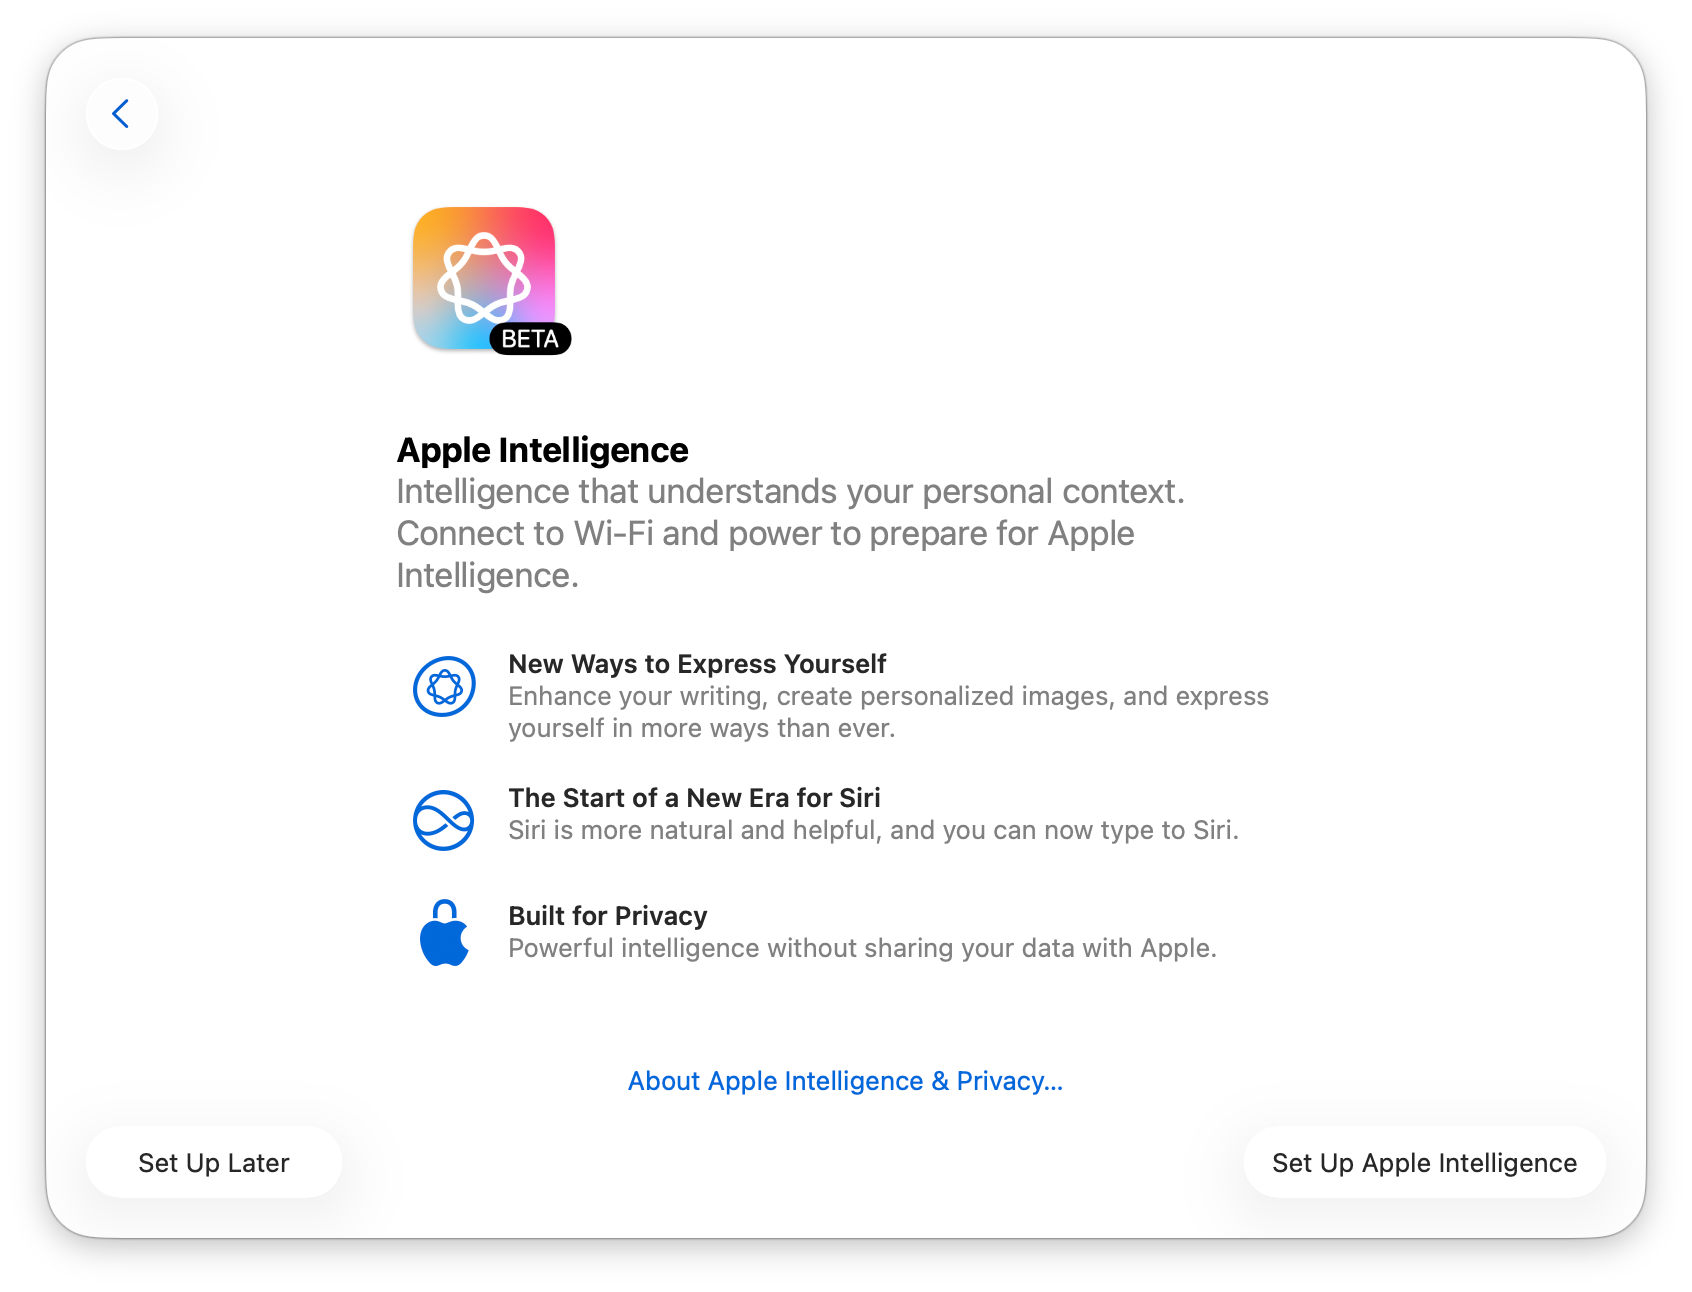
Here you may set up Apple Intelligence, if desired. Please refer to CU Boulder's guidelines for limiting data security risk while using generative AI tools.

Step 18
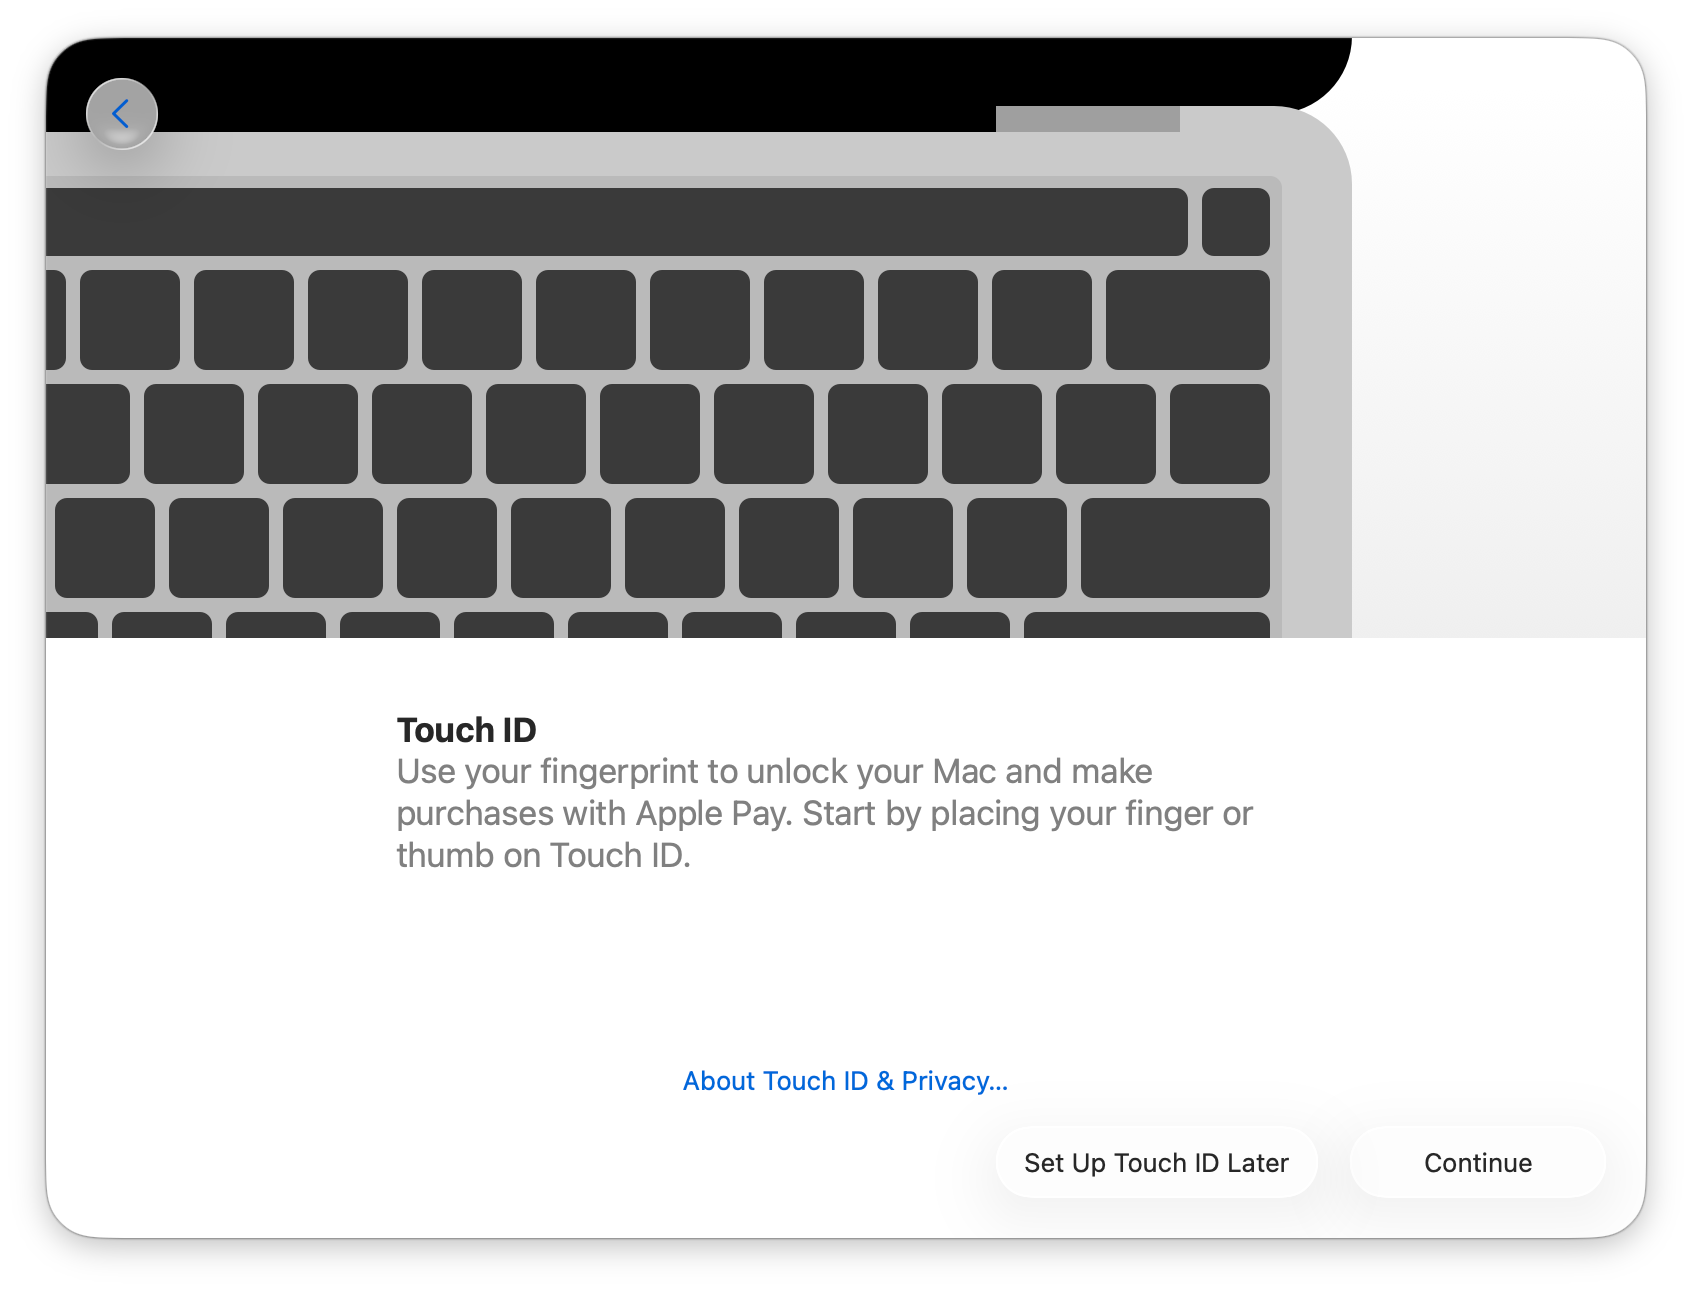
If your Mac or Magic Keyboard has Touch ID, you can use it to unlock your Mac. Visit Apple's website for more information on touch ID.

Step 19


Step 21

Step 22
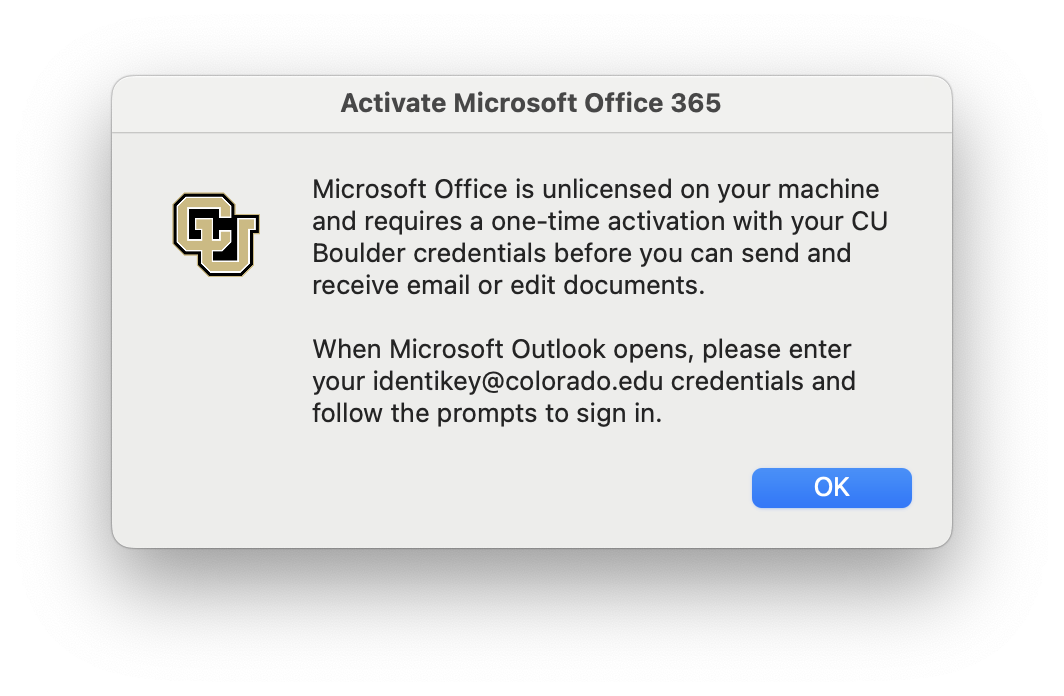
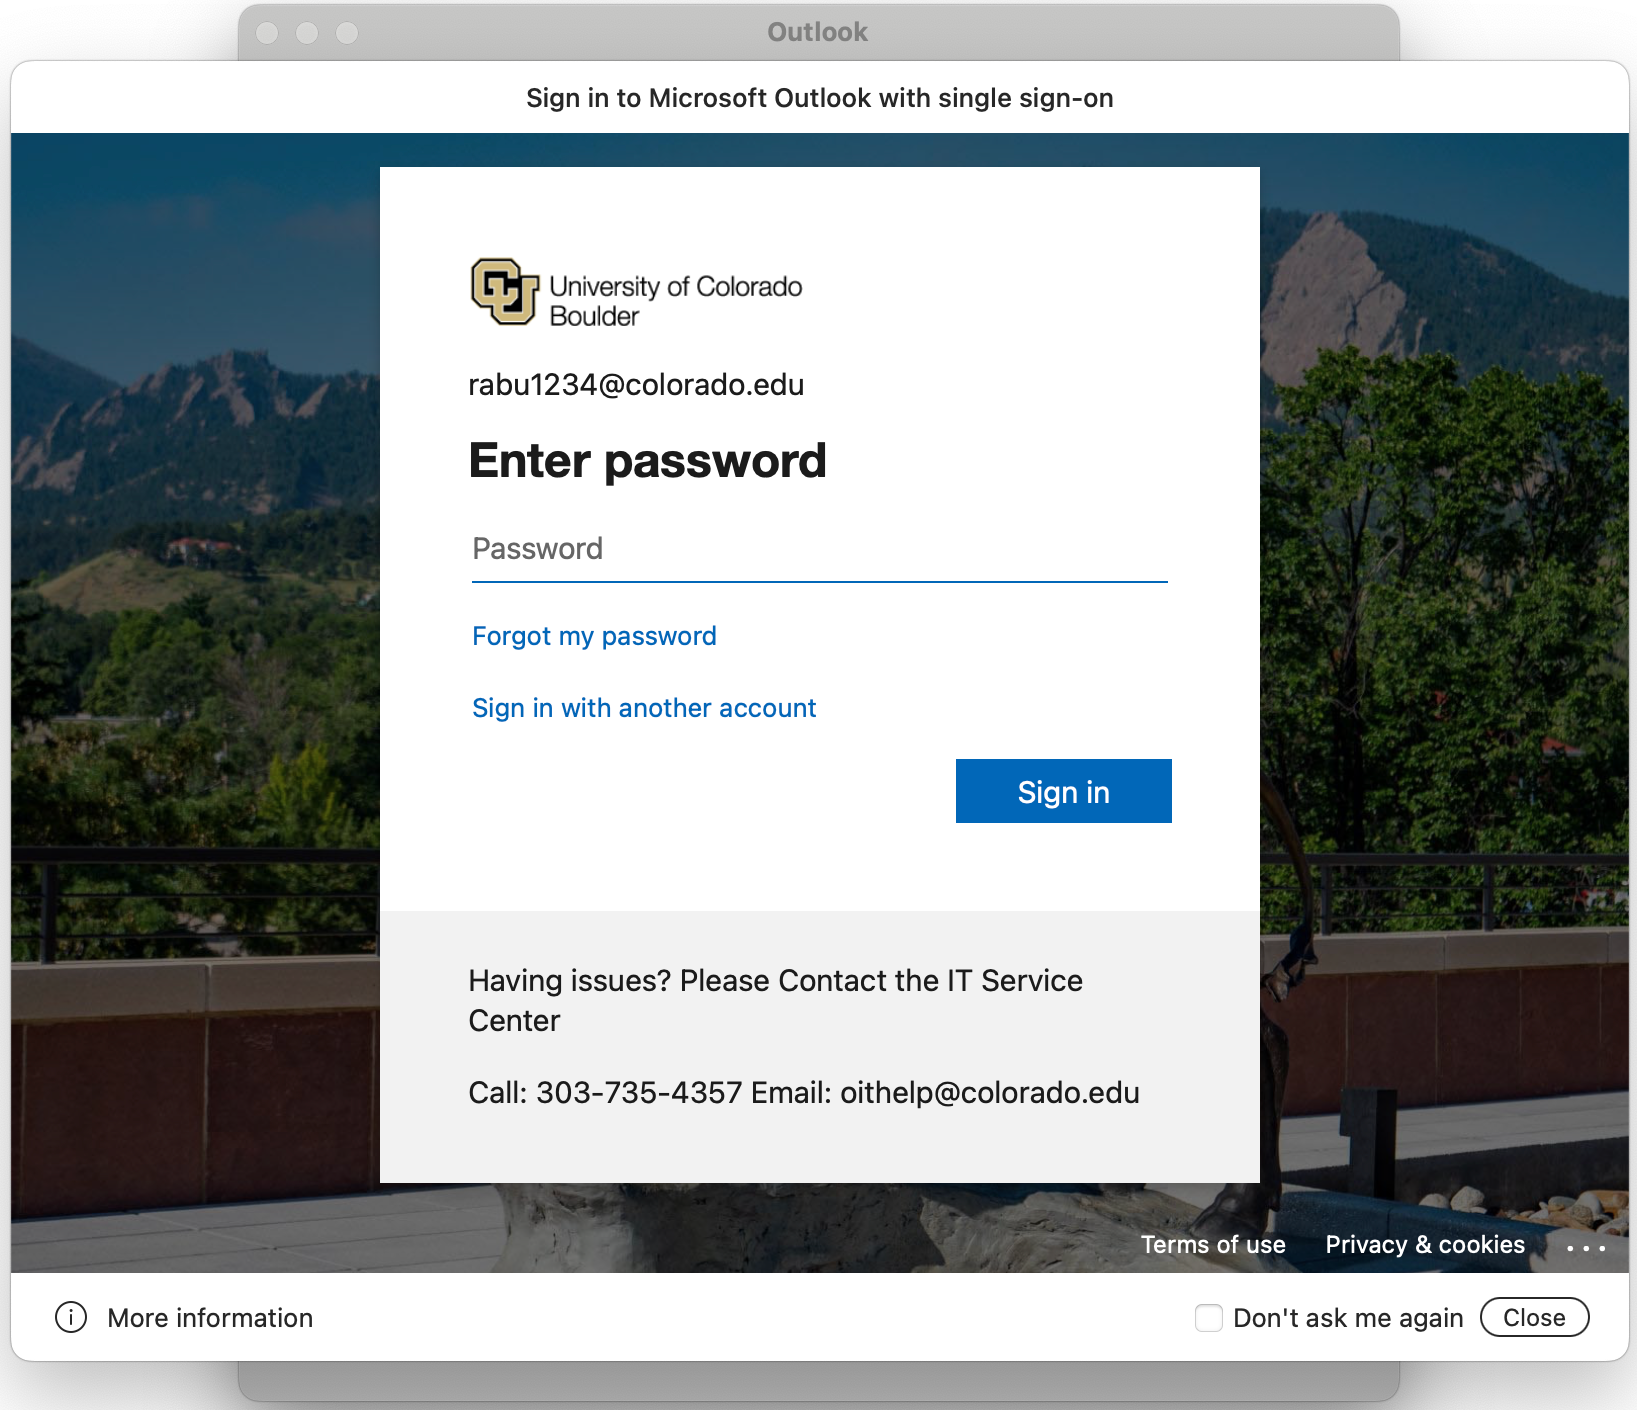
When Microsoft Outlook opens, enter your IdentiKey password into the single sign-on window then click Sign In to setup your email. If you were not prompted by Microsoft MFA when signing in to your computer, you may have to authenticate with MFA after signing in to single sign-on.
You may be prompted to select which account you want to sign in to Outlook with. Select your IdentiKeyUsername@colorado.edu account and finish setting up Outlook.

Step 23
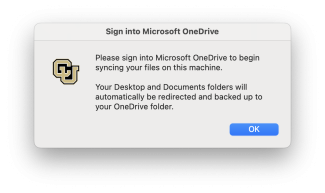
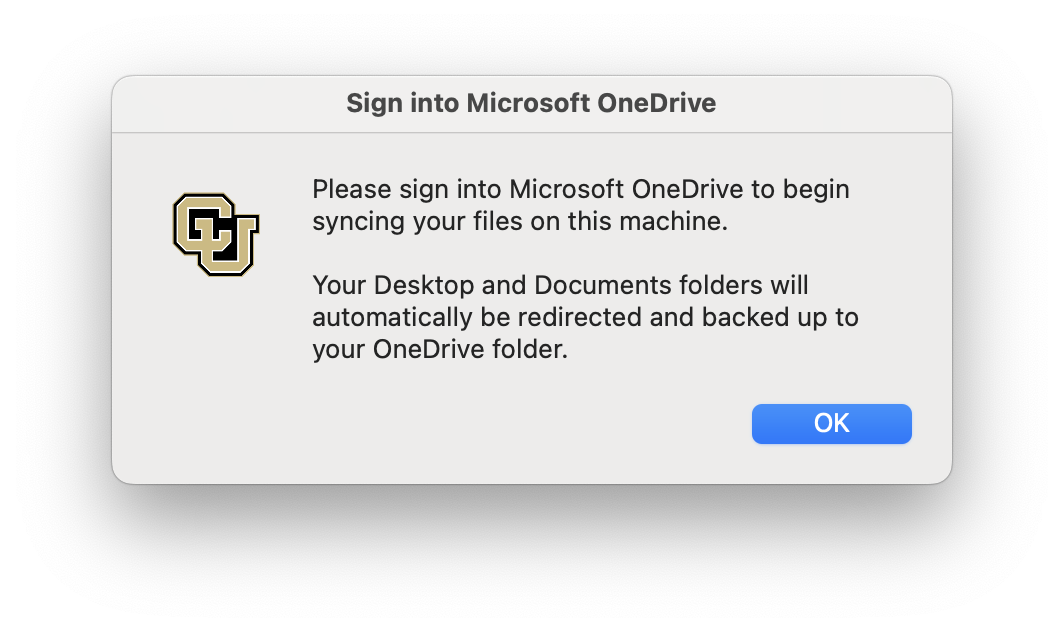


Step 25
Step 26
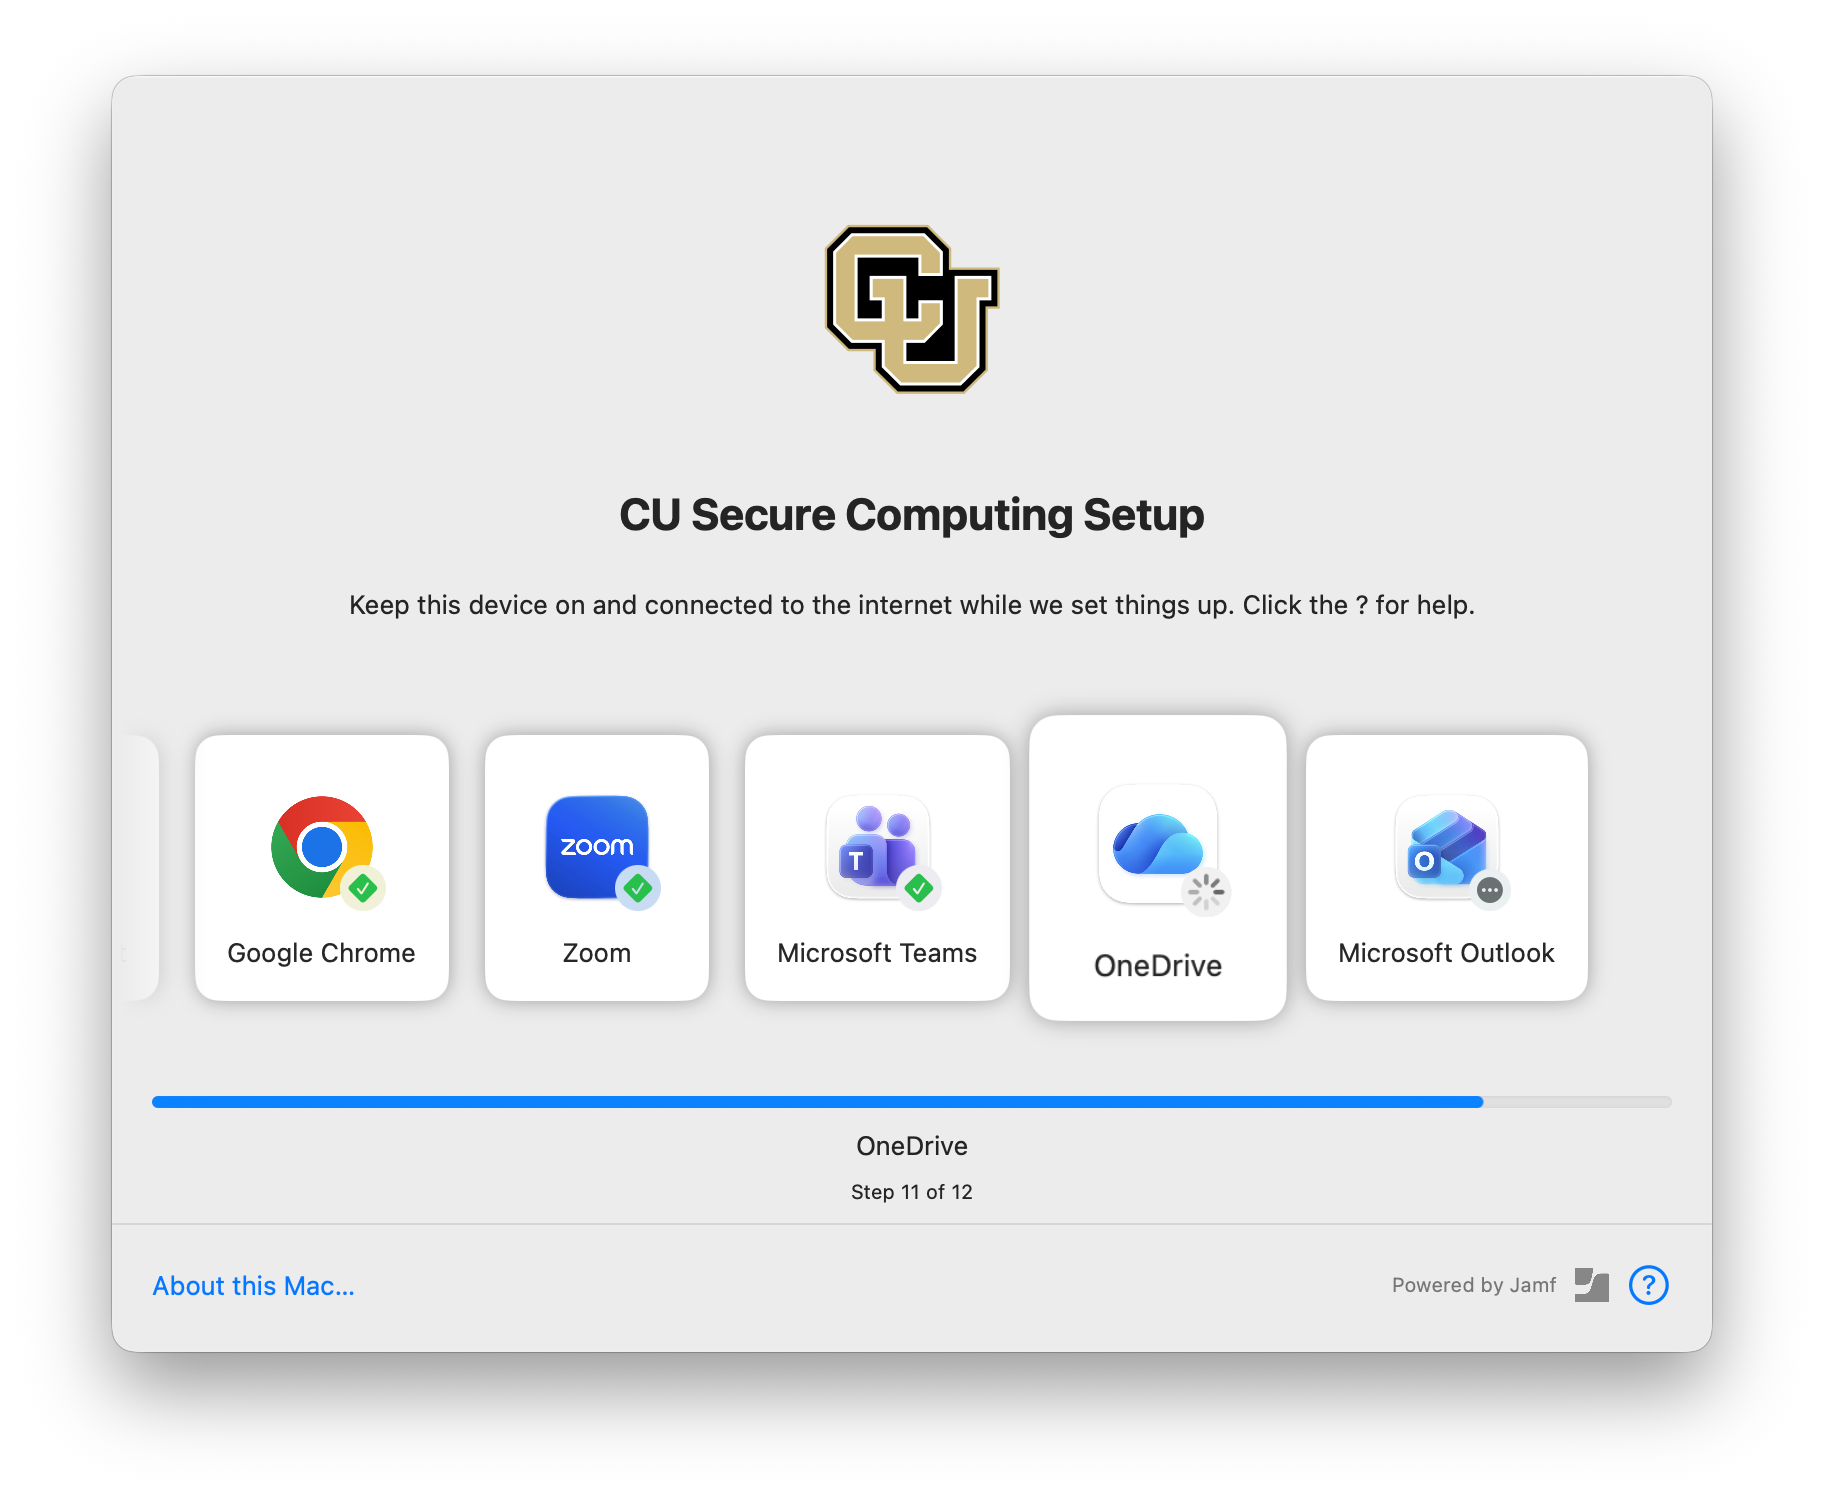
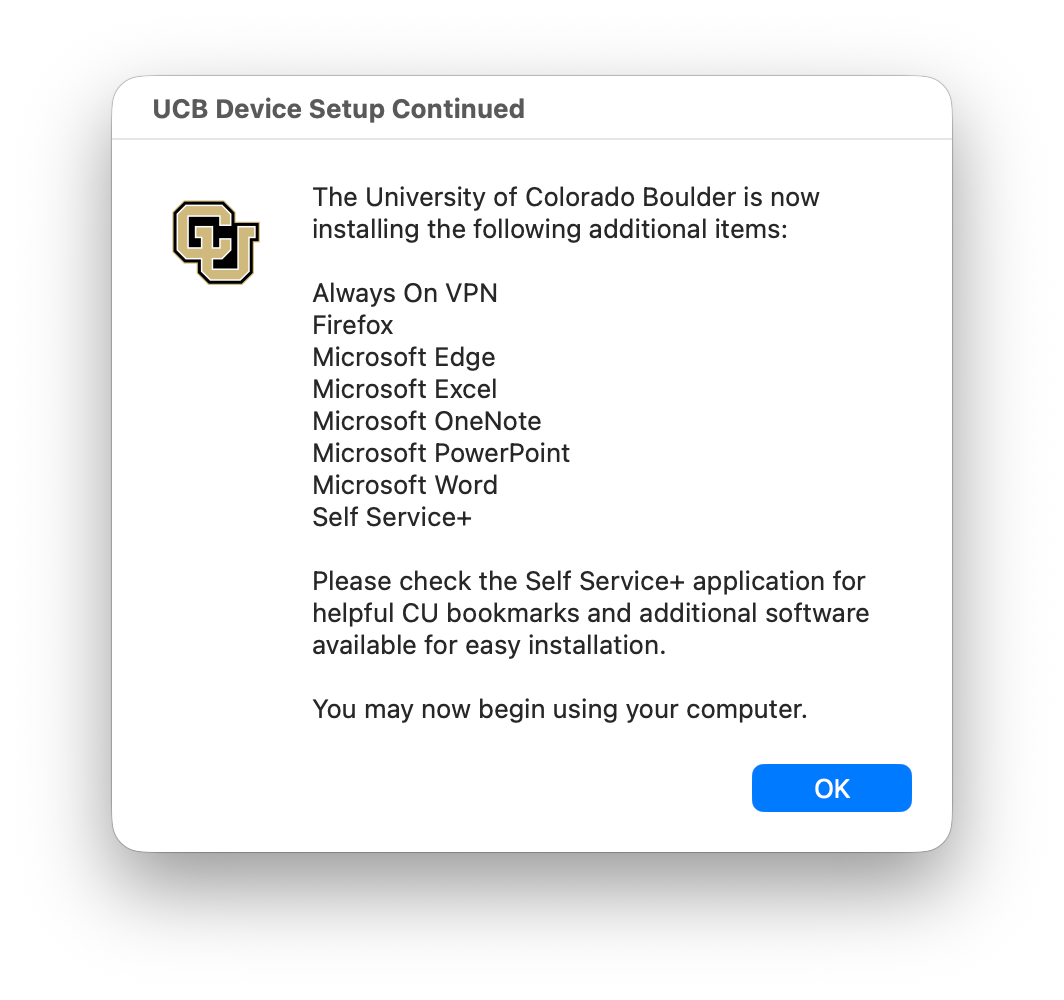
After you have signed in to OneDrive, you will be notified of the included software and settings being installed automatically in the background by CU Boulder. Learn more about the software installed during this process in step 9 above, or on the Privacy & Software Transparency page.
*PLEASE NOTE: The included software will continue to install in the background and may take additional time to finish.

Step 27
Finish setup
As the computer setup process completes, make a note of other software and settings that you may need to customize on your new device. This could include:
- Downloading additional software: All university-owned computers enrolled in Secure Computing have access to an on-demand software catalog in the Self Service application. Check the Self Service application before downloading software from vendor sites.
- Connect devices: Connect keyboard, mouse, webcam, printers, etc. Depending on your device, you may need to re-adjust preferred settings or reach out to your department IT professional for assistance.
- Microsoft Teams settings: You will likely need to reset Teams settings to your preference. Check out OIT's tutorials for changing notifications and configuring voicemail or visit the Teams Service page for more resources.
- Microsoft Outlook/Exchange configuration: Configure preferred settings in Outlook. Visit the Microsoft 365 - Microsoft Exchange page for best practices and other resources.
- Transfer browser settings or bookmarks: If needed, transfer or edit bookmarks on your preferred browser. Refer to vendor documentation if needed: Google Chrome, Microsoft Edge, Firefox, Safari.
- Duo multi-factor authentication: Duo multi-factor authentication is required for some applications on campus, including MyCUInfo, Buff Portal and Cisco VPN. If you haven't already set it up, visit the Duo multi-factor authentication page for instructions and assistance.
- Other settings: Other device settings may need to be reset or changed.
Step 28
Setup Troubleshooting
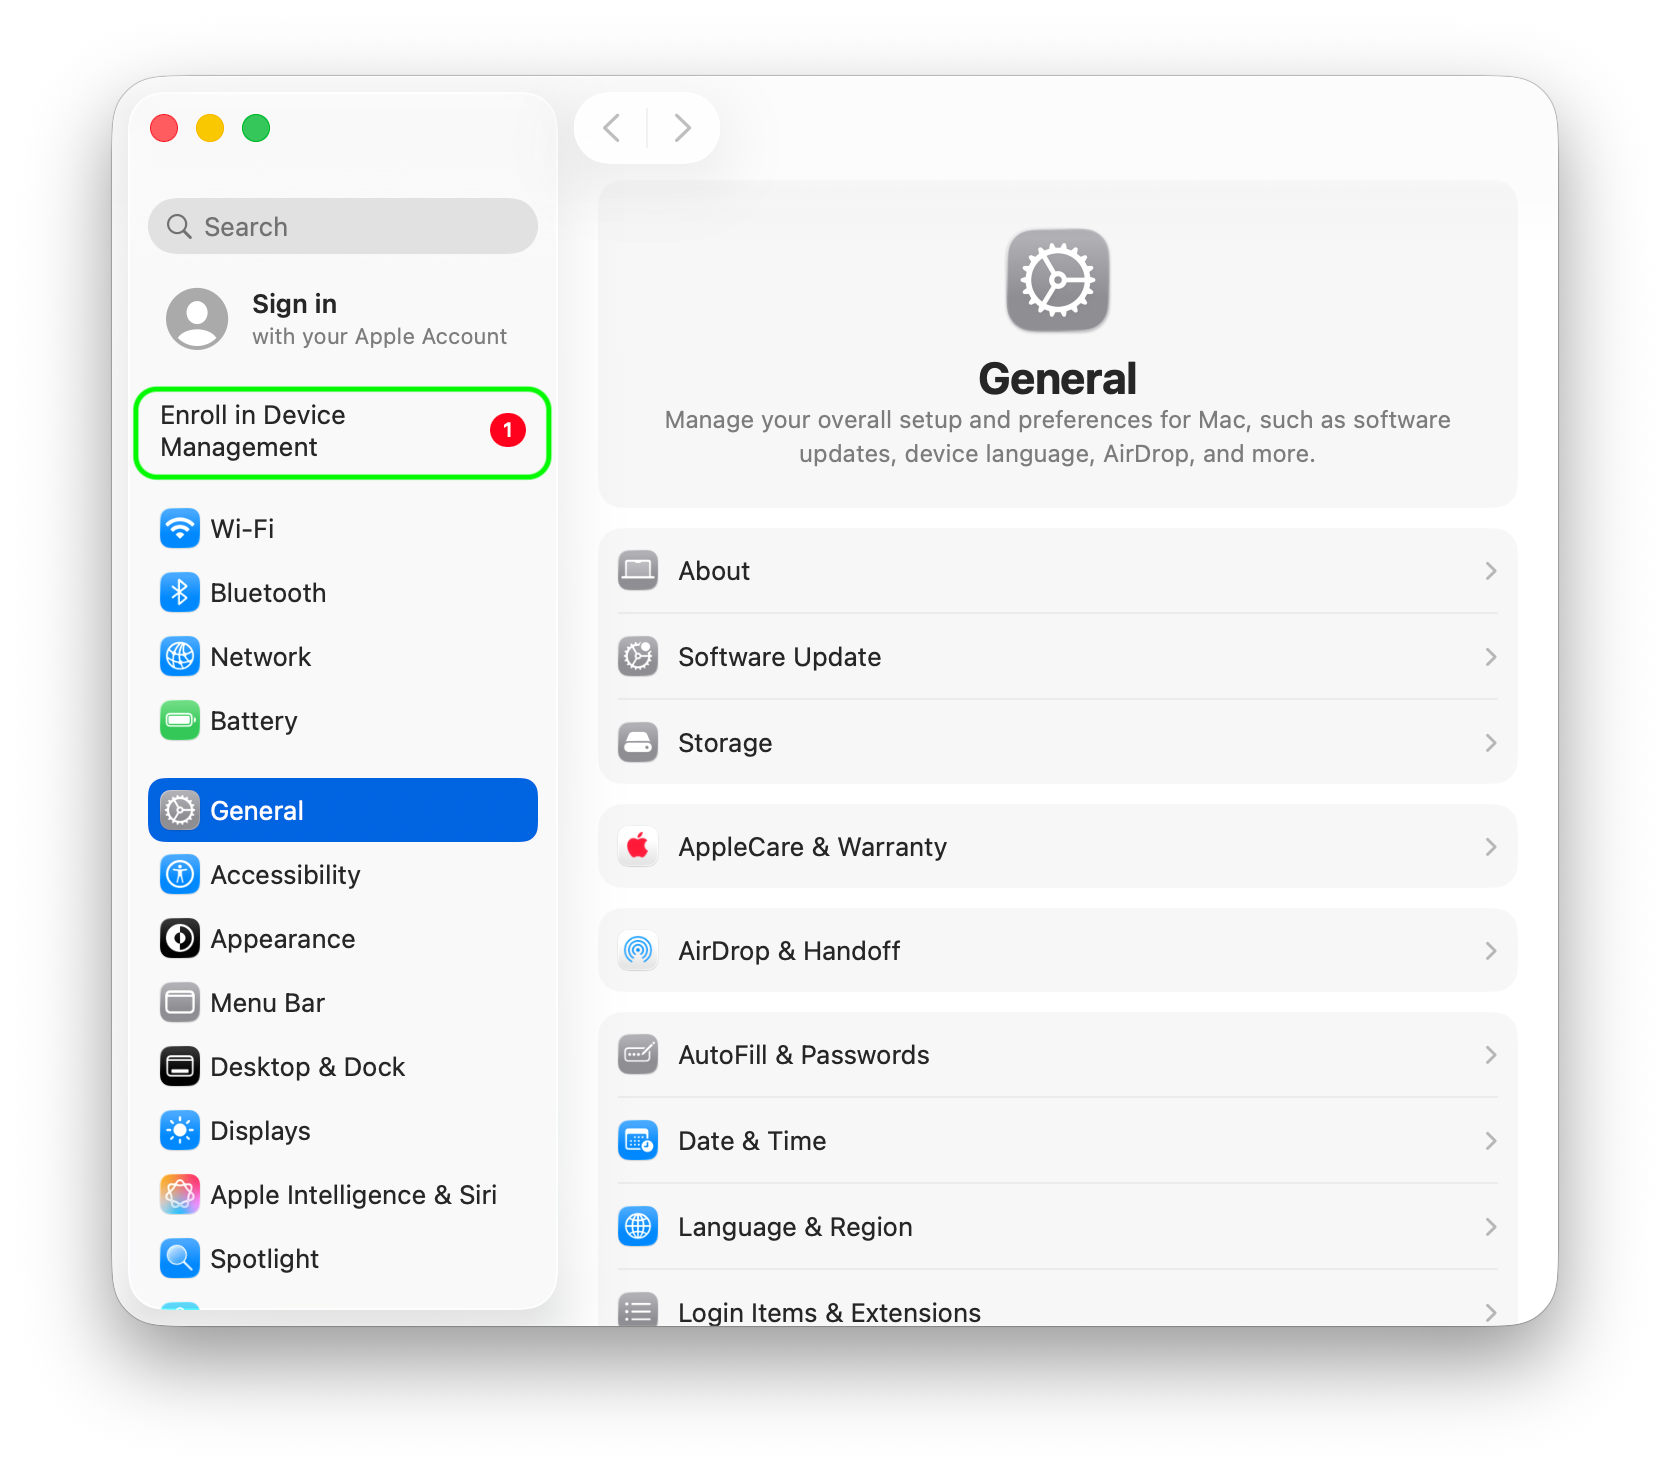
- If your computer fails to enroll in CU's Secure Computing framework during the initial setup, you may begin the process by opening System Settings and clicking on Enroll in Device Management. If this option isn't available, please request assistance from your departmental IT liaison or BTP technician using the BTP Request Portal.
- If any of the individual applications from the included software fail to install, you can install them again from the Featured section of Self Service.
- If the Self Service application isn't automatically installed on your computer, please request assistance from your departmental IT liaison or BTP technician using the BTP Request Portal.

Step 29
OneDrive Troubleshooting
If you did not back up your data prior to receiving your new laptop, your data will not appear in OneDrive. Follow the steps below to fix this:
- Dedicated Desktop Support customers: Please contact BTP immediately using the BTP Request Portal so your BTP technician can help transfer your data.
- Non-BTP customers: Back up your locally stored data from your other computer. You will not need to do this for files that are saved in Google Drive, OneDrive, a departmental file server or the UCB Files fileservers (\\ucbfiles.colorado.edu, \\files.colorado.edu, or \\cvcn.colorado.edu). For all other files stored on your computer, please use the appropriate instructions to upload your files to Microsoft OneDrive: back up files from a PC to OneDrive or back up files from a Mac to OneDrive.
Please note: When you sign in to OneDrive, enter your email address in the IdentiKeyUsername@colorado.edu format, not FirstName.LastName@colorado.edu.
Once you have uploaded your data into OneDrive, your files will appear on your new laptop in the OneDrive folder. If you are able to log in to Microsoft Teams or OneDrive but do not see data, you might have a licensing issue. Visit the Microsoft 365 desktop and mobile apps page for more information.