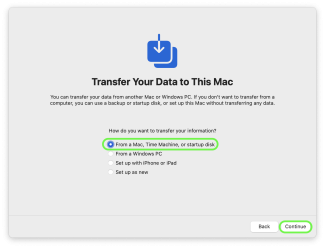
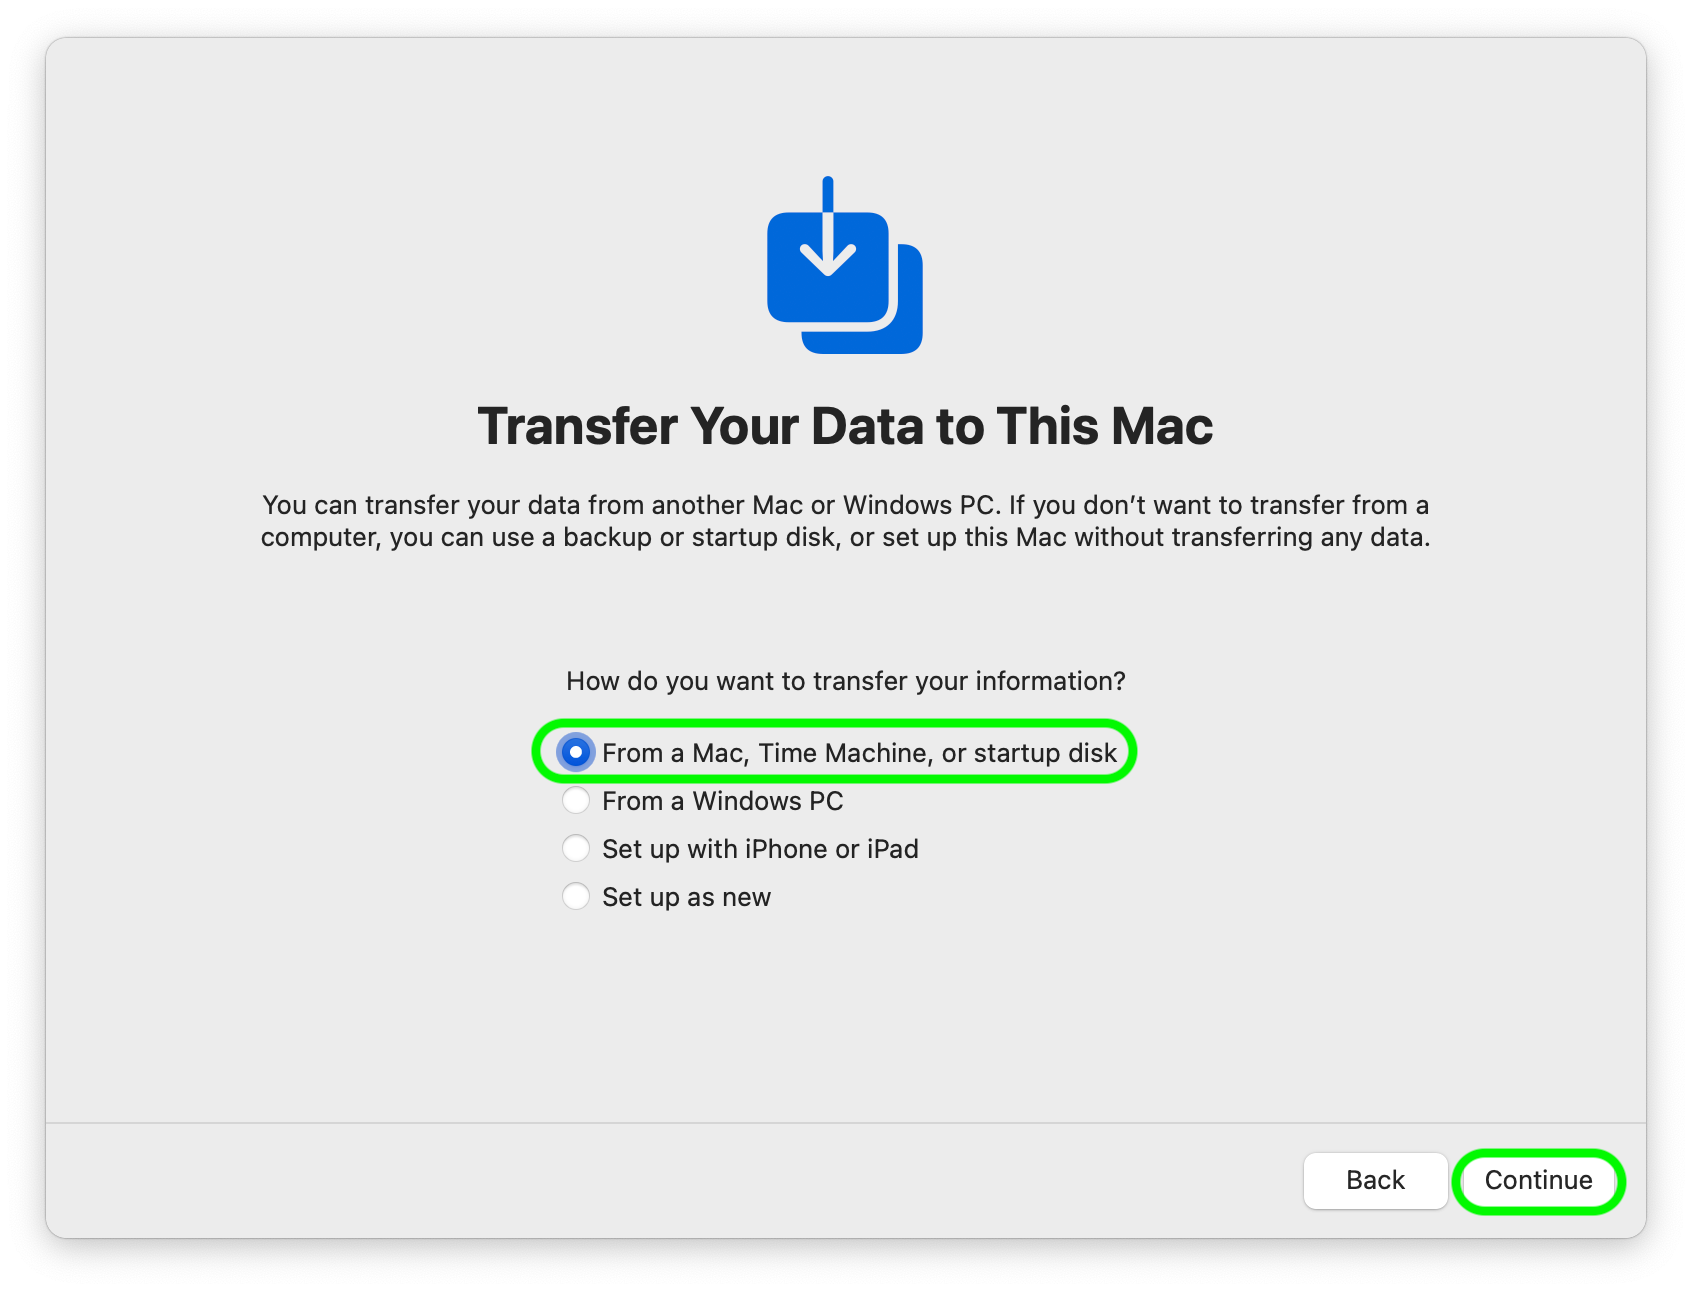
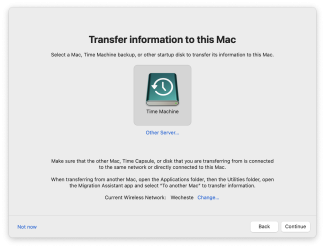
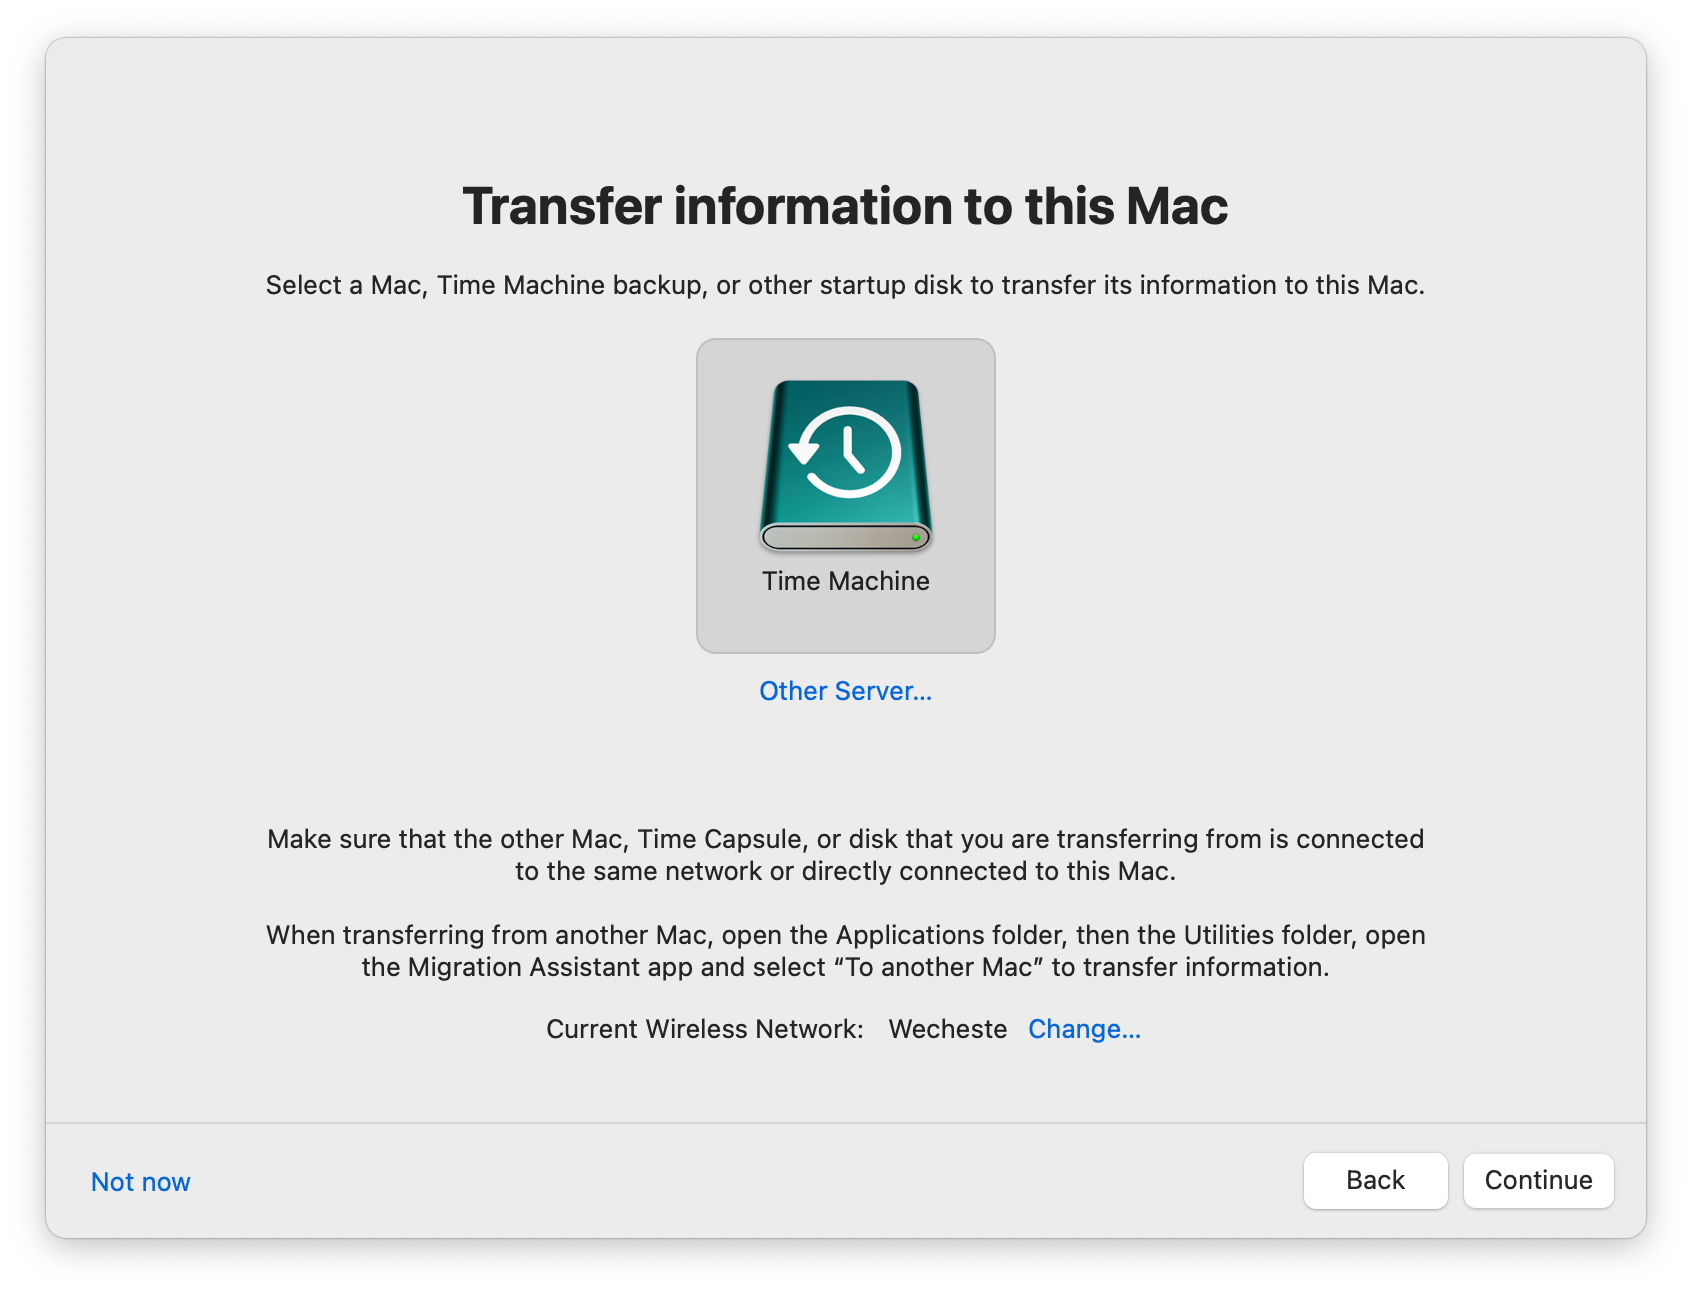
Secure Computing - Transfer Data From a Time Machine Backup

Follow the steps below to transfer data from a Time Machine backup drive or a previously used Mac during the initial setup of the new computer. Please request assistance from your departmental IT professional or Buff Techs before using Migration Assistant if restoring from a backup after having already completed the initial setup.

Layout:
one column
two columns

Step 1

When prompted to transfer data to this Mac, select the option to transfer data From a Mac, Time Machine, or startup disk. Connect your backup source to the new computer.

Step 2

Next you'll be prompted to begin the University of Colorado Boulder's enrollment process. After you click Enroll, the Remote Management screen will display messages informing you that your device is connecting to 'casper.colorado.edu' and installing various profiles and applications.

Step 3

After completing enrollment, select your backup source and continue. You may be prompted for a password to unlock your backup source if it is encrypted.

Step 4

Migration Assistant will then take a moment to prepare the backup source before asking you to choose which you would like restored. Uncheck the boxes for any ciscoacvpnuser and caspermgmtacct user accounts. 

The option to transfer System & Network settings is automatically disabled by Apple for computers enrolled in remote management. Please note that some software may not function properly when restored from backup, so you may want to also consider unchecking the checkbox for Applications.
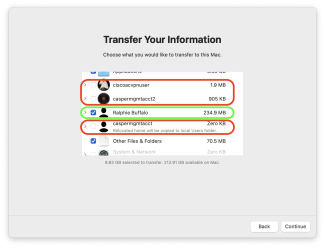
Step 5

You will then be asked to provide a temporary password for each user account being transferred. This temporary password will be replaced by your IdentiKey password upon first login, so we suggest using that password now to get used to this process.

Step 6

Enter and confirm the password, then click Set Password to continue. 

Step 7

Confirm that Keep both user accounts is selected and click Continue

Step 8

The data transfer will then begin and may take up to several hours to complete for larger backups. The computer will restart when done. 

Step 9

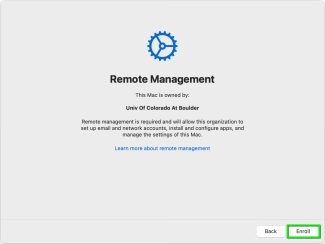
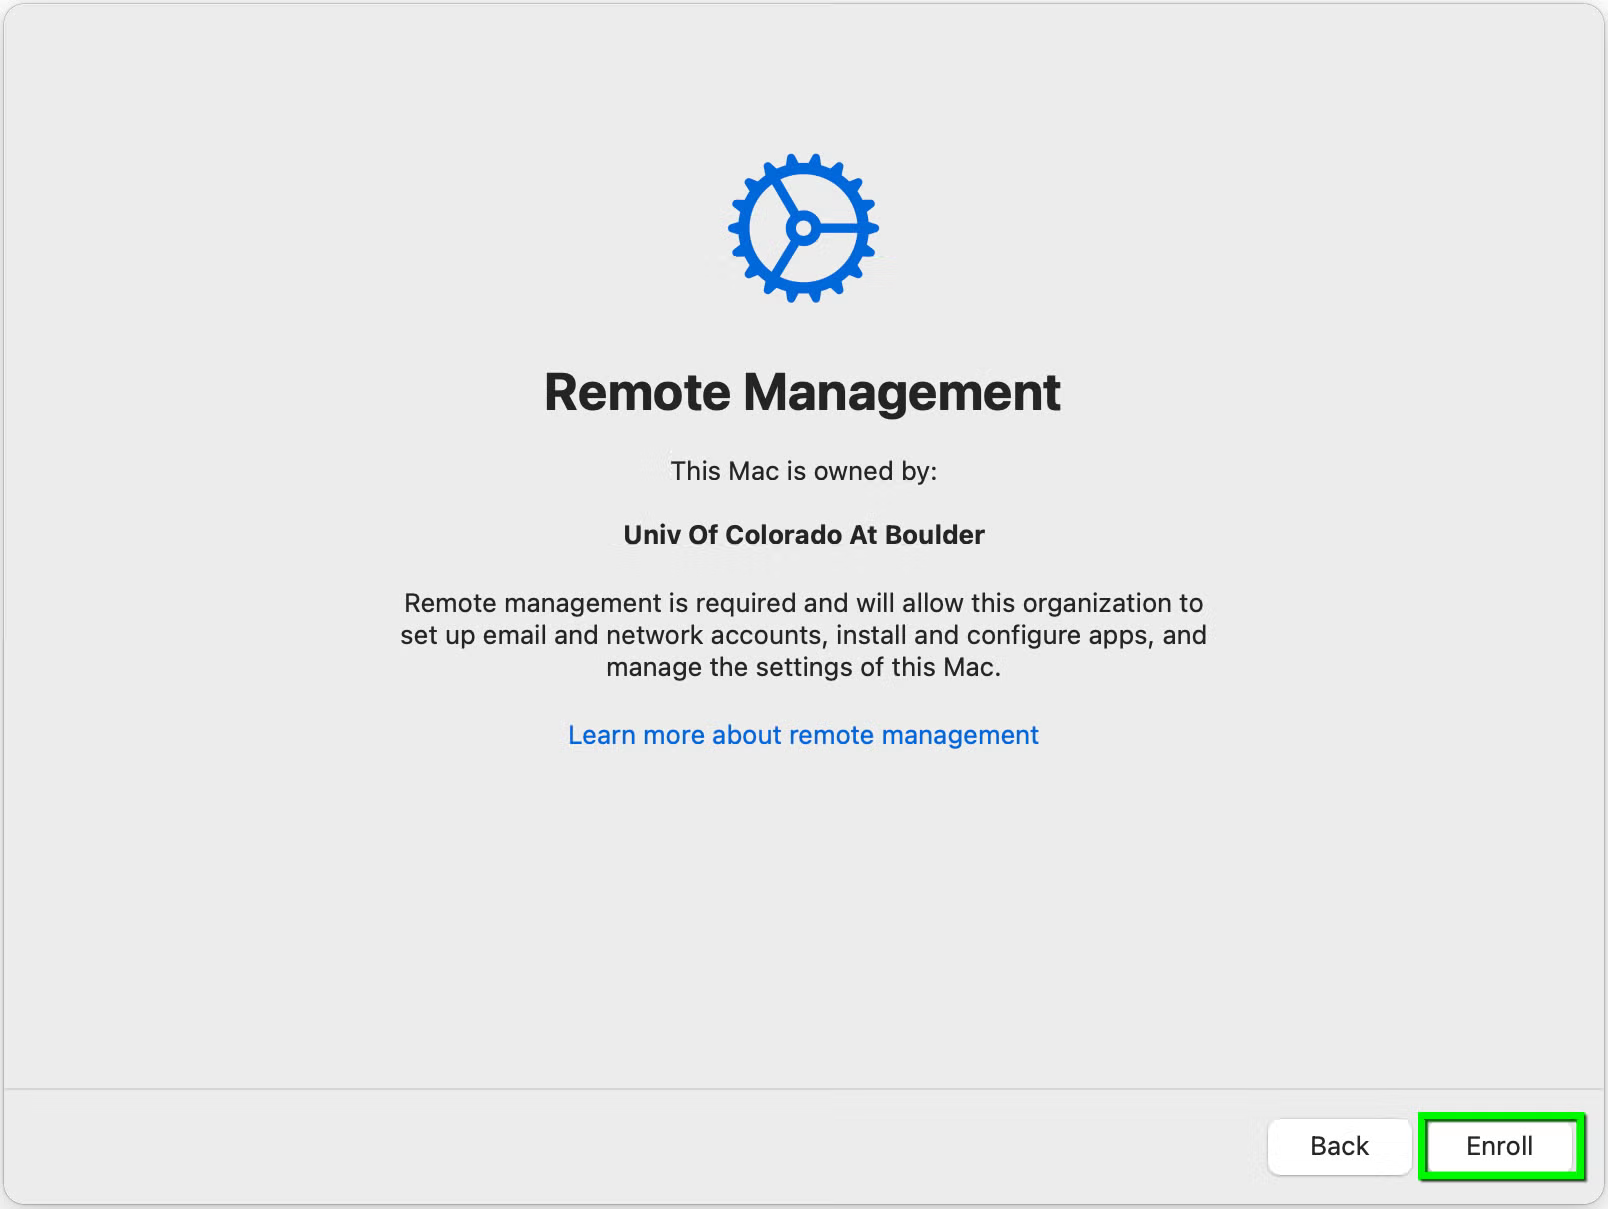
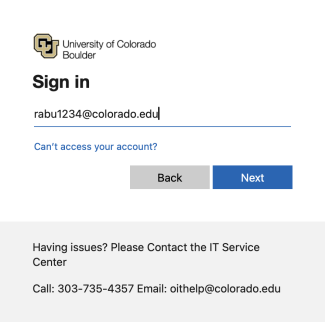
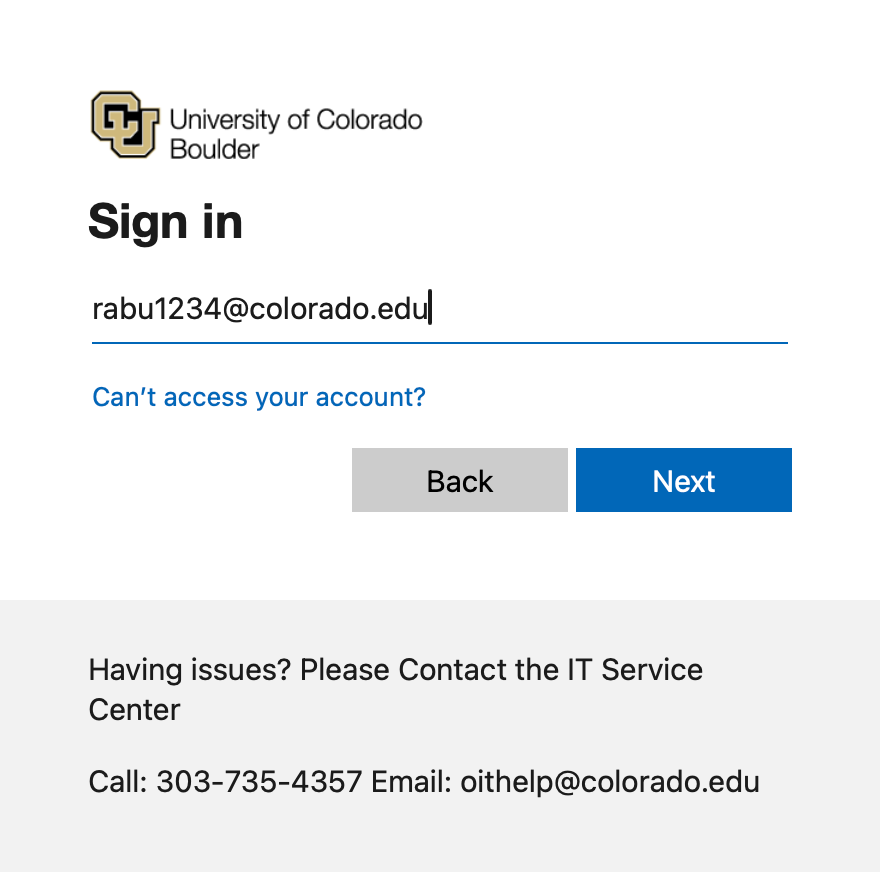
After restart, enter your IdentiKey username and password to sign in to authenticate your identity with the University of Colorado. You may be prompted to complete Microsoft multi-factor authentication at this time.

Step 10

If you entered a temporary password different from your IdentiKey password in step 6, you'll be prompted to enter that password now. Going forward, log in to this computer using your IdentiKey password. 

Step 11

Complete the standard setup process following the Secure Computer Setup Guide for Macs.