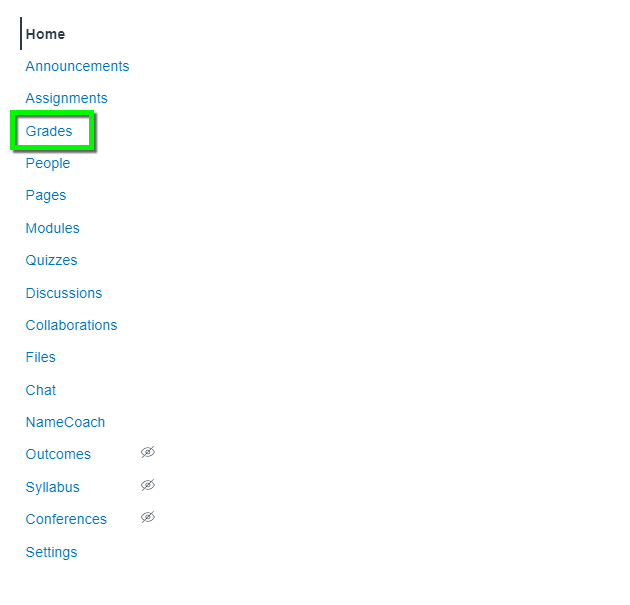
Before Getting Started
- The Office of the Registrar's Web Grading System requires the use of letter grades. Before exporting your final grades, review the default Grading Scheme in Canvas. To use a different grading scheme, follow the "How do I add a grading scheme in a course?" tutorial.
- Double check that ungraded items are treated as you prefer. The ungraded items tutorial will show you how.
- Review your Gradebook to ensure all grades have been properly entered and that final grades are calculating the way you want them to. You can pick a student and use pen, paper and calculator to work out their final grade by hand based on their scores. Alternatively, you can enter scores using the Test Student in your course (see the "How do I view a course as a test student using Student View?" tutorial). If the grade you calculate differs from the grade in Canvas, double check the settings of your grade items and categories to ensure Canvas is calculating the grade the way you intend.


Step 3
Open the CSV file in Microsoft Excel.
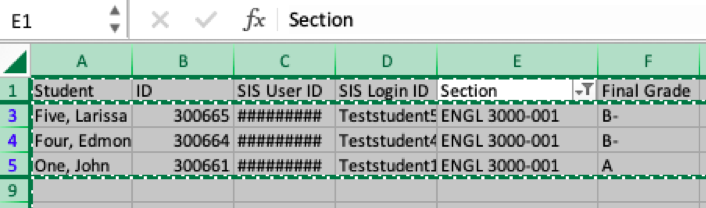
*Please note: You can only upload one section at a time to the Office of the Registrar's Web Grading System. If your course has more than one section, all sections will be included on the same spreadsheet. In order to separate your sections into different workbooks, go to the next step. If your course only has one section, skip to step 10.
Step 4


Step 6
Step 7

Step 8
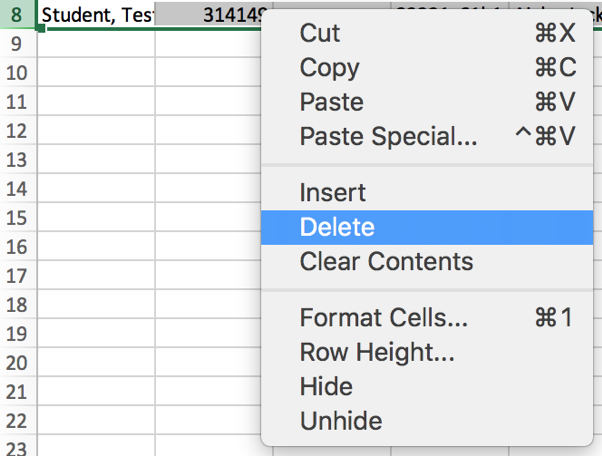
Select File > New to create a new workbook, then click the first cell in the workbook and paste the content you copied.
Now you have a workbook for only one of your sections. Save the new workbook with the course and section number and repeat this process for as many sections as you have in your course before moving on.
Step 9

Step 10


Step 11


Step 12
Click File > Save As.
- If you're using a PC, save your gradebook in the CSV (Comma delimited) (.csv) format.
- If you're using a Mac, save your gradebook in the Comma Separated Values (.csv) or MS-DOS Comma Separated (.csv) format.
Give your file a short name (e.g., JOUR1001-100.csv), as Web Grading can occasionally produce an error message if a file name is too long. Be sure to save the file somewhere you can easily find it, such as your desktop. If you would like to save a copy of your students' final grades for your records, protect your Excel file.
Step 13
Repeat steps 10–13 for all of the section workbooks you created before completing the upload process.
Step 14
Follow the instructions on the Office of the Registrar's Post Final Grades page to upload your CSV(s) to the Web Grading System.
If you had previously hidden your students' final grades in Canvas, be sure to unhide final grades so your students can see them.
For assistance with uploading and posting your students' final grades to the Web Grading System, see Post Final Grades or contact the Office of the Registrar at registrar@colorado.edu or 303-492-6970.