OneDrive - Transfer Ownership of Shared Files

Use this tutorial to transfer ownership of a shared file or folder from your personal CU Boulder Microsoft OneDrive account to someone else.

Layout:
one column
two columns

Step 1

Open a web browser and log in to your CU Boulder OneDrive account.

Log in to your CU Boulder OneDrive account.

Step 2

In the left-hand navigation, click on Shared.

In OneDrive, click on
In OneDrive, click on "Shared."
In OneDrive, click on

Step 3

Next, along the top of the page, select the "By you" tab.

Select the
Select the "By you" tab.
Select the

Step 4

Locate the file or folder you'd like to transfer, then click the three dots icon ("Show more actions for this item") next to it.

Locate the file or folder, then click the three dots icon (
Locate the file or folder, then click the three dots icon ("Show more actions for this item") next to it.
Locate the file or folder, then click the three dots icon (

Step 5

Click Manage access.

Click
Click "Manage access."
Click

Step 6

Find the new owner's name and confirm they have Can edit access.

Find the new owner's name and confirm they have
Find the new owner's name and confirm they have "Can edit" access.
Find the new owner's name and confirm they have

Step 7

If they don't, click on their name and then change their access level.

Click on their name and then change their access level.

Step 8

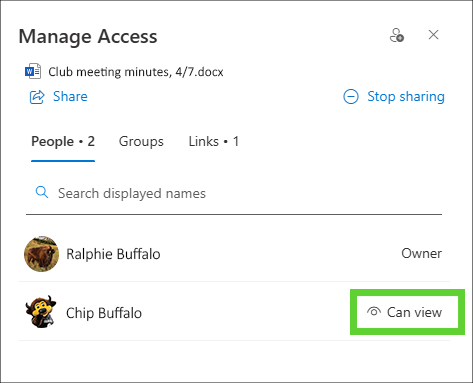
Let the new editor know to look for your file/folder under their own OneDrive library's Shared tab.

Step 9

To complete the process, the new editor needs to download your file(s), which will create a new copy that they own.

Step 10

The new editor can then upload their copy to either their own OneDrive account or a department-owned SharePoint or Teams site.