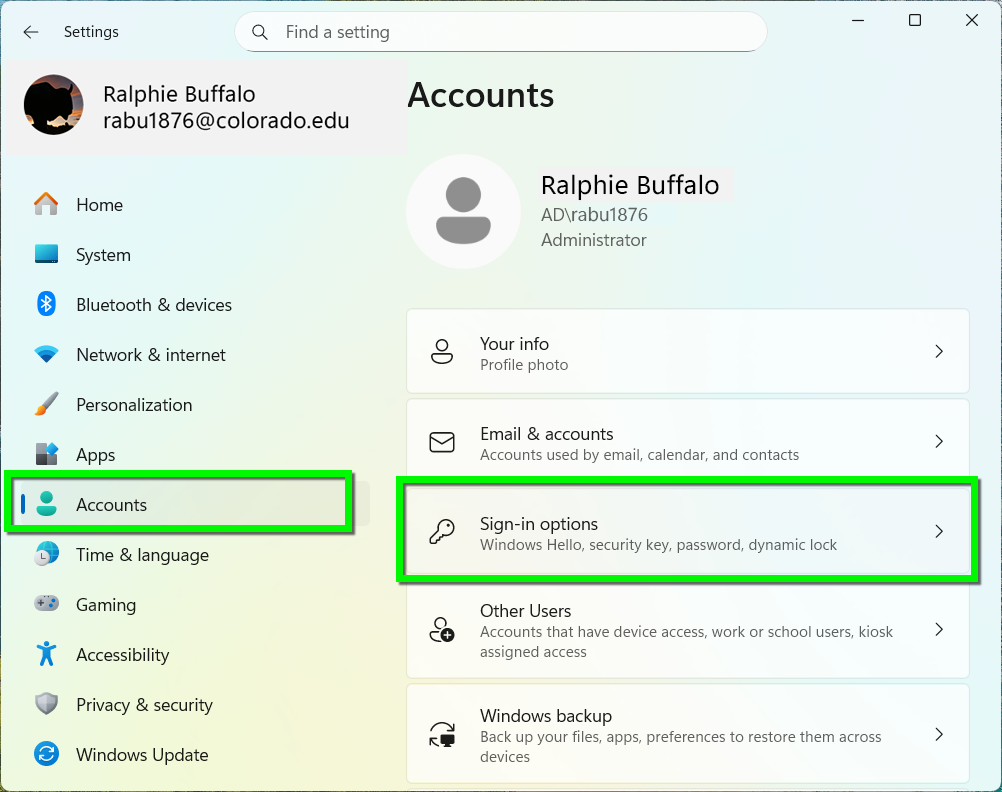
Step 2
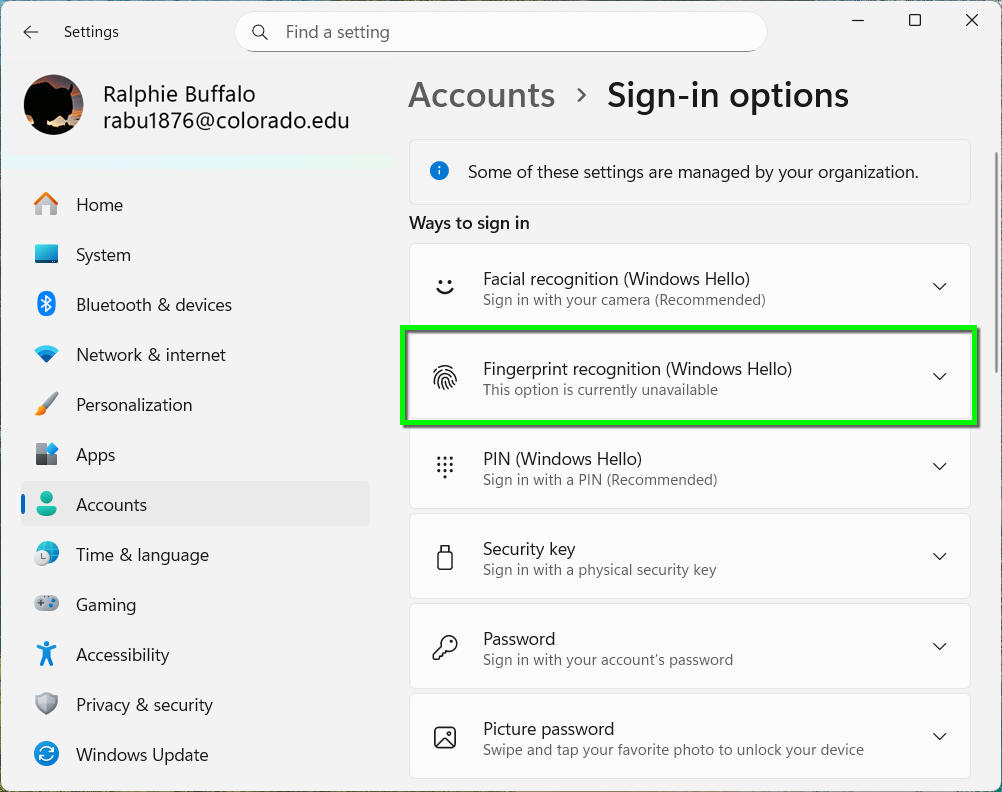
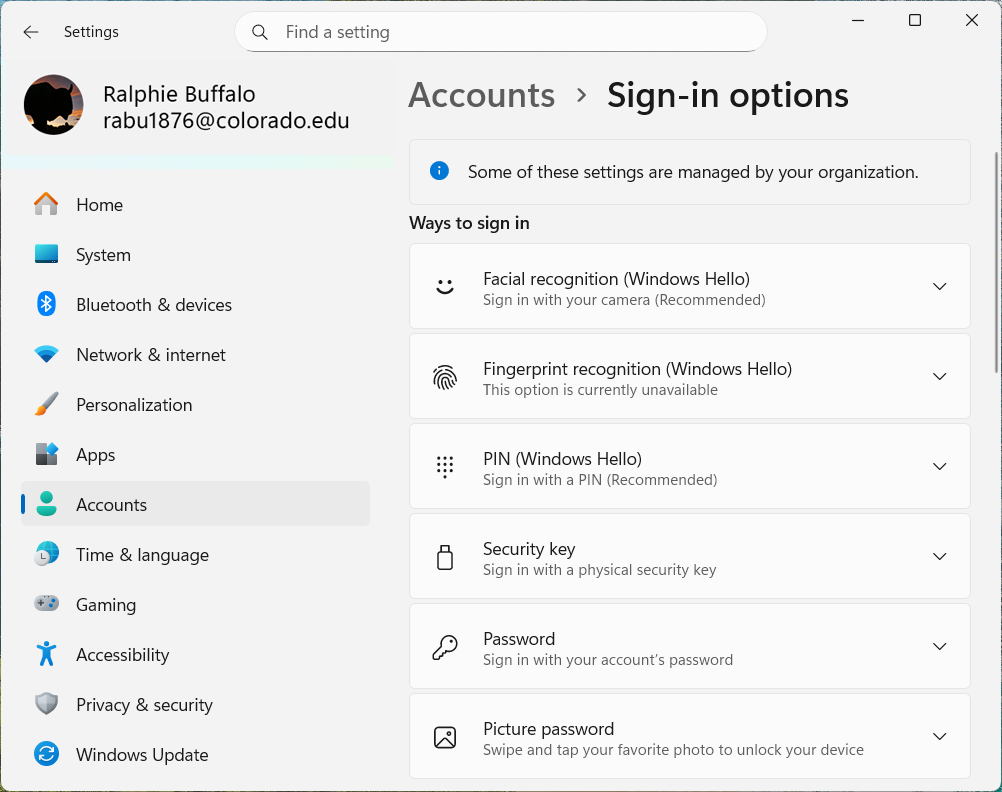
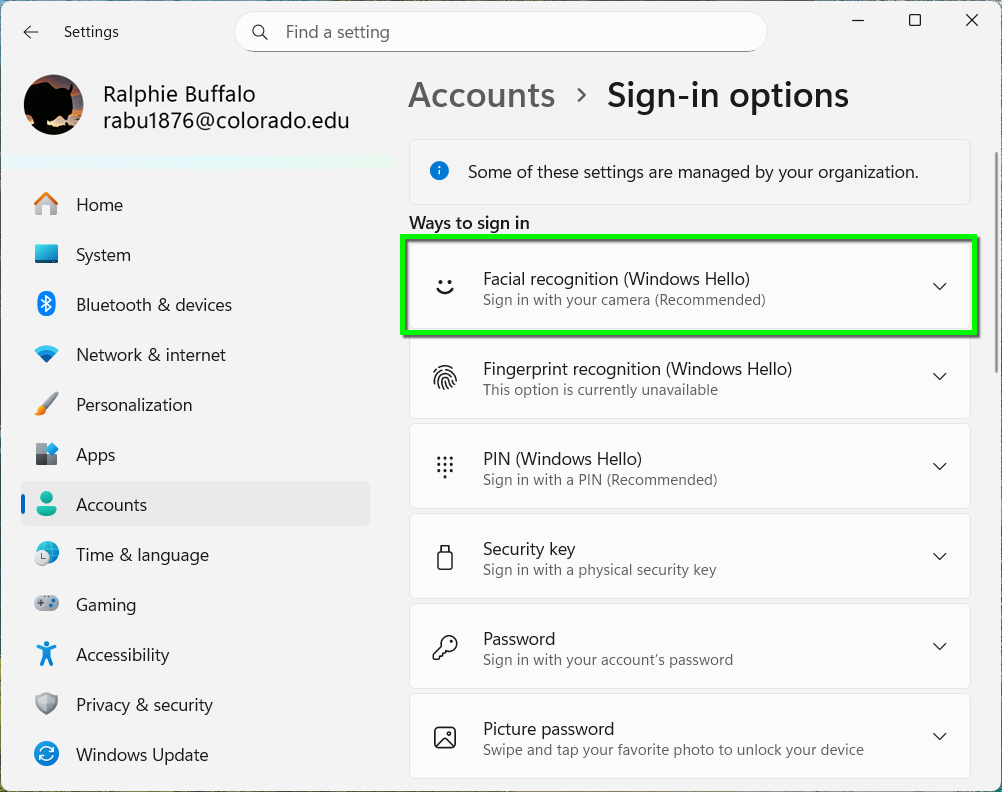
The options available to you will depend on your device. In this tutorial we'll cover the following options:
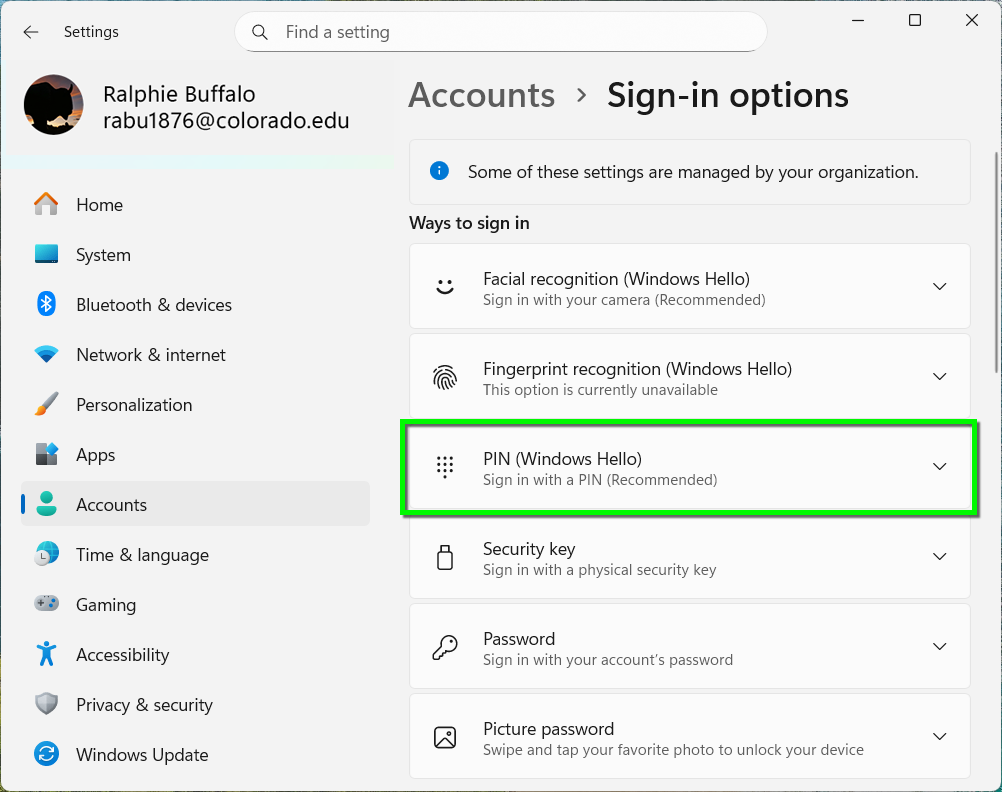
- PIN allows you to sign in with a PIN number you create.
- Facial recognition requires an infrared camera, which includes most modern laptop webcams.
- Fingerprint recognition will require a fingerprint sensor
All options require a TPM – a microchip in your PC dedicated to creating and storing encryption keys – which all university-purchased Windows devices include. Setting up either Facial or Fingerprint recognition will also require you to set up a PIN as a backup method.




Step 5


Step 6
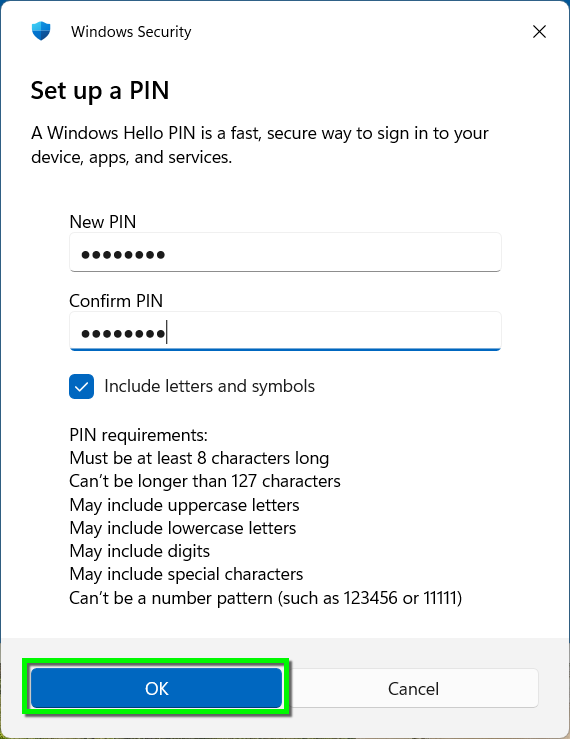
Set and confirm a unique PIN. It must be at least an 8-digit number, but you can choose to include letters and symbols for complexity if you'd like.
This PIN is only valid on the device it is created on and will not be useable on any other device, and it is never sent to OIT or Microsoft.
Click OK to confirm your PIN.






Step 10
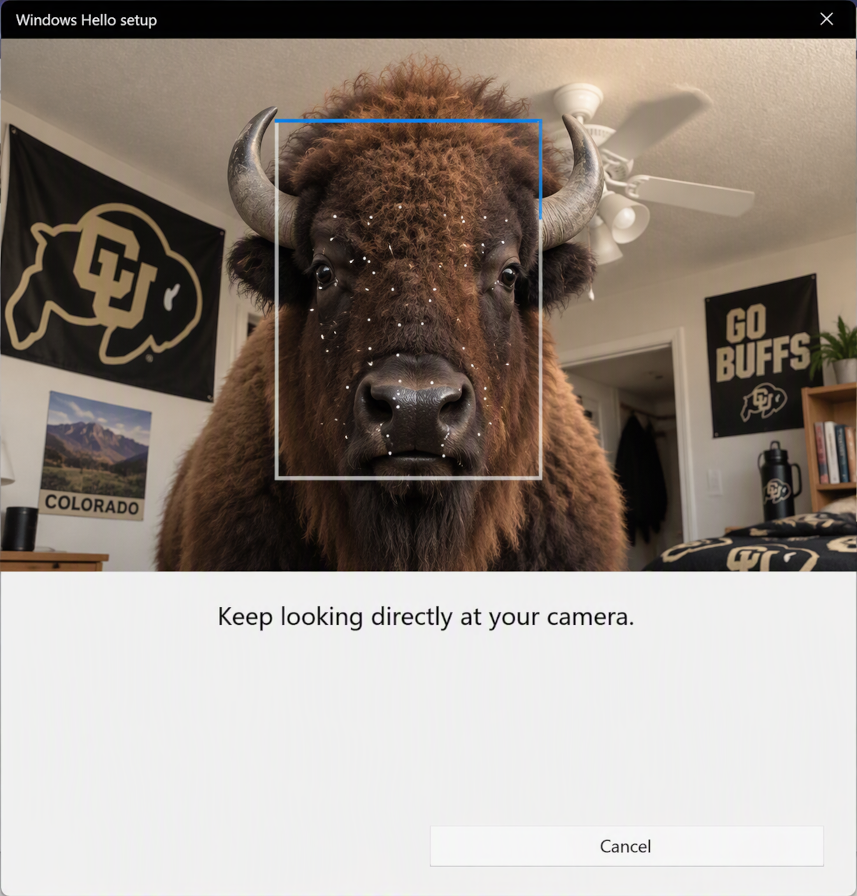
Follow the on-screen instructions for distance, orientation, and lighting as it builds the algorithmic representation of your face.
No image of your face is ever stored on the device or sent to OIT or Microsoft – it is only a mathematical representation that will be compared against future attempts.

Step 11
Before Facial recognition is enabled, you'll be asked to set up a PIN as a backup authentication method if you haven't already (for assistance, follow the PIN Set Up instructions above, starting with step 3).


Step 12
Fingerprint Recognition Set Up
Fingerprint recognition setup is similar to Facial recognition.
Click the Fingerprint recognition (Windows Hello) option then use the fingerprint sensor on your device to build an algorithmic representation of your finger that will be compared against future login attempts.
As with facial recognition, no images of your fingerprint are stored on the device or sent to OIT or Microsoft.