Microsoft 365 Multi-Factor Authentication - Add Passkey in Authenticator App for iOS

Use these instructions to set up a Passkey in the Microsoft Authenticator App for Android devices. To access and update your current Microsoft MFA settings, use the Find and Update Security Info tutorial. Learn more about Microsoft MFA.

OS:
Layout:
one column
two columns

Step 1

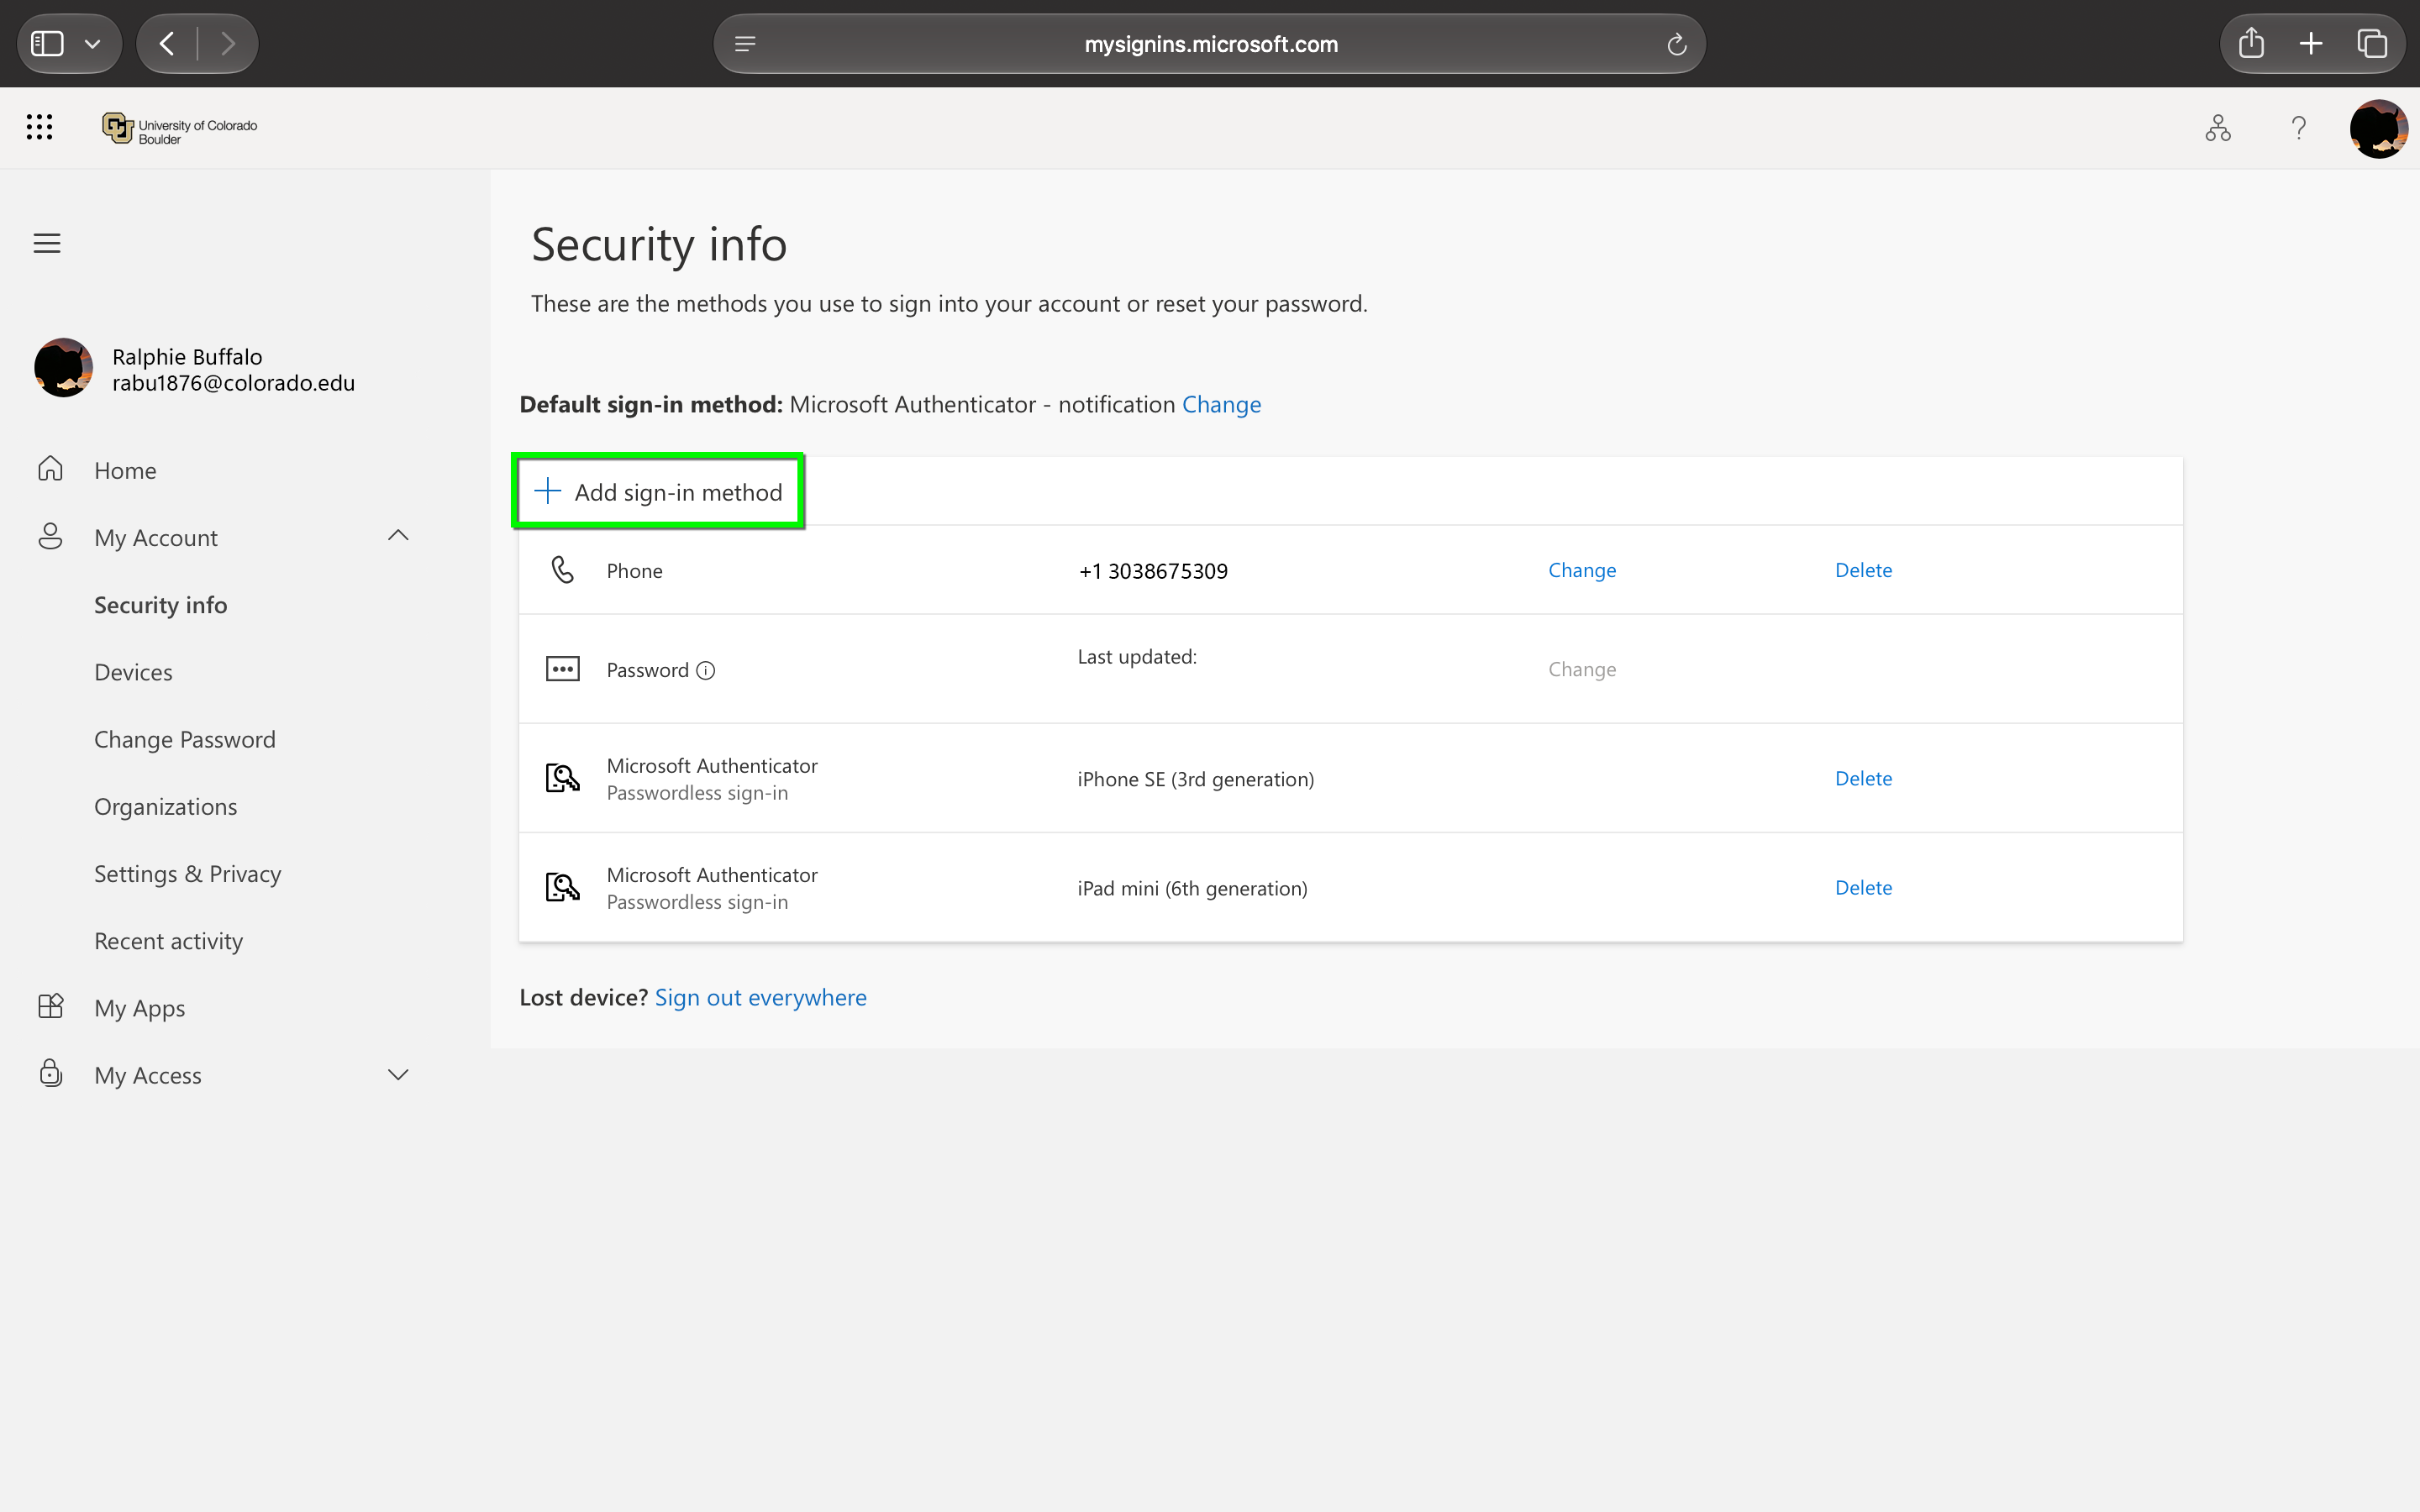
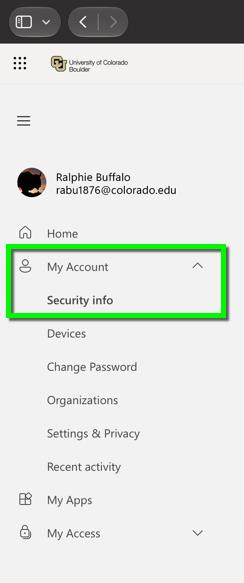
Log in to the Microsoft 365 My Account page. Expand the My Account section and select Security Info. You will be prompted to authenticate with MFA.

Step 2

The security info screen will show your Default sign-in method at the top of the page and list all authentication methods currently connected to your account.

Select Add sign-in method to register an additional method.

Step 3

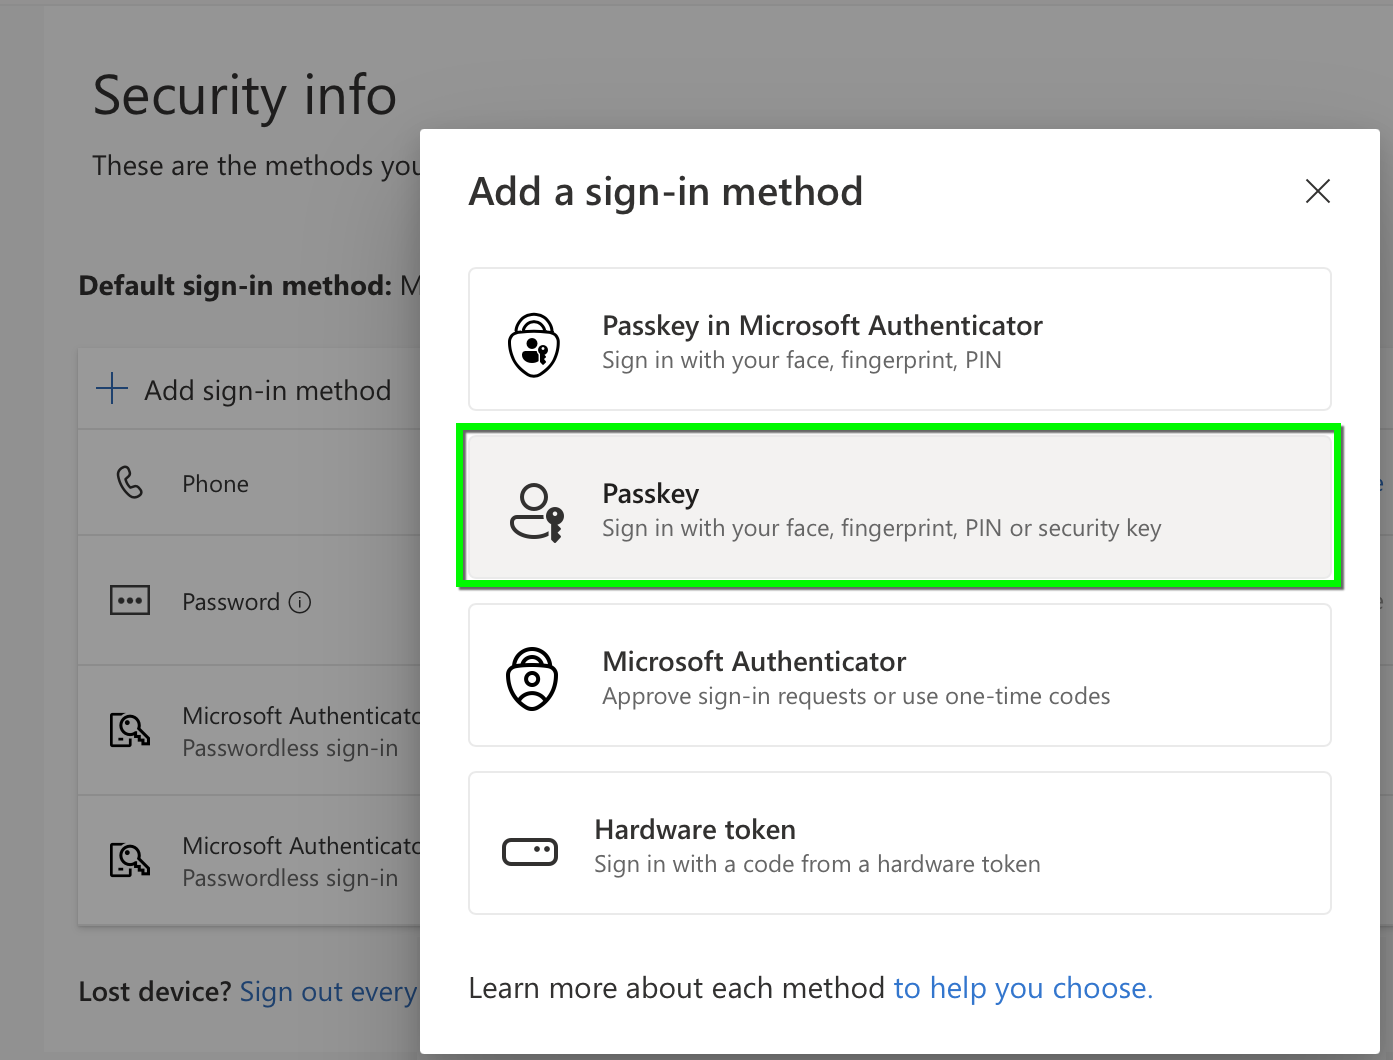
Select Passkey.

Step 4

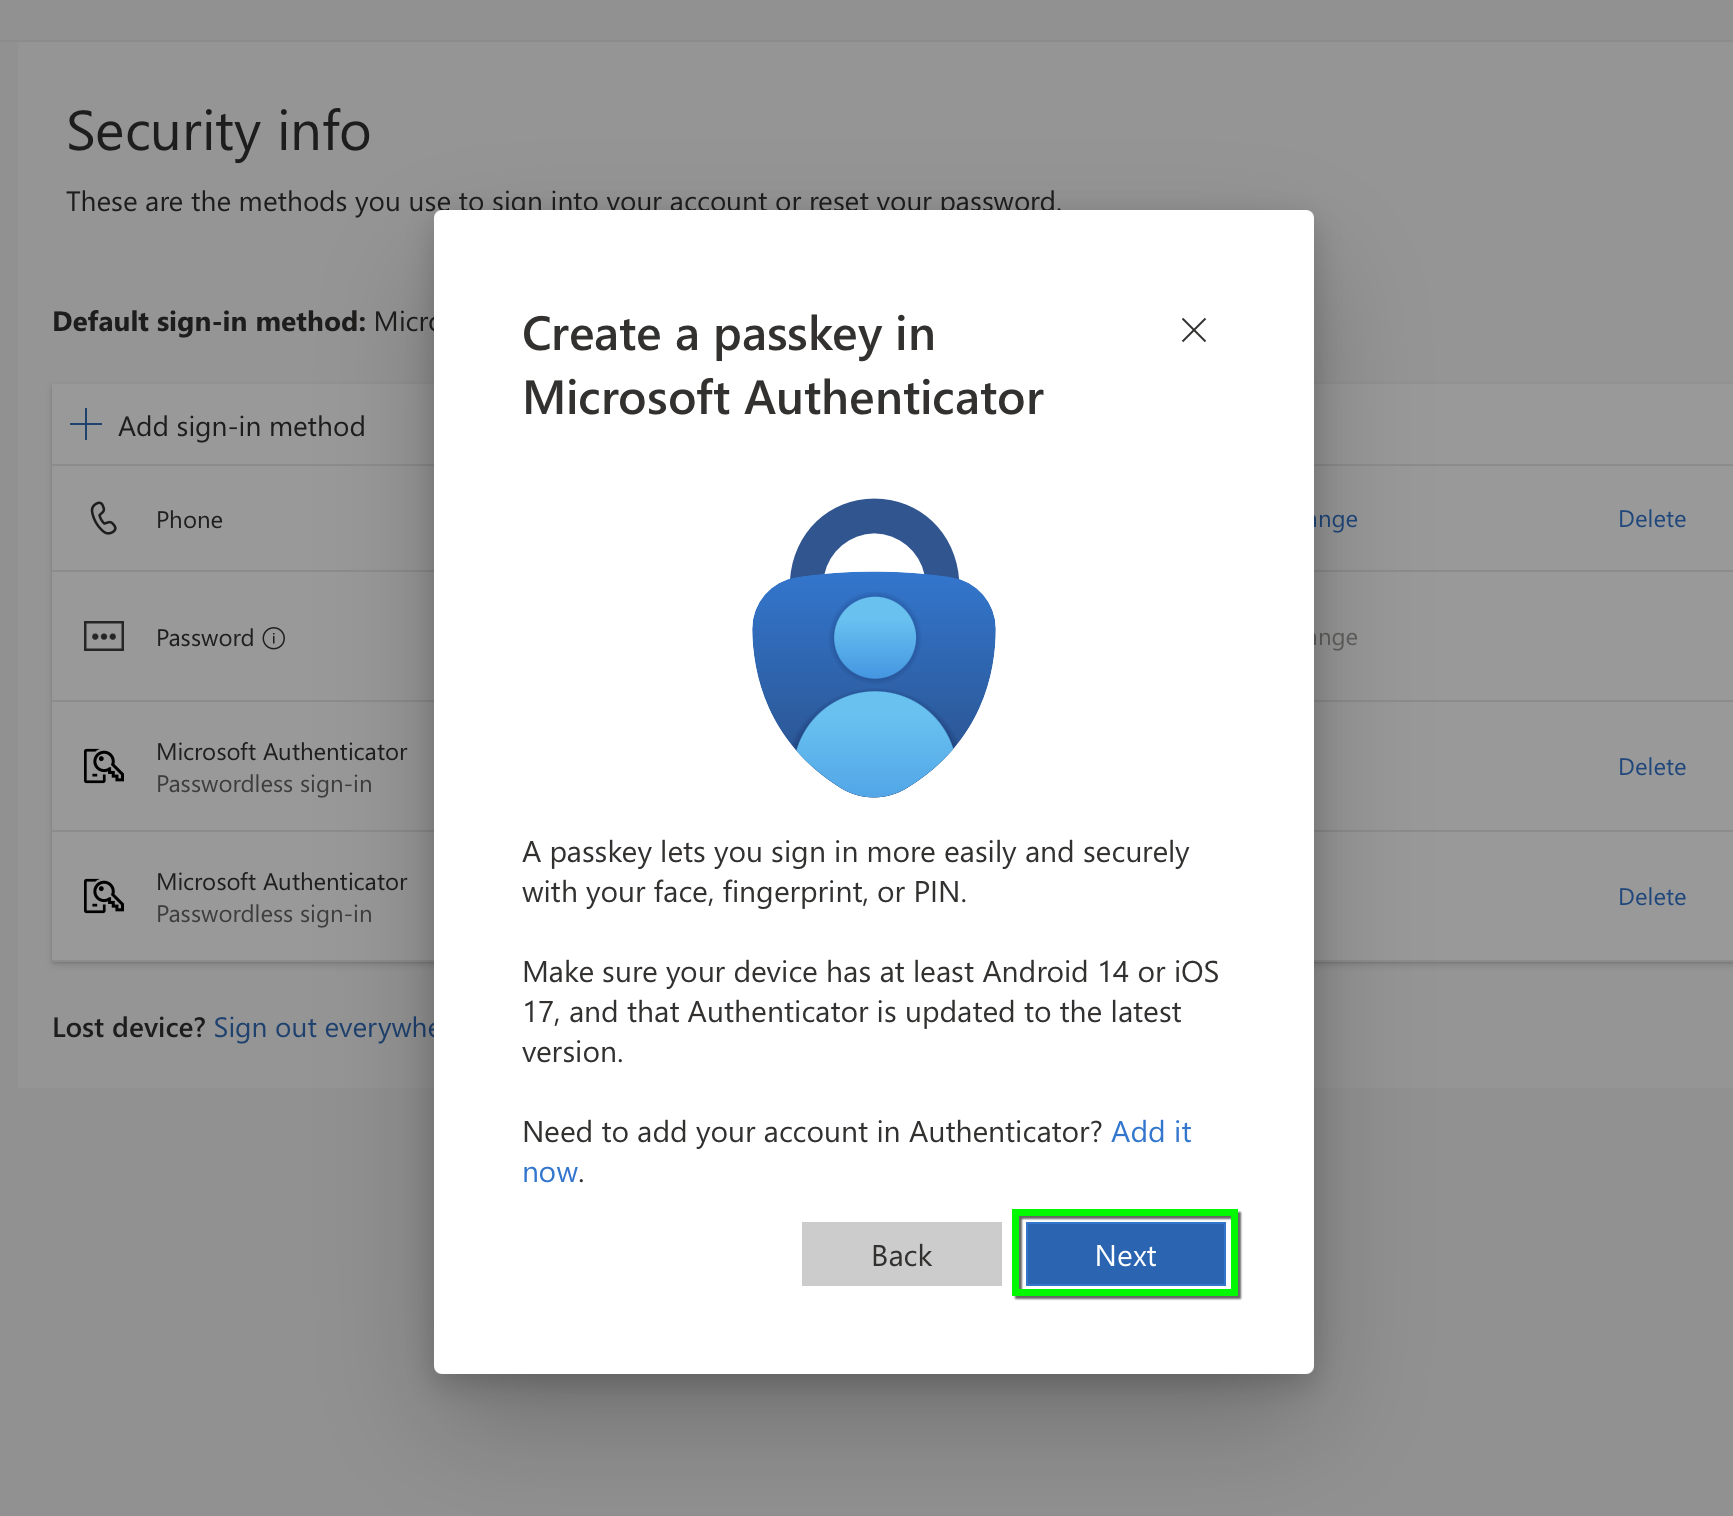
Select Next to agree to create a passkey in Authenticator. 

Step 5

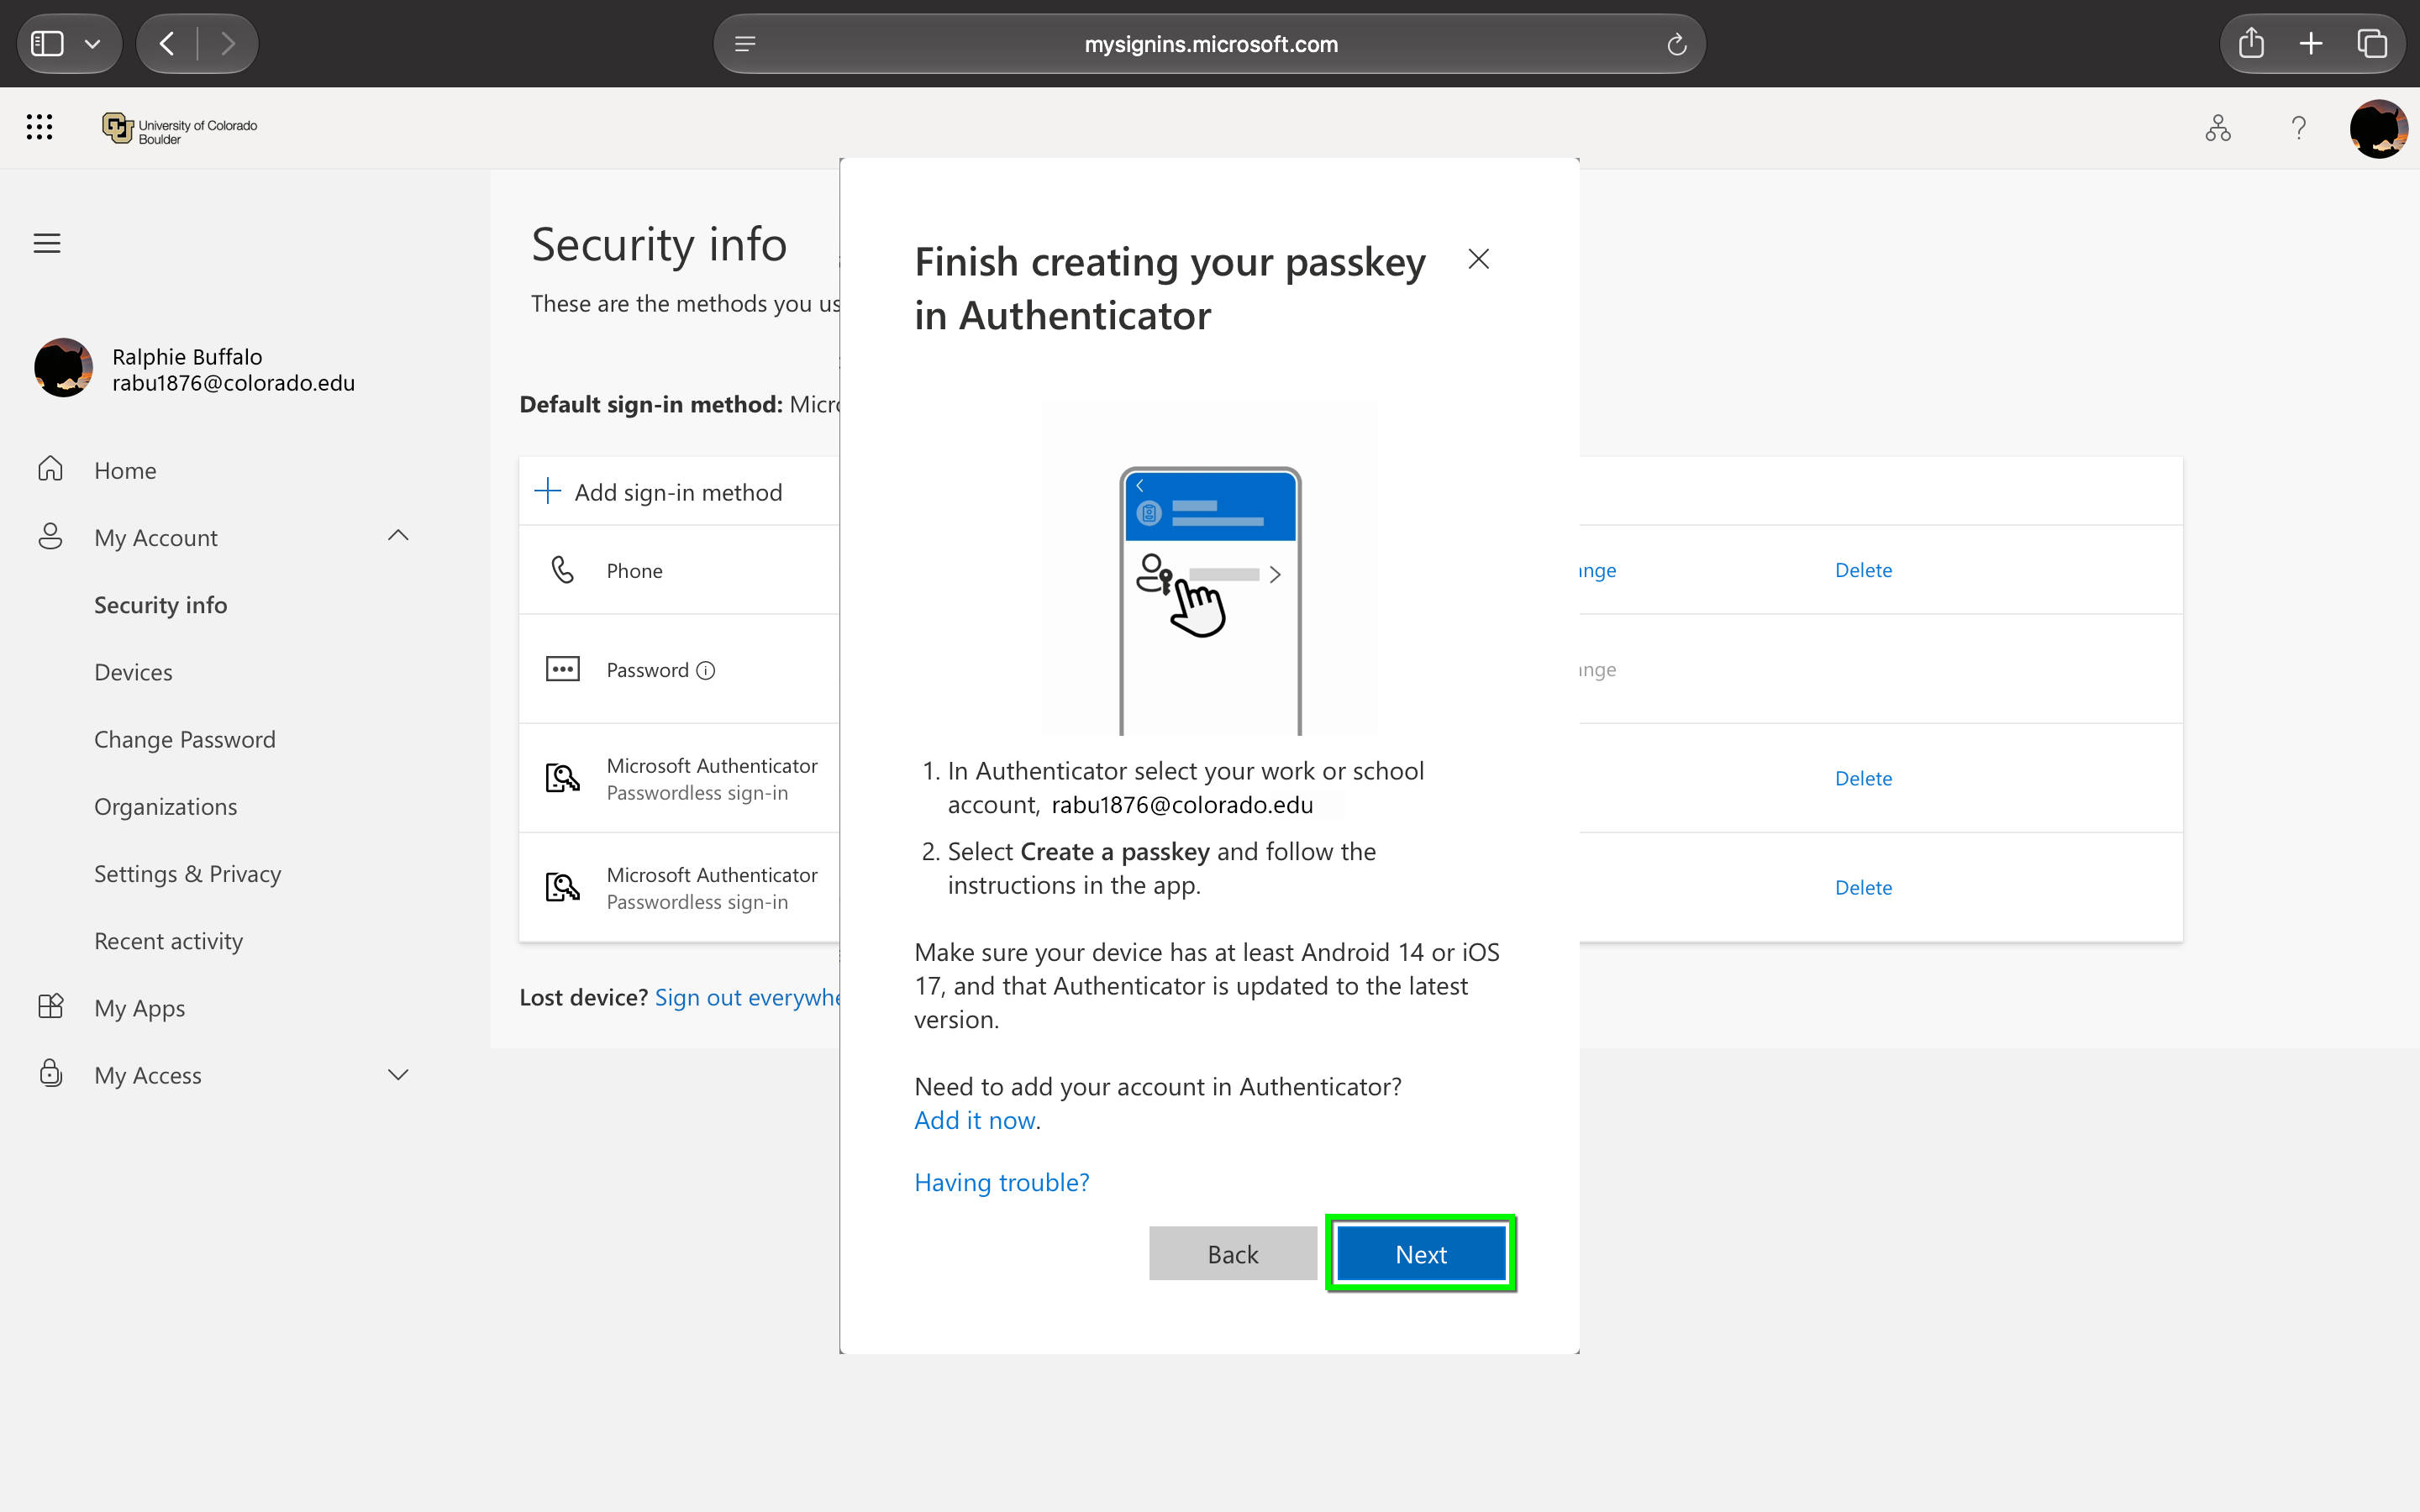
Select Next to finish creating the passkey connected to your CU Boulder account. 

Step 6

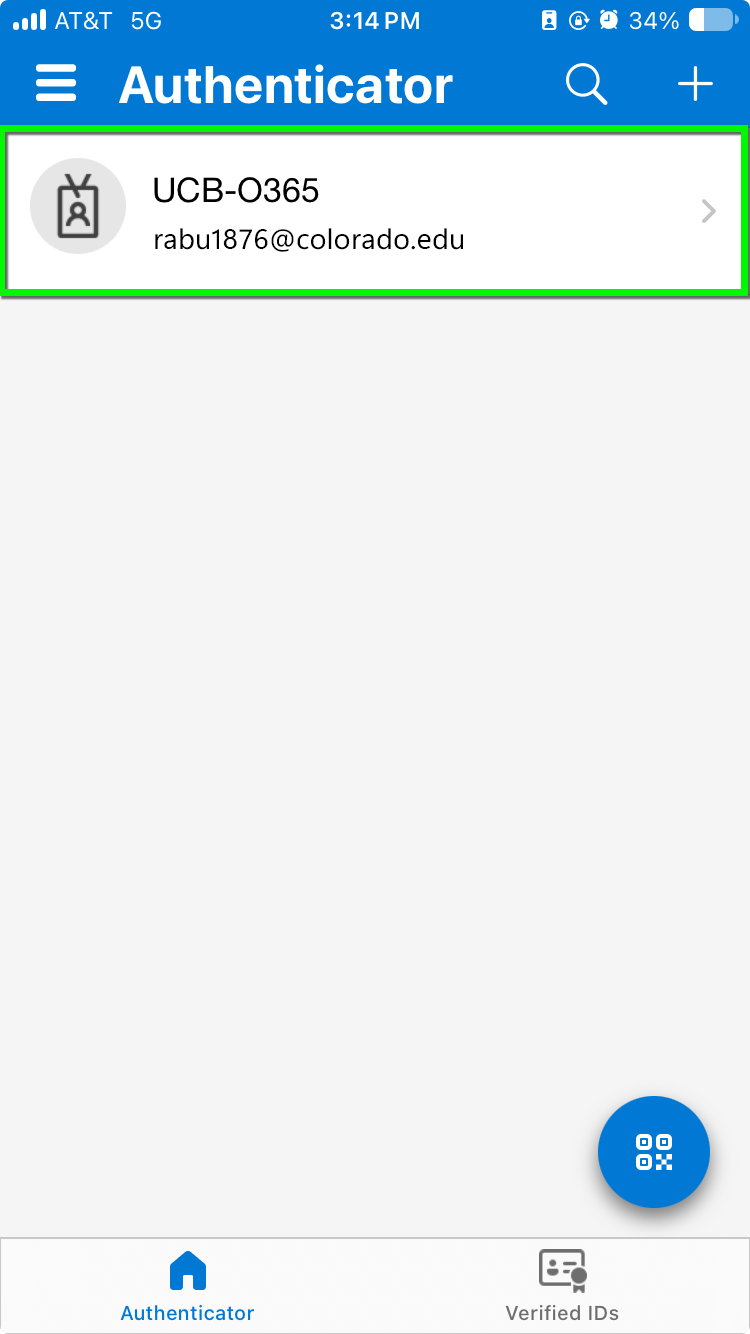
Open the Authenticator app on your mobile device and select your CU Boulder account profile.

Step 7

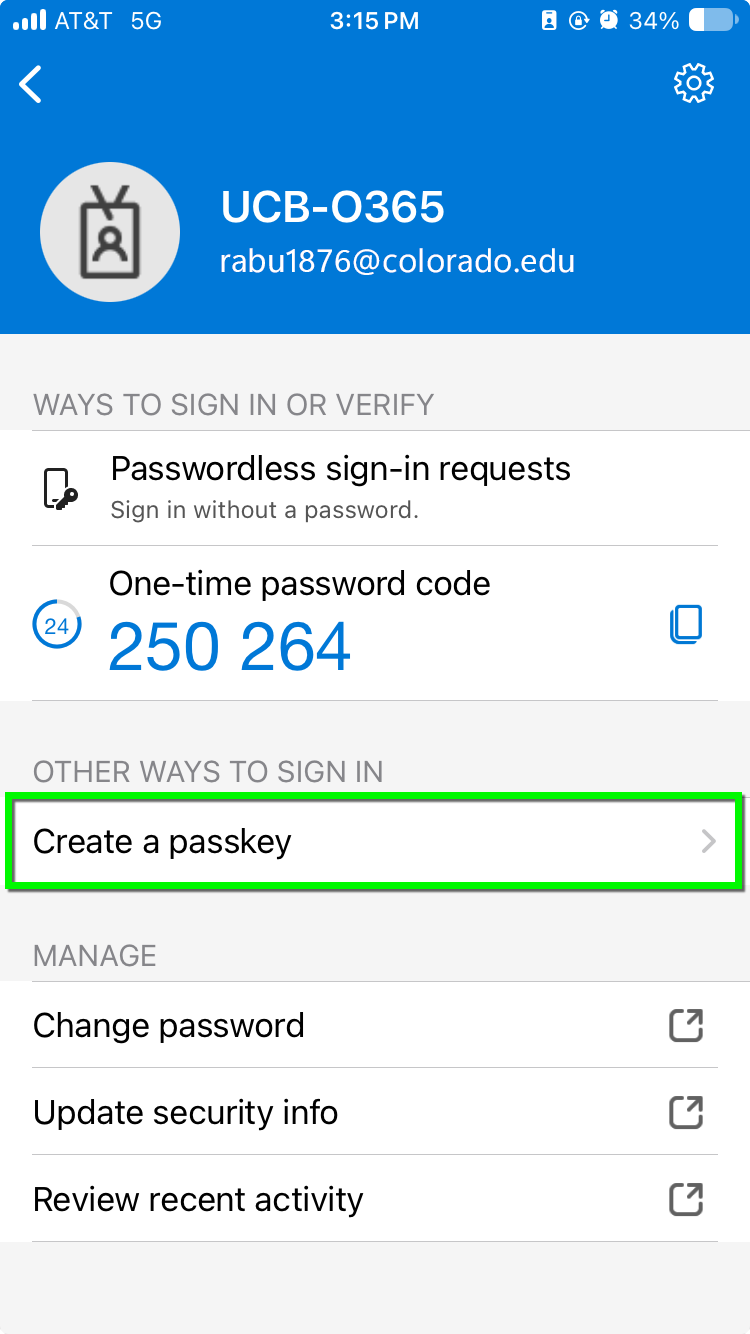
Select Create a Passkey.

Step 8

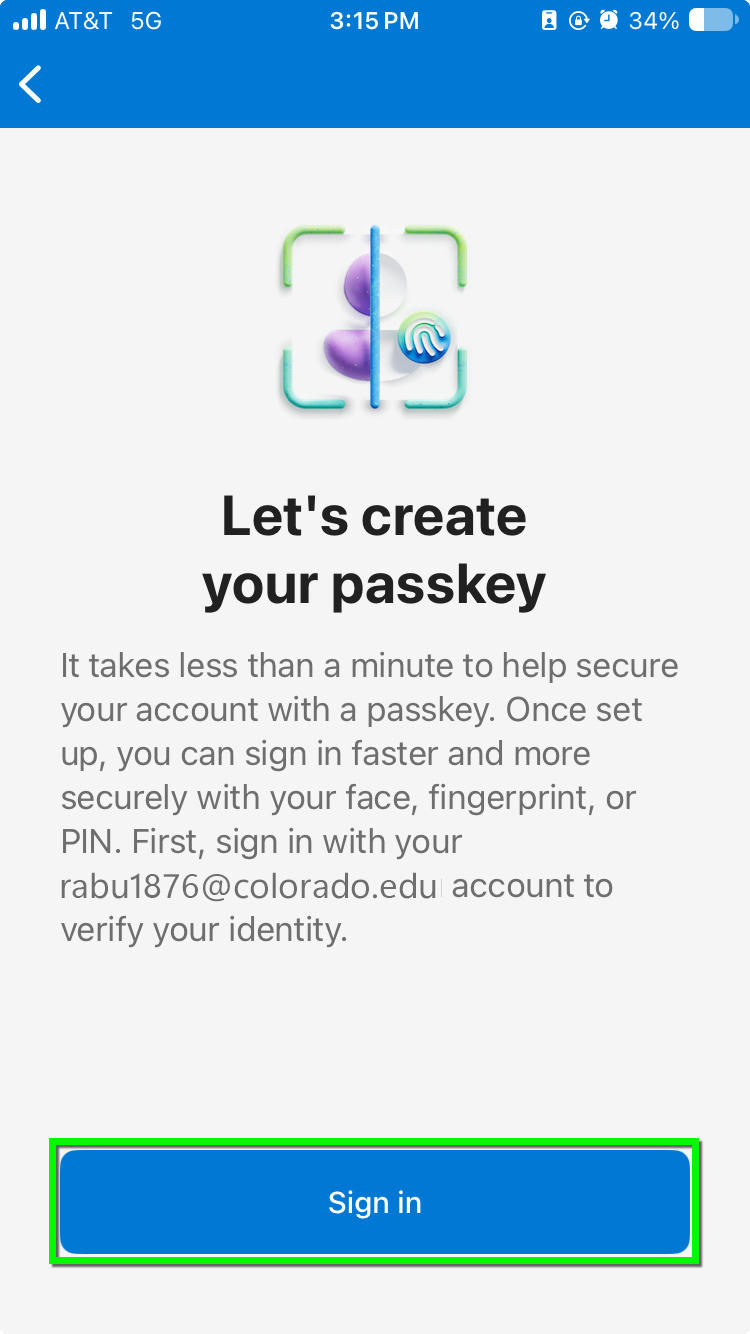
Select Sign In.

Step 9

You will be prompted to affirm that you're signing in with your approximate location. 

Step 10

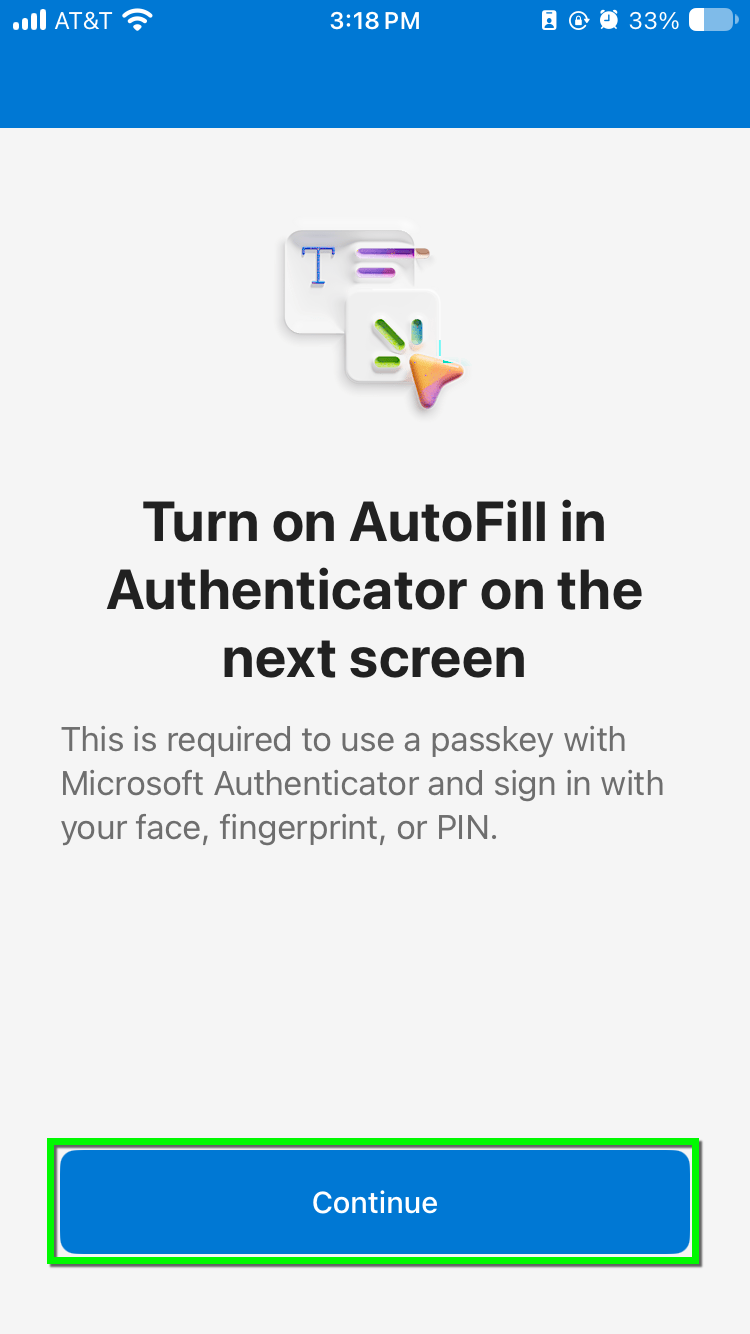
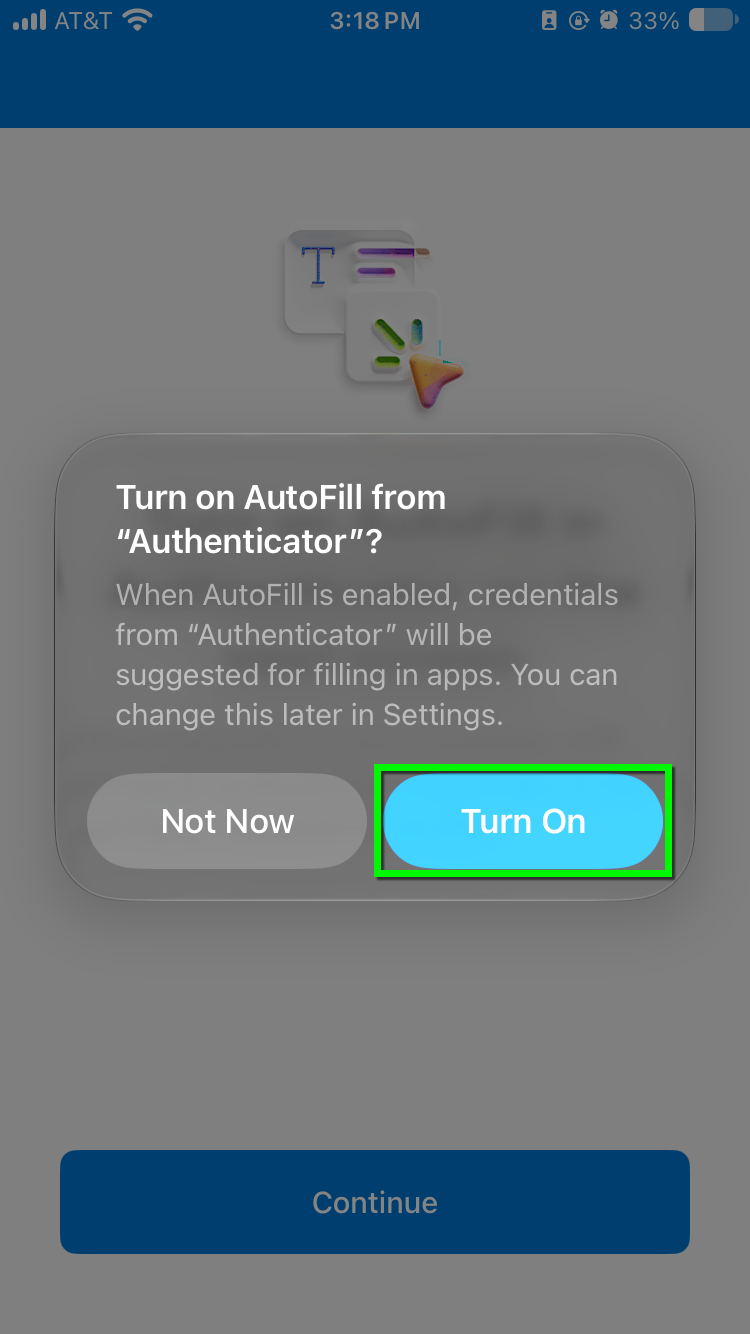
Select Continue to turn on Autofill. 

Step 11

Turn on Autofill. 

Step 12

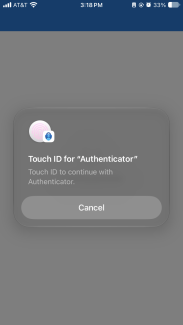
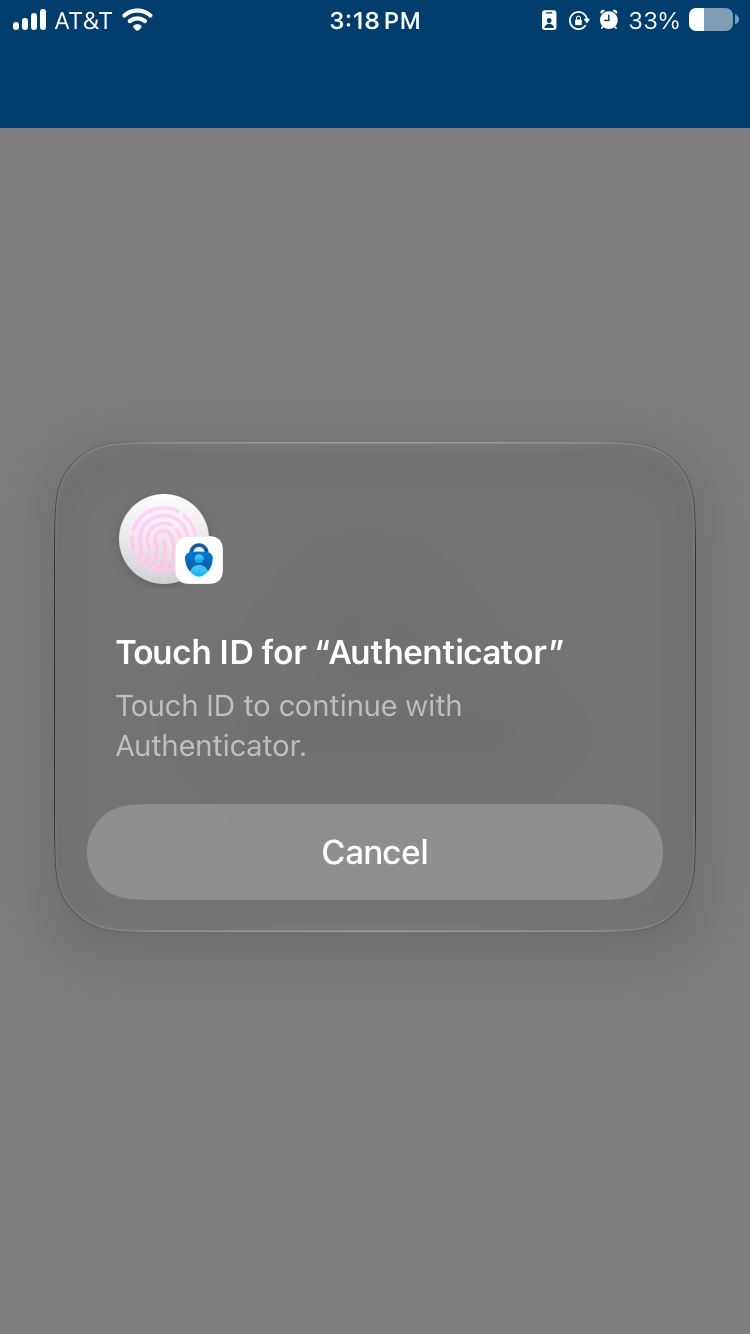
Use Touch ID or Face ID to continue. 

Step 13

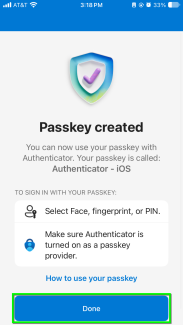
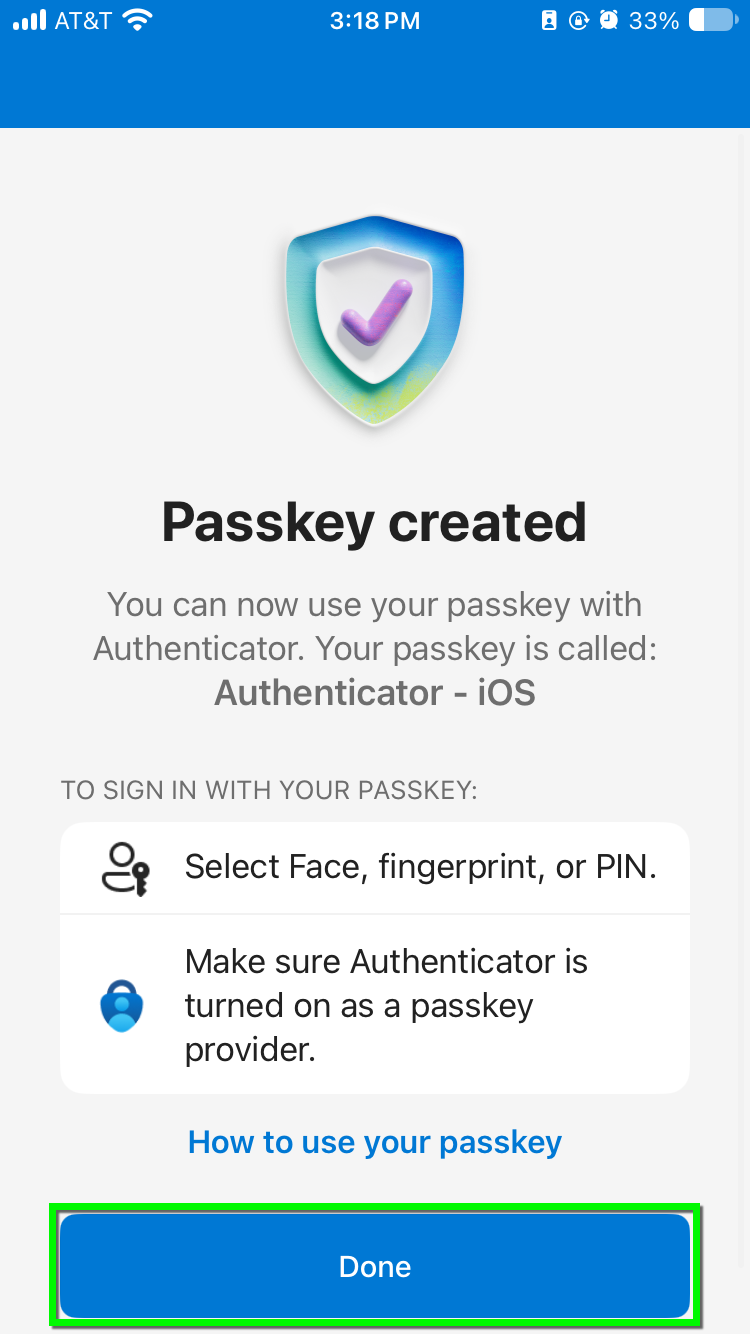
You will get confirmation on your mobile device that your passkey was created. 

Step 14

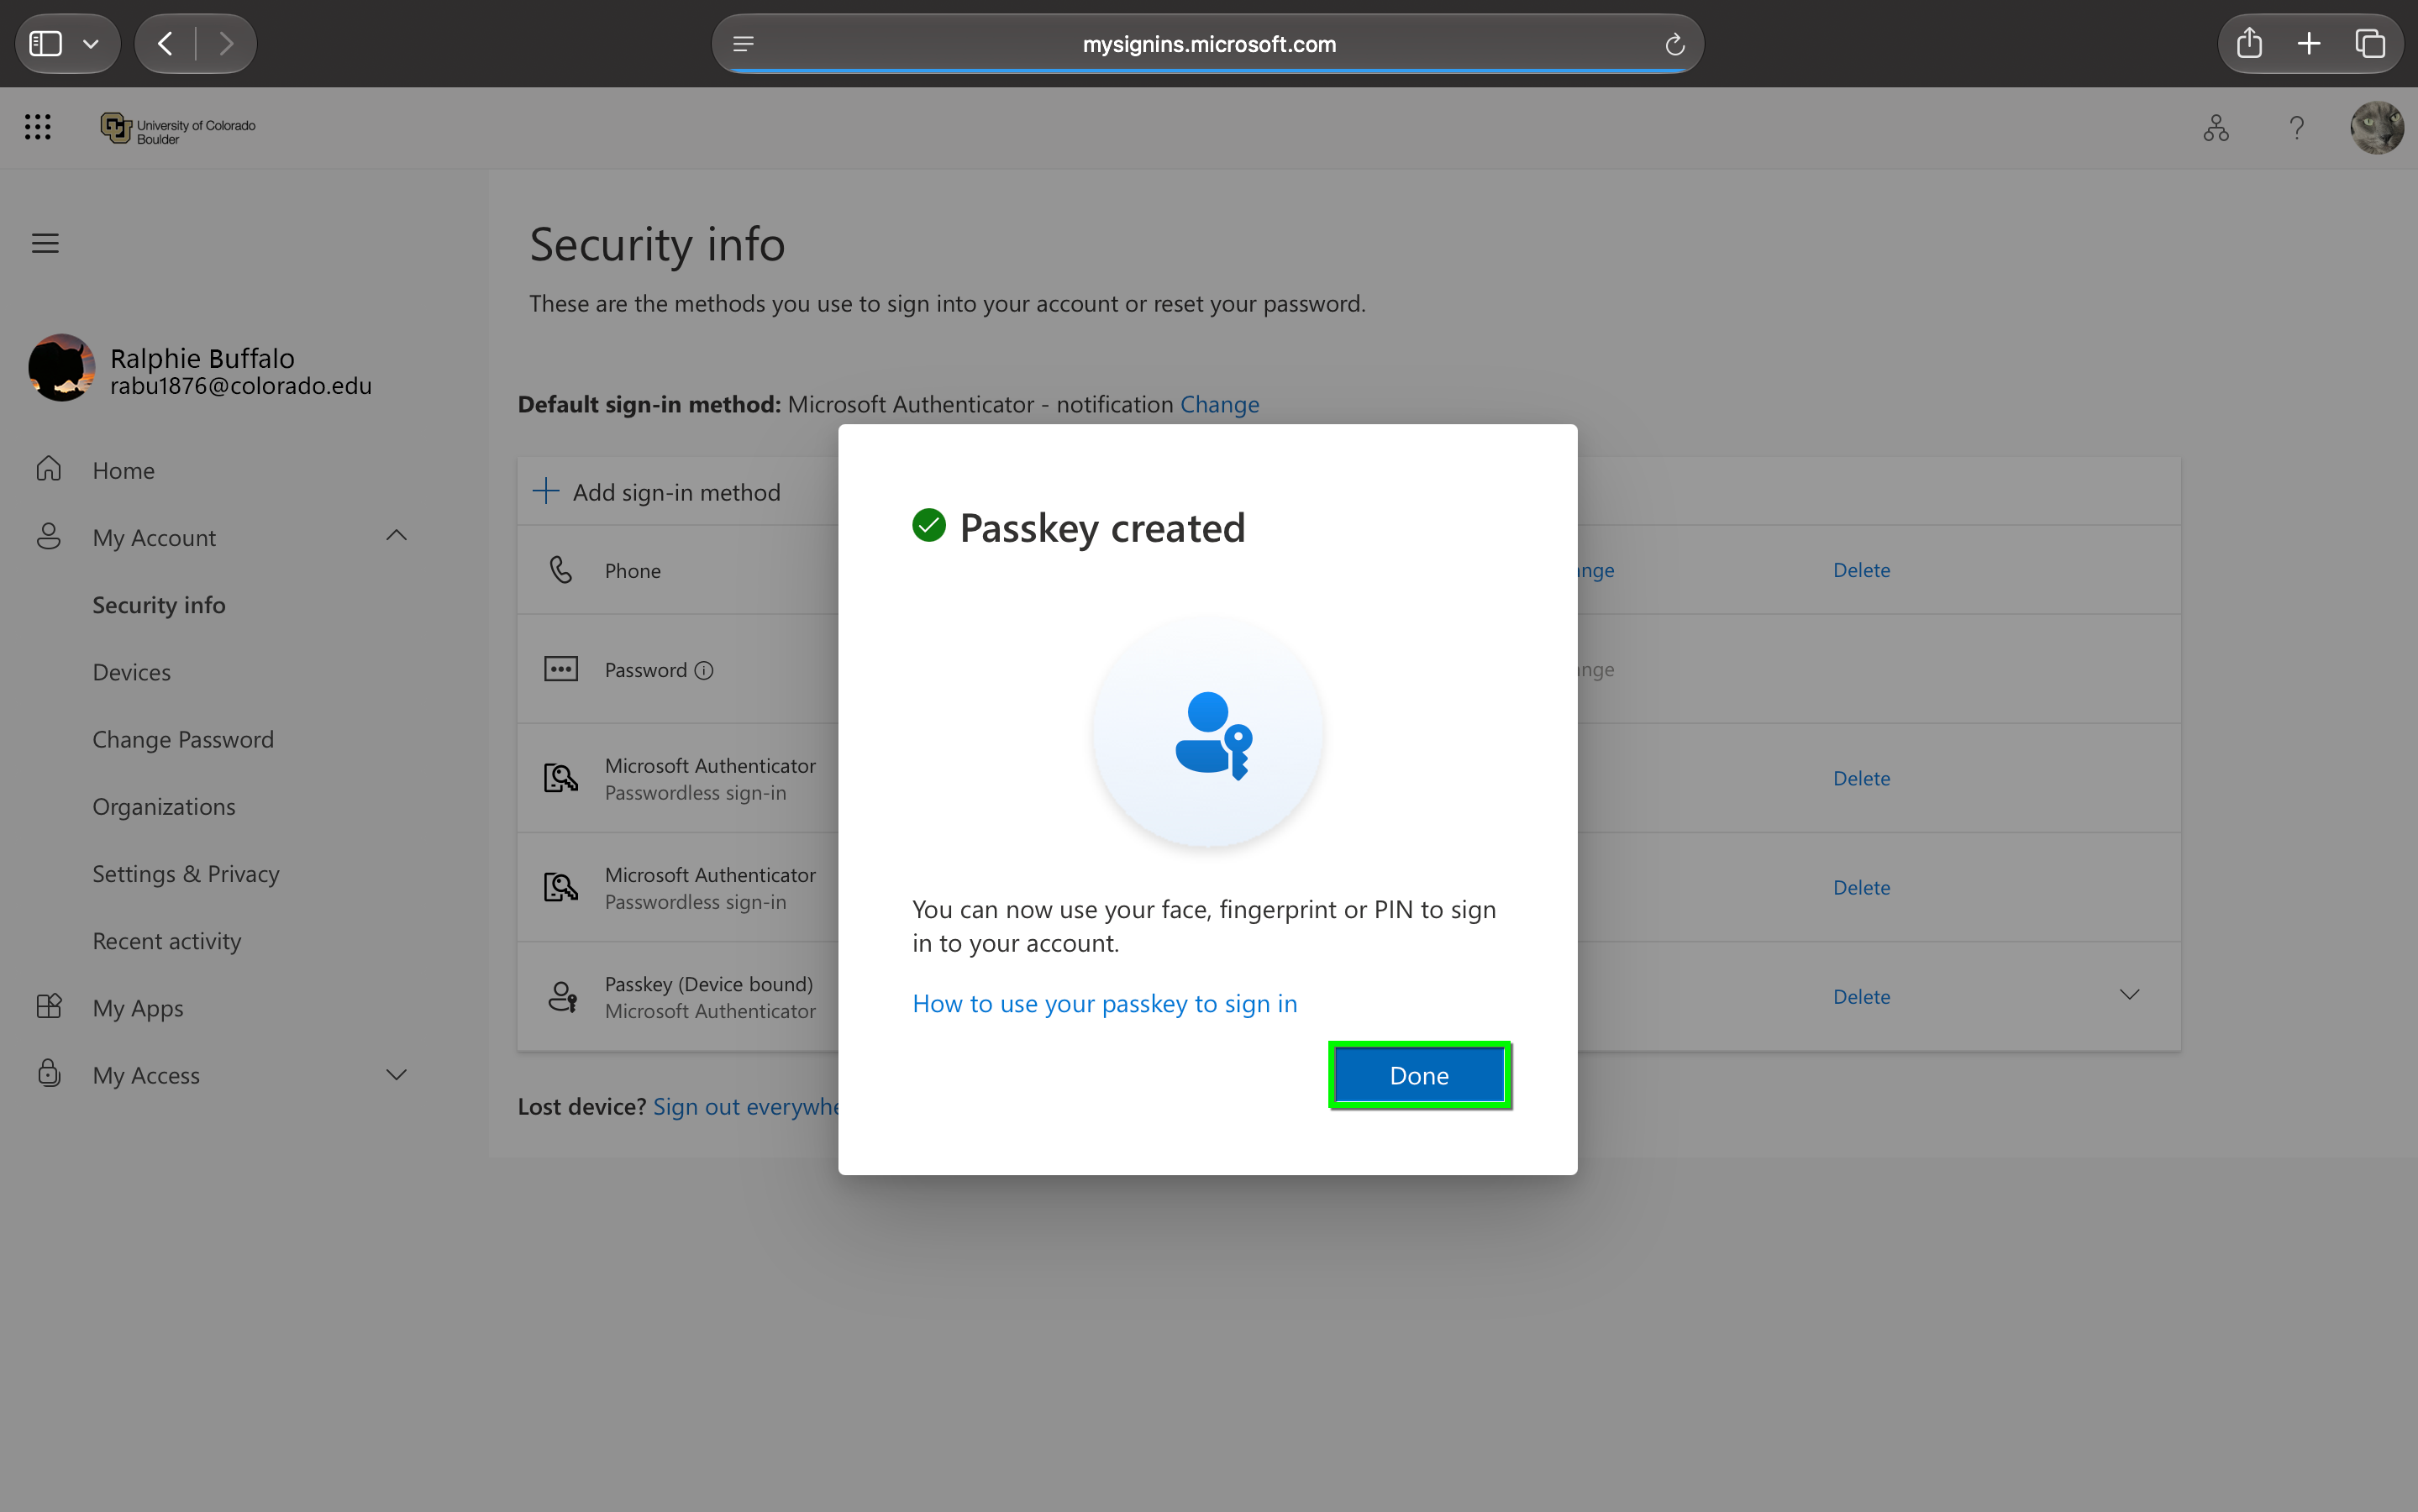
You will also get confirmation that your passkey was created in your browser. Click Done to go back to the Security Info page.