
Step
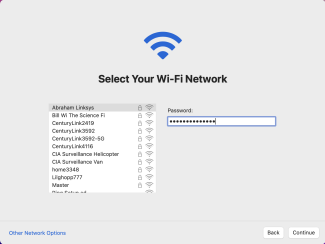
To begin, unbox your device and make sure to plug the power cable into the computer. If using Wi-Fi, make sure your Wi-Fi is working and turn on the computer. If you are using a wired connection, make sure to plug in your ethernet cable and turn on the computer. After starting your computer Apple Setup Assistant will walk you through the initial setup of your device. This is a quick guide on which settings to choose or be aware of.
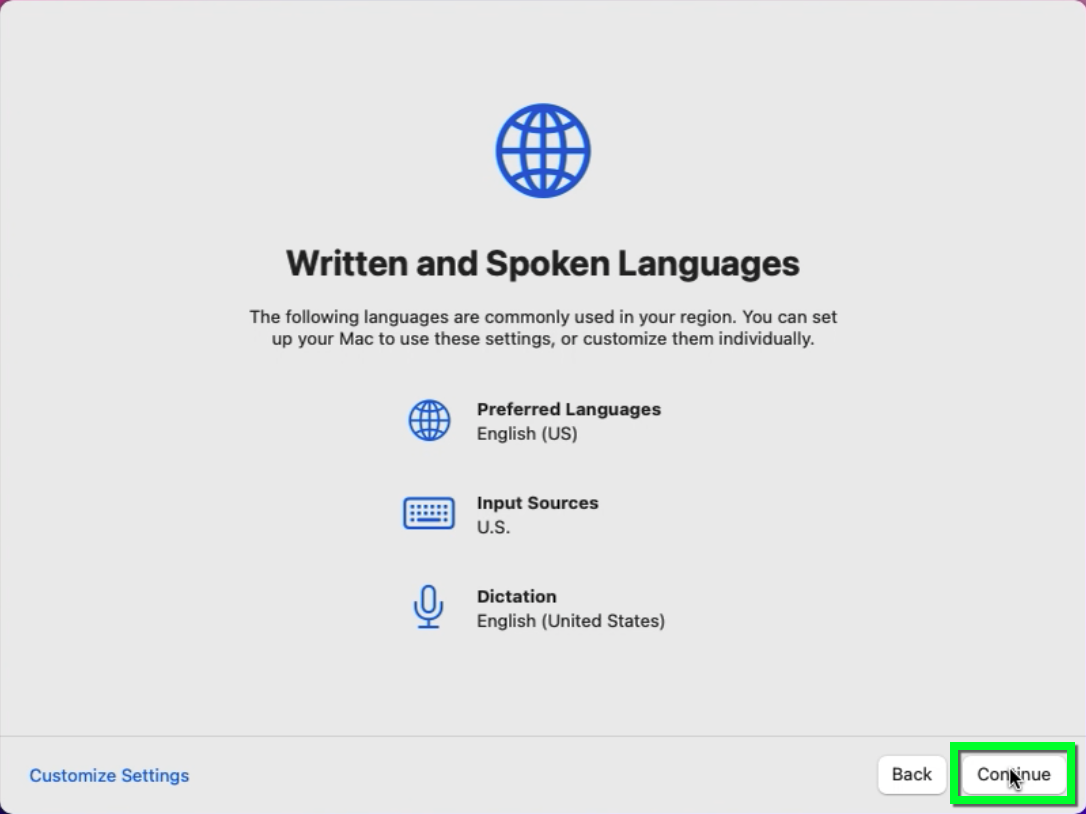
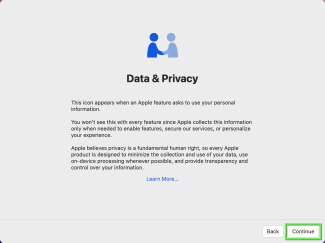
On the Welcome screen, select United States from the dropdown country list then click Continue.


Step

Step
Step
Step


Step

Step
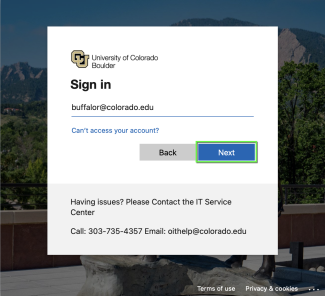
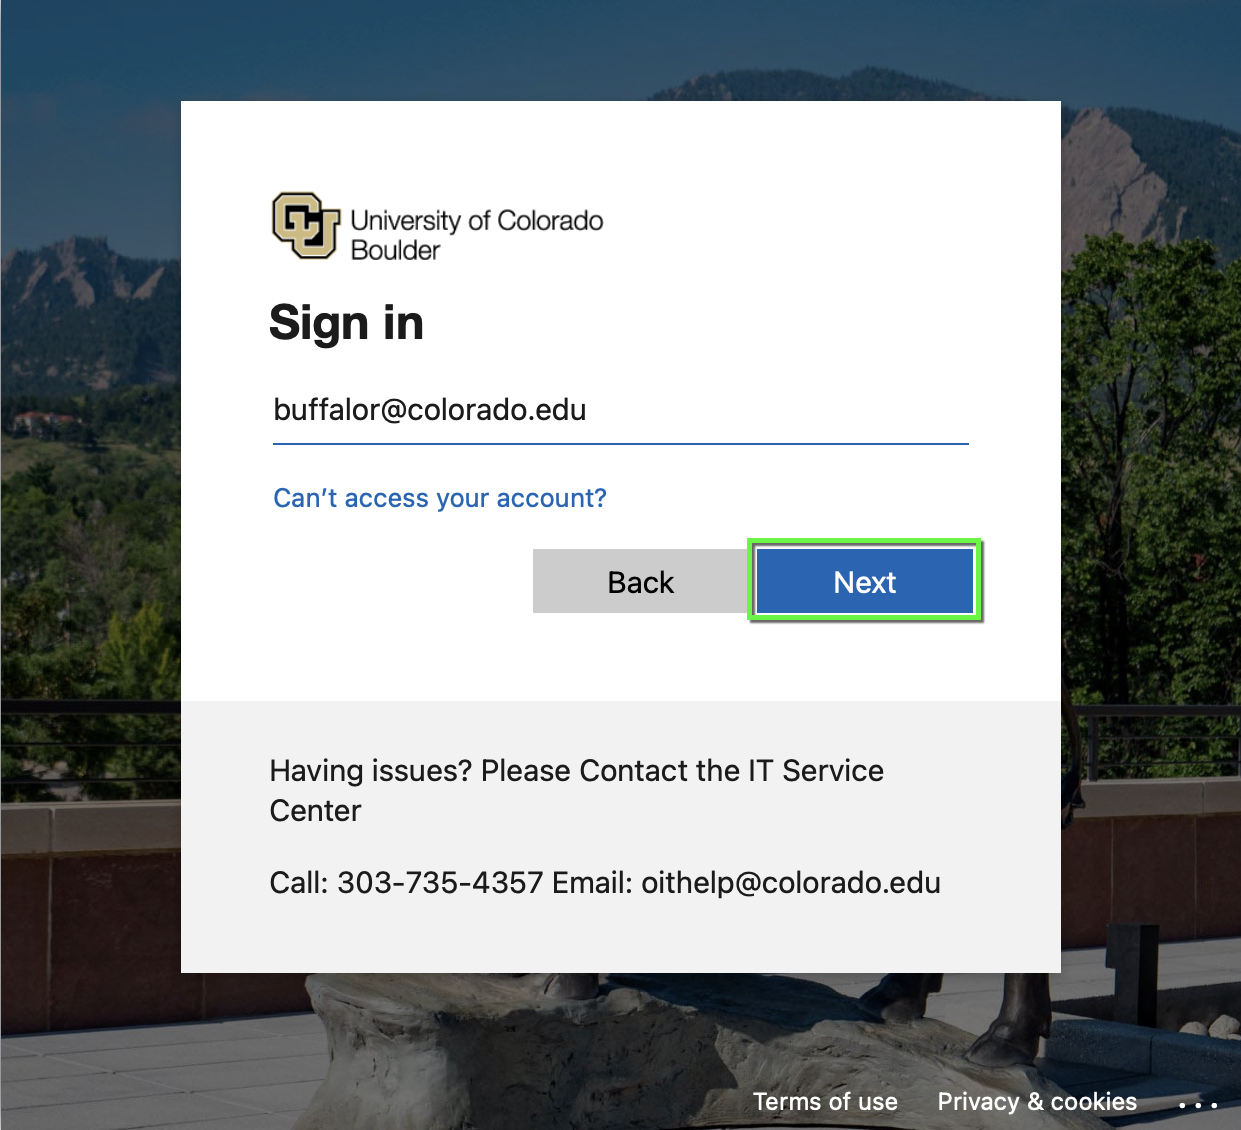
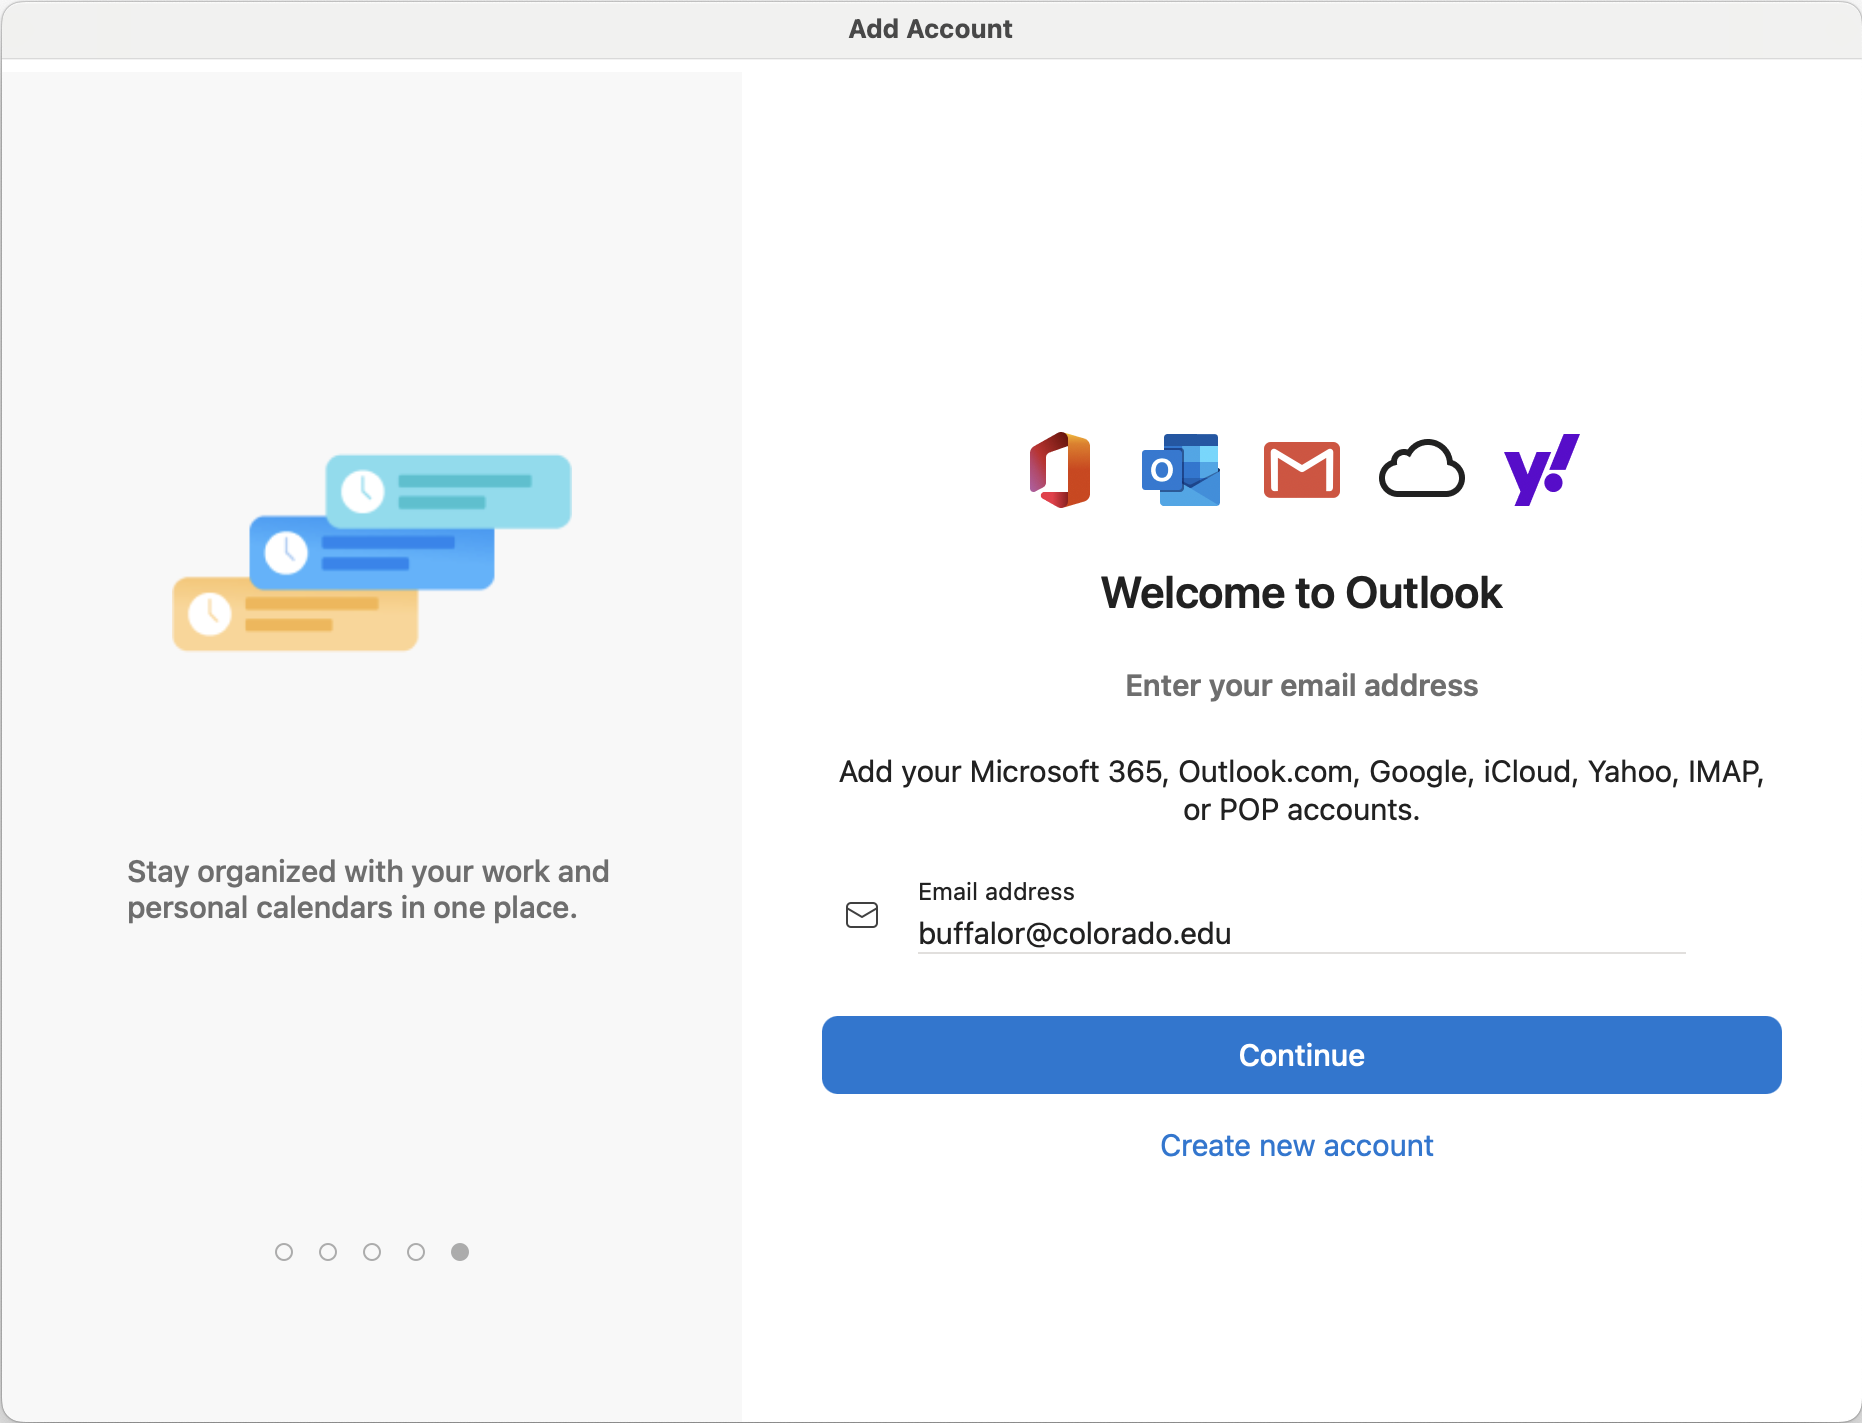
After finishing these steps, Apple Setup Assistant will complete and bring you to the new Jamf Connect login screen. This new login screen will allow you to sign in and create an account with your University of Colorado identikey credentials. Please type in your identikey@colorado.edu email address and click Next.
Step
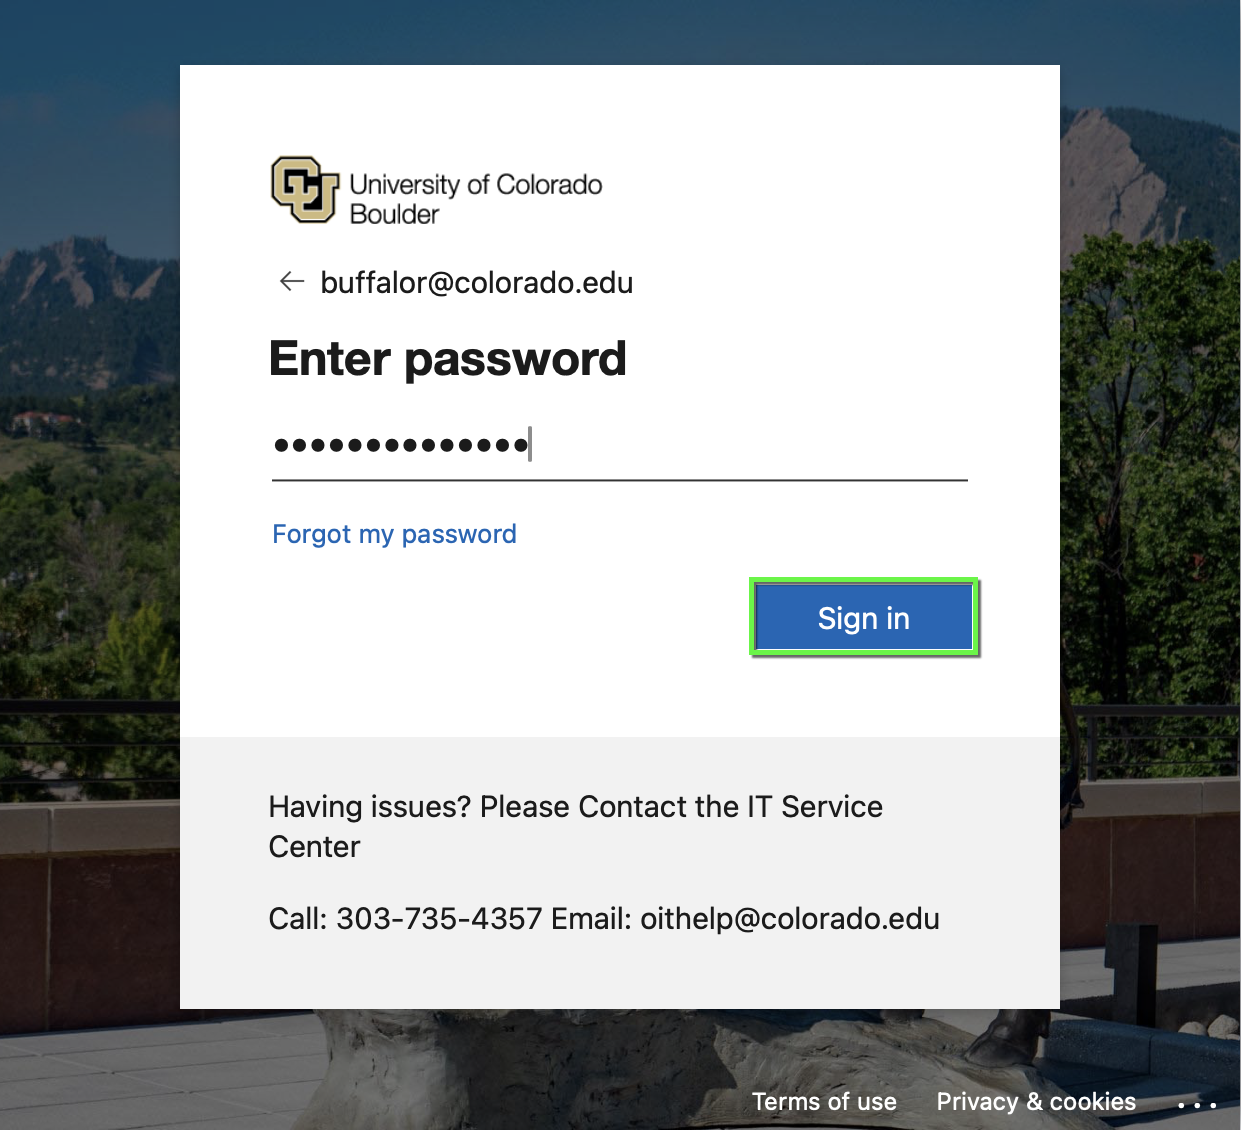
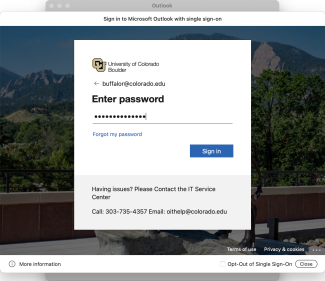
Enter your identikey password and hit Sign In to authenticate your identity with the University of Colorado. You may be prompted to confirm via Microsoft Multi-Factor Authentication by sending your personal mobile device a text message with a one-time code.


Step


Step

Step
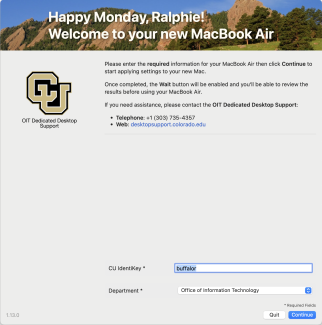
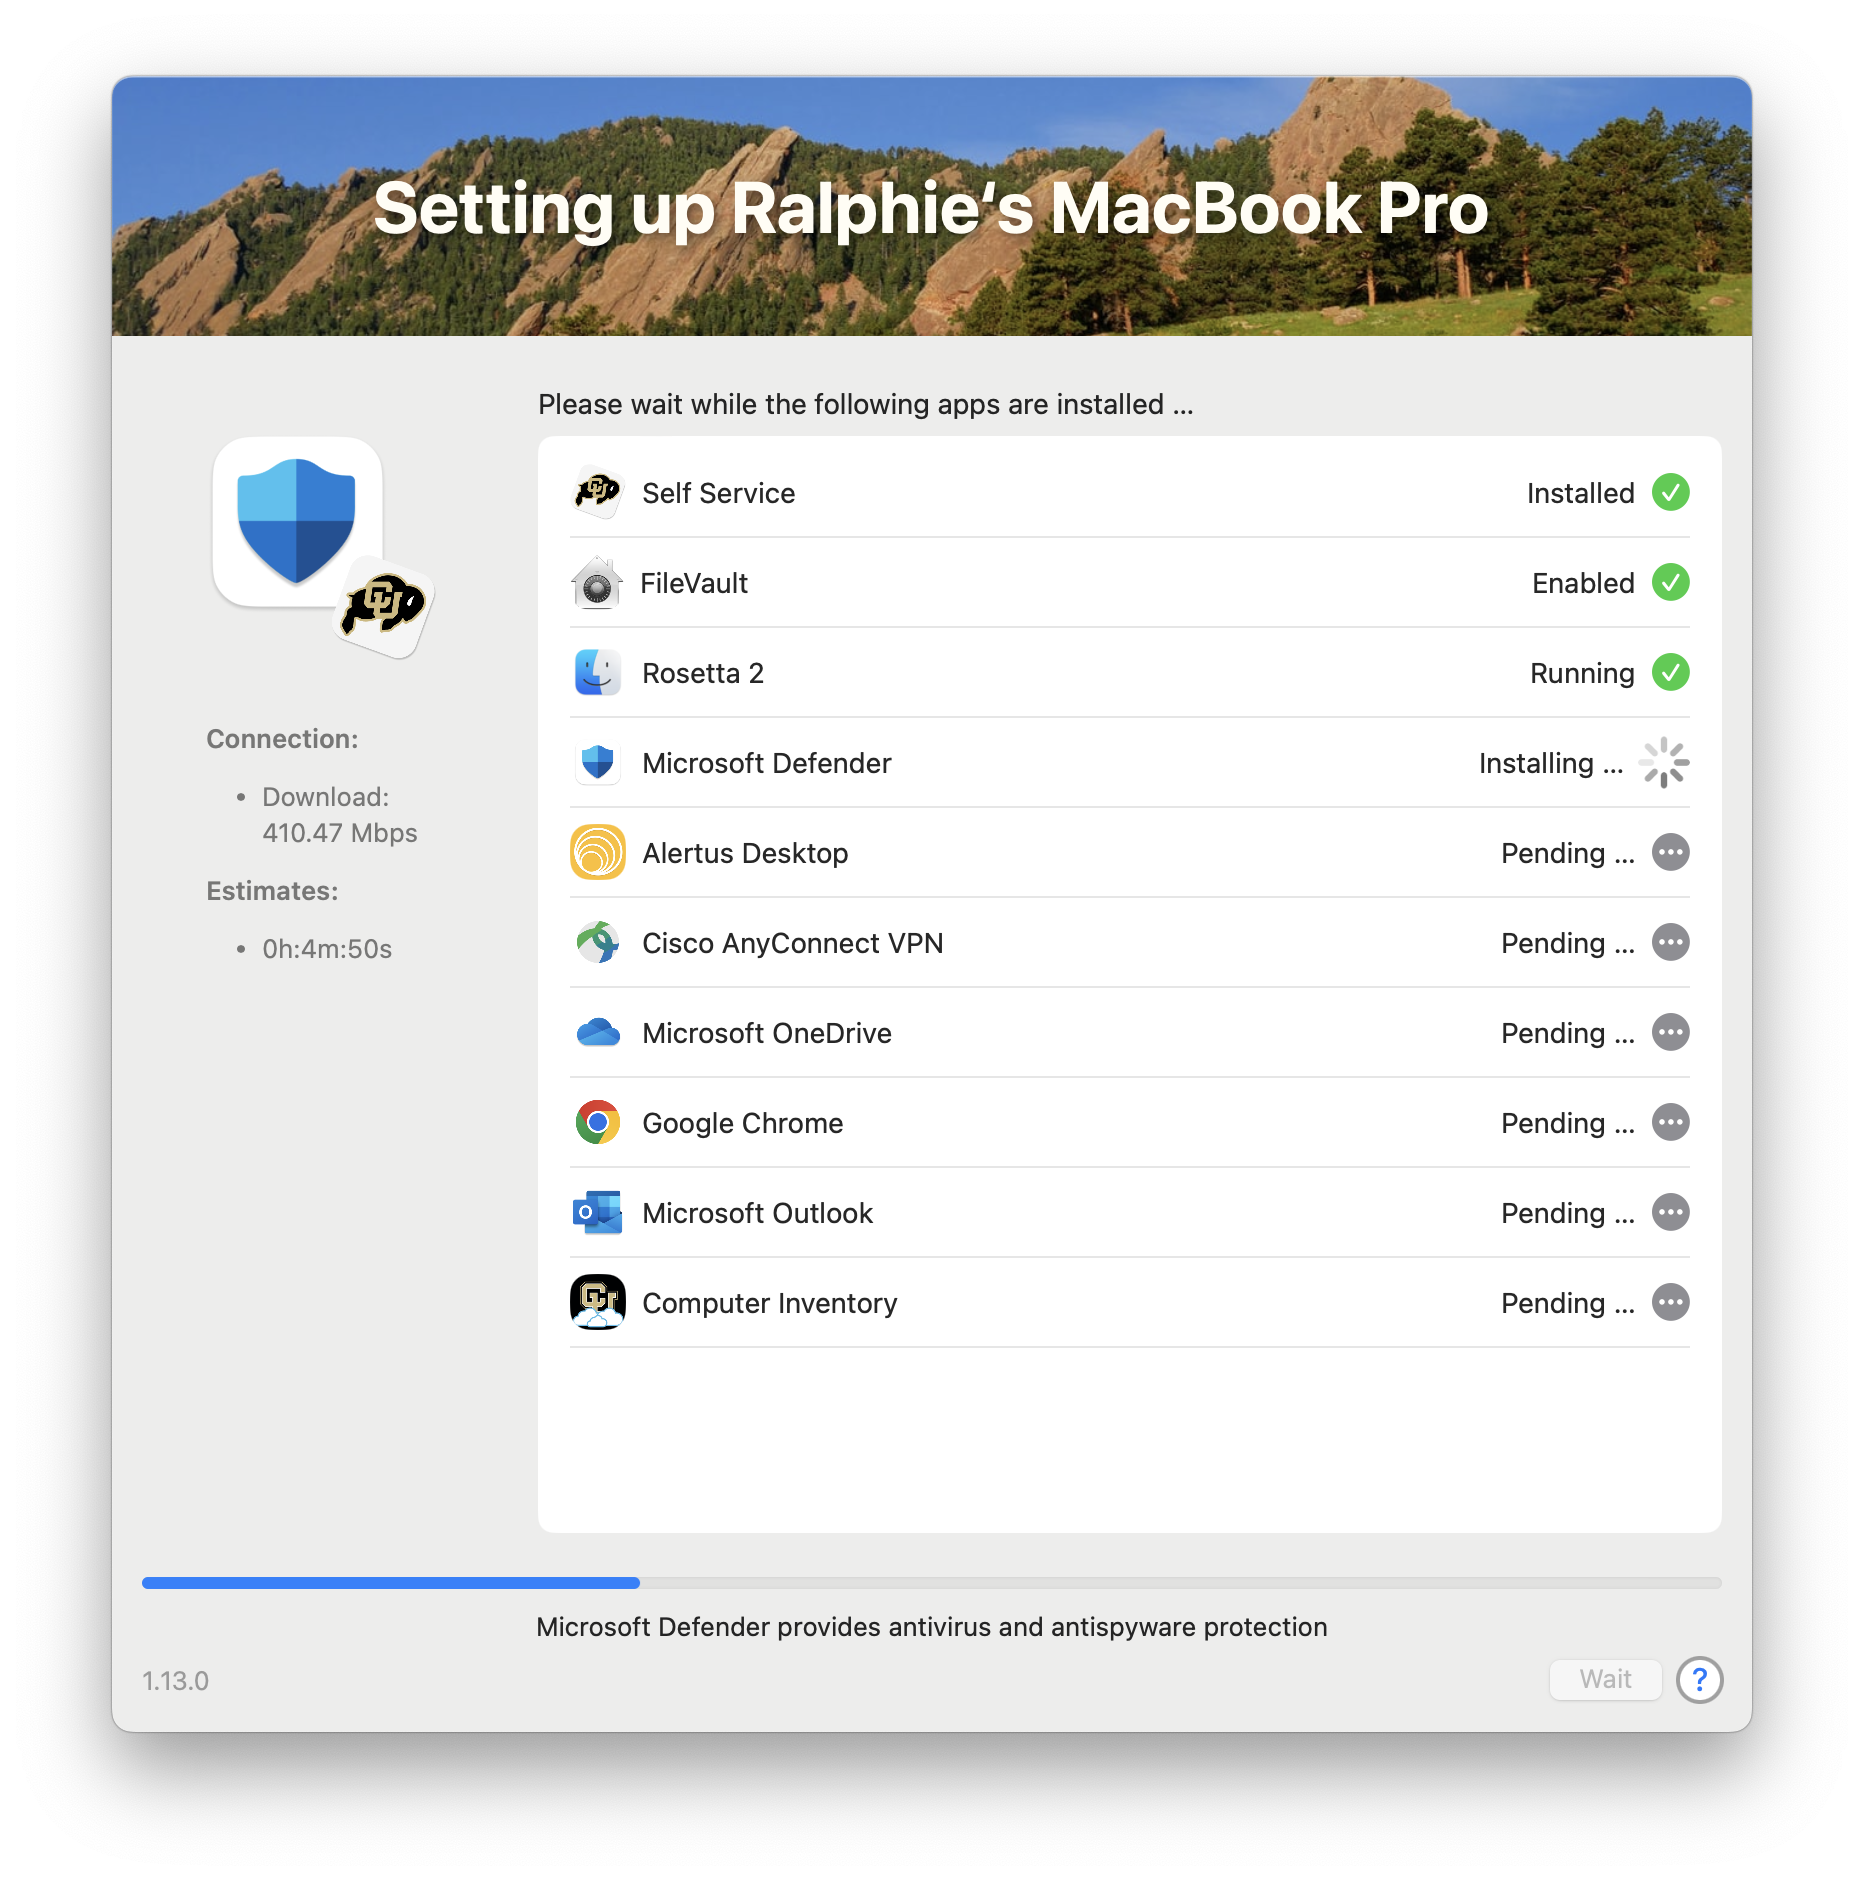
When you reach your Desktop, the Setup Your Mac screen will ask you to confirm your IdentiKey username and, for DDS customers, your department. If your department isn't listed in the available options, please choose Other. If this screen doesn't appear within a few seconds of reaching your Desktop, please refer to the troubleshooting steps at the end of this document.

Step
Step
Step
Step
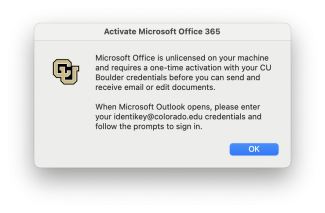
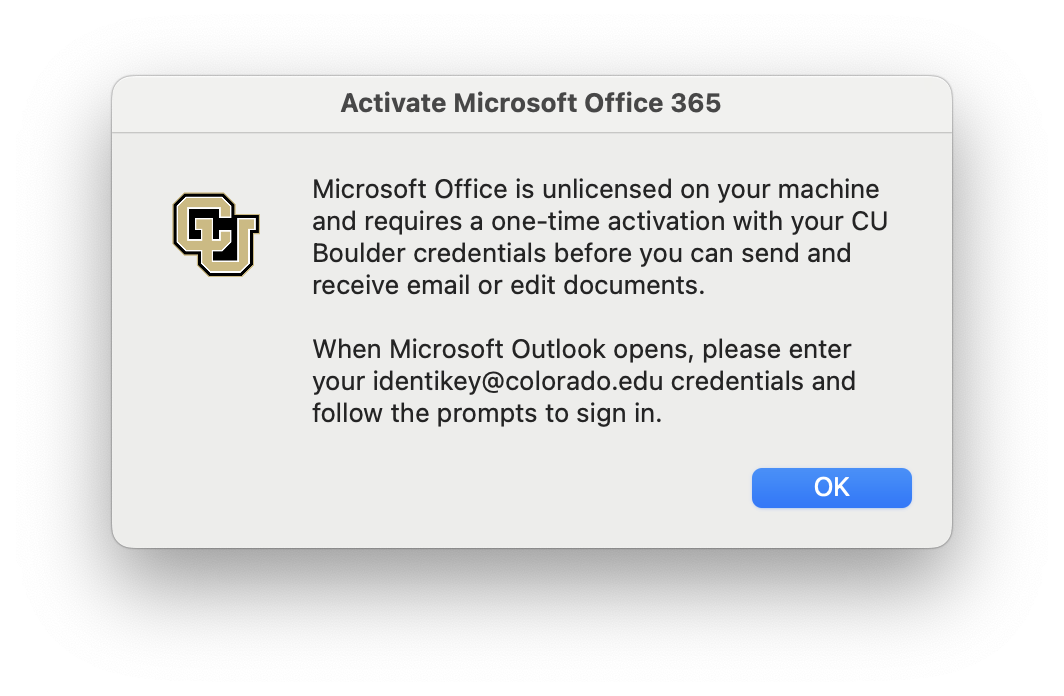
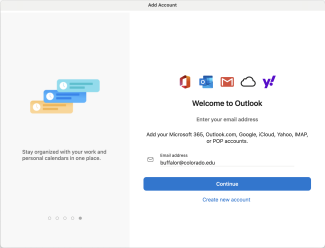
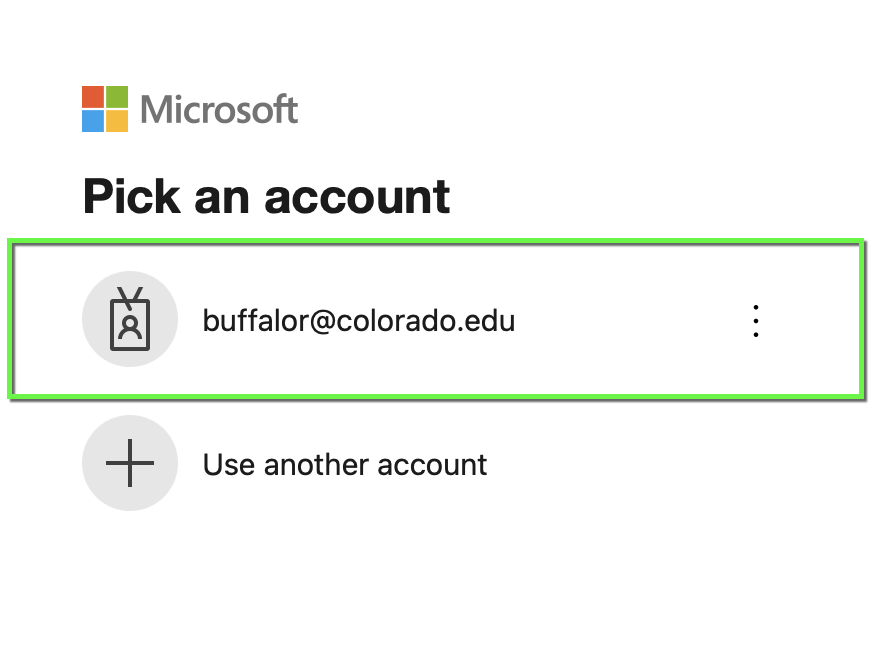
After entering your IdentiKey email address, you will be prompted to sign into Single Sign On. Please enter your IdentiKey password to finish signing in. If you were not prompted by Microsoft MFA when signing into your computer, you may have to authenticate with MFA after signing into Single Sign On.

Step

Step

Step
Step
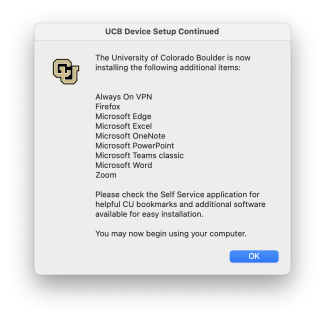
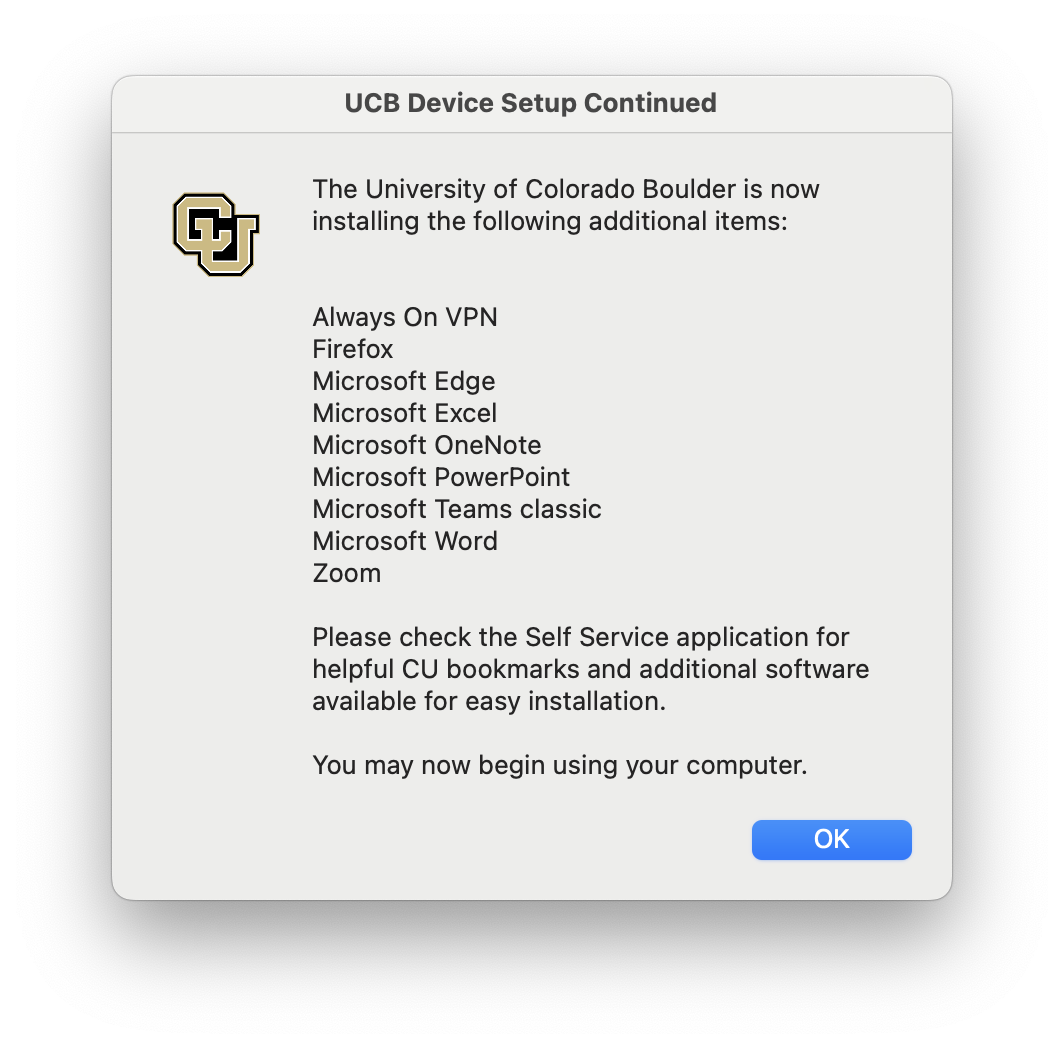
Step
Helpful CU bookmarks and additional campus-provided software can be found in the Self Service application.
Step
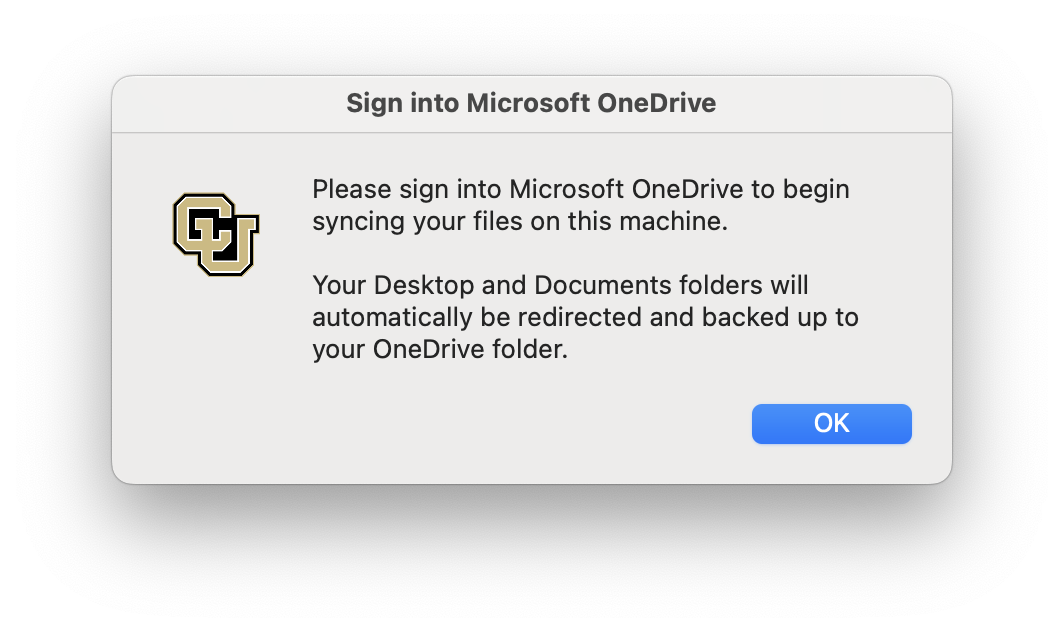
If you had not backed up your data prior to receiving your new laptop, your data will not appear in OneDrive. Follow the steps below to fix:
- Dedicated Desktop Support customers: Please contact DDS immediately using the DDS Request Portal so your DDS technician can help transfer your data.
- Non-DDS customers: Back up your locally-stored data from your other computer. You will not need to do this for files that are saved in Google Drive, OneDrive, or a departmental file server or the UCB Files fileservers (\\ucbfiles.colorado.edu, \\files.colorado.edu, or \\cvcn.colorado.edu). For all other files stored on your computer, please use the appropriate instructions to upload your files to Microsoft OneDrive: back up files from a PC to OneDrive or back up files from a Mac to OneDrive
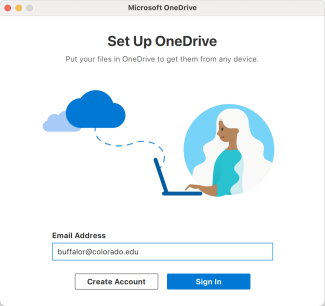
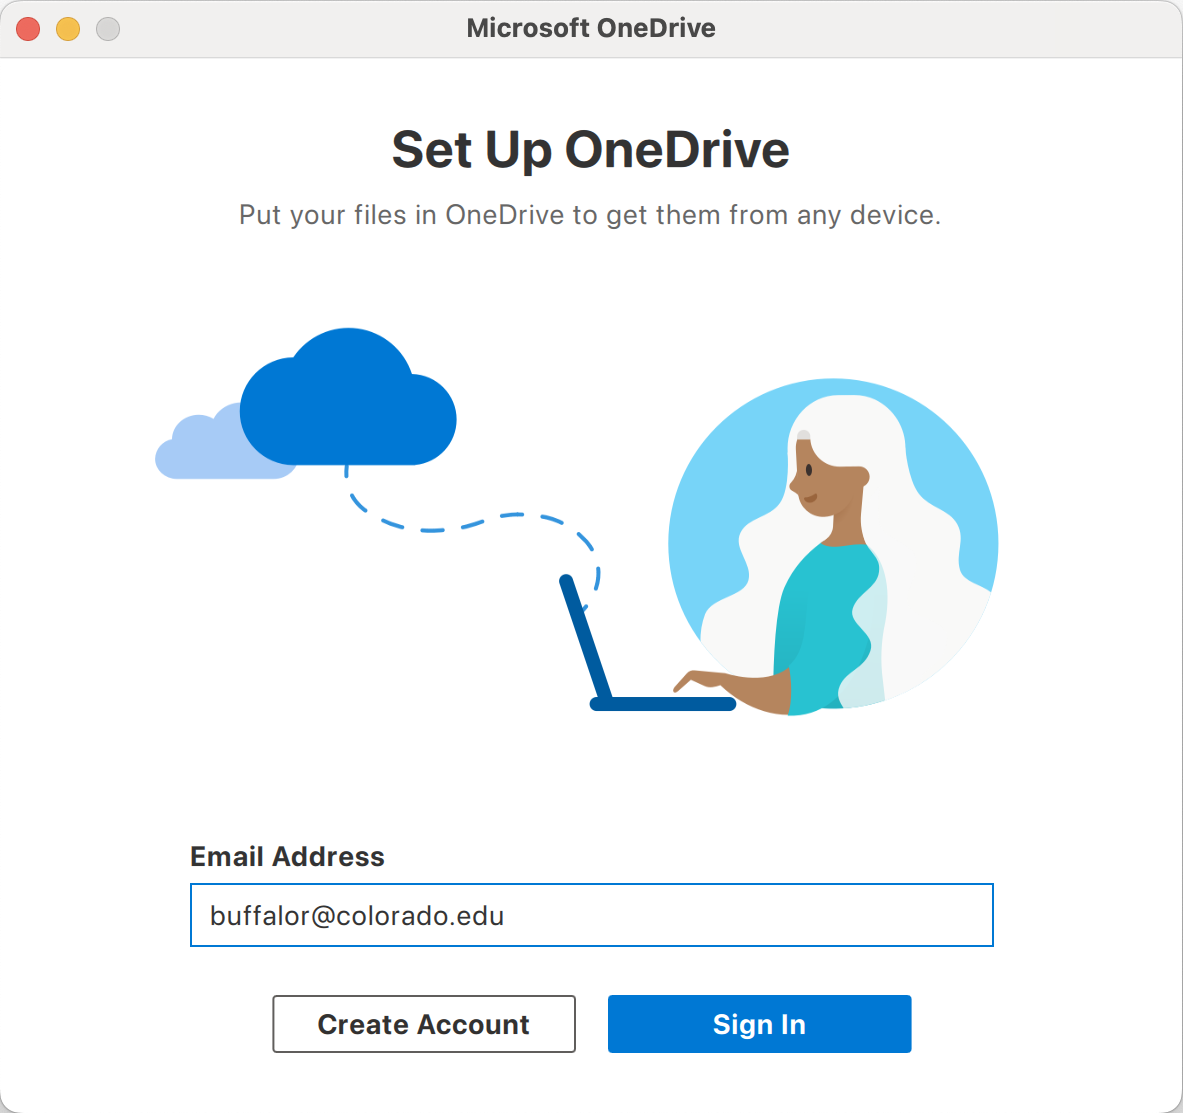
Please note: When you sign into OneDrive, enter your email address in the identikey@colorado.edu format, not FirstName.LastName@colorado.edu.
Once you have uploaded your data into OneDrive, your files will appear on your new laptop in the OneDrive folder.
Step
Troubleshooting
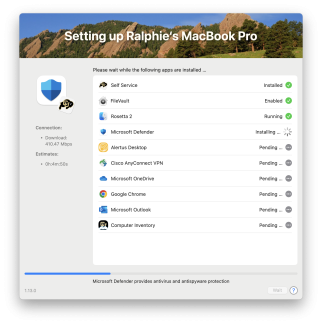
- If the "Setup Your Mac" screen never appears, please try running the Setup Your Mac option available in the Featured section of Self Service.
- If any of the individual applications from the "Setup Your Mac" screen fail to install, you may attempt installing them again from the Featured section of Self Service.
- If the Self Service application isn't automatically installed on your computer, please request assistance from your departmental IT liaison or DDS technician using the DDS Request Portal.