Step
Log in to MyCUInfo and go to the course you would like to create a course for in Canvas. From the Course Specific Tools, select Create Online Course.
Note: Due to a MyCUInfo Known issue, you may need to clear your cache or enable third-party cookies in order to see Canvas course create options.
Step
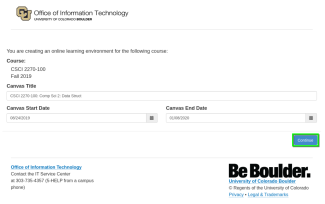

Step
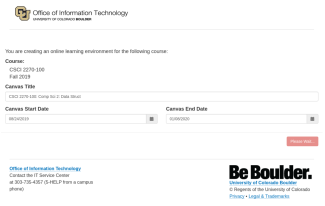

Step
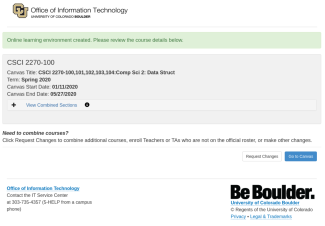
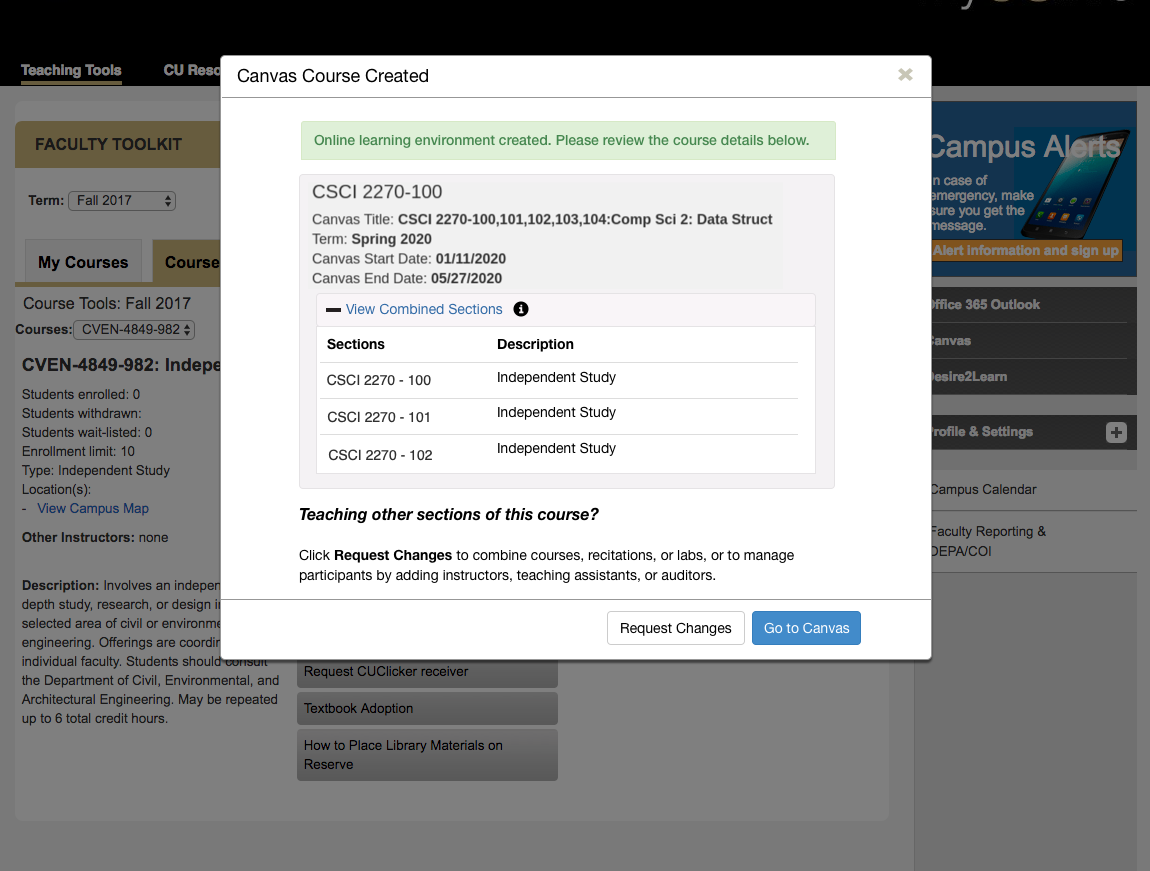
You will see a confirmation that your course has been created. From this window select:
- Request Changes to combine courses and add participants
- Go to Canvas to log in to Canvas and begin working in the Course
*Note: You can request changes to a course at any time after creation during the current term. Use the Canvas - Request Course Changes tutorial to learn how.