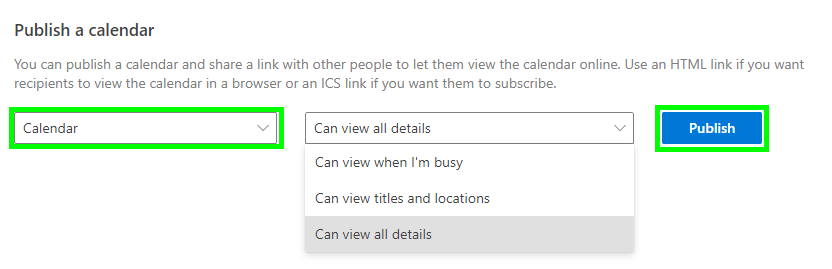
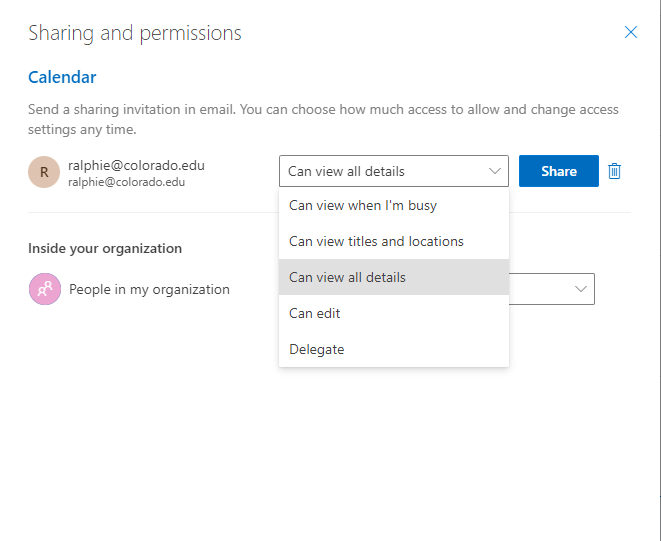
Outlook on the web - Sharing your Calendar

This tutorial shows how Outlook on the web can be used to publish your calendar with people outside your organization by either sending an email invitation, or creating a shareable URL. 

When full details are assigned, someone inside your organization (CU Boulder) will be able to add it directly to their calendar view in Outlook or Outlook on the web. People outside CU Boulder can be sent a URL to view your @Colorado.edu calendar. 

Layout:
one column
two columns

Permission Levels 

  • Can view when I'm busy: Allows someone to view blocks of time as Free, Busy, Tentative, Away.  
  • Can view titles and locations: Allows someone to view your Subject and Location. Events set to private will only display as Private Appointment to viewers. 
  • Can view all details: Allows someone to view your Subject, Location, Attendees, and Description. However, any event you mark as Private displays simply as Private Appointment to viewers.

*Note: The Can view when I'm busy and Can view titles and locations permission levels are the automatic default permission levels for all accounts. Users will not be able to assign None as a permission level within the Outlook on the web. None can only be set as a permission level within Outlook client versions and must be set at the default level (global). The None permission level cannot be applied to individuals within Microsoft 365.


Step

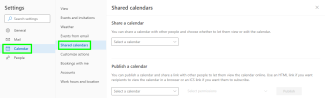
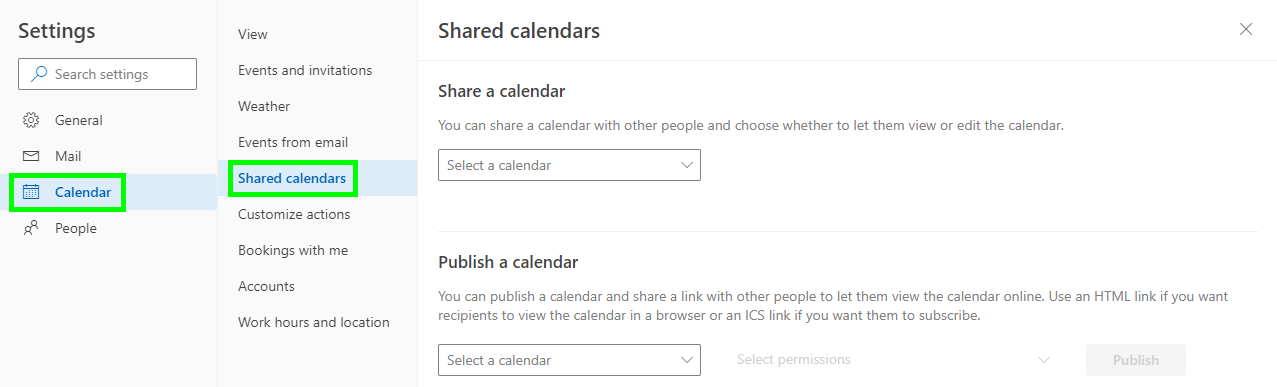
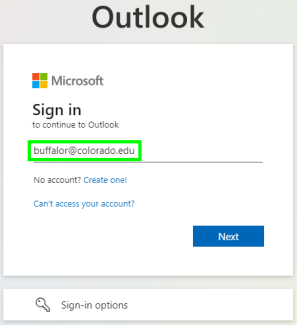
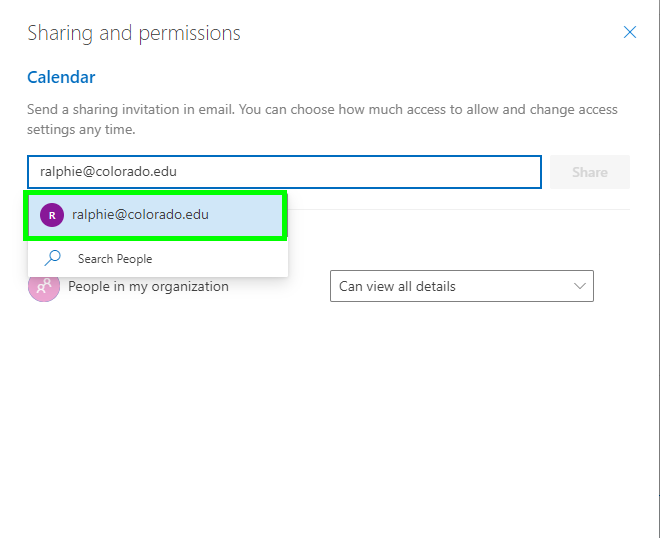
Log into Outlook on the web with your IdentiKeyUsername@colorado.edu  and IdentiKey password.

Step

Select Calendar from the sidebar on the left side of the page.

Step

Send an Email Invitation

Right click the calendar you want to publish. Or, if you are using a touchscreen device, touch and hold the calendar name. Select Sharing and permissions from the sub-menu. 

Step

Alternatively, click the Share button in the toolbar at the top of the calendar view. If you have multiple calendars, select the one you would like to share from the dropdown.

Step

To share your calendar with someone outside your organization, type in the person's email address in the Enter an email address or contact name field. Click on the email address that appears below the field.

Step

Select the level of access from the drop down menu, and click share. 

Step

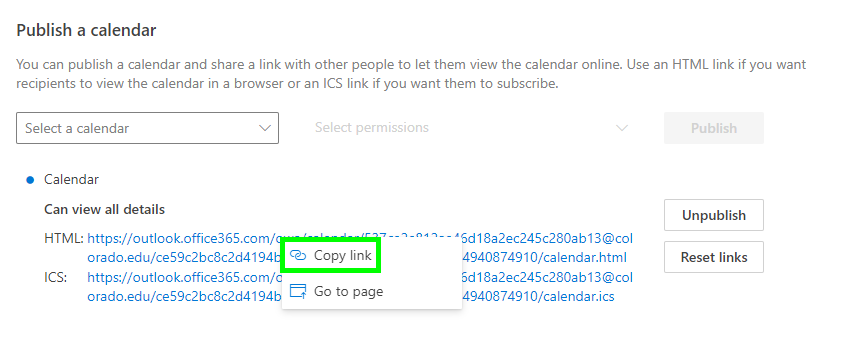
An email will be sent to the address you typed in. Depending on the client that the receiver is using, if you send them the Subscribe to calendar URL, they may need to use the specific subscribe feature within their client to view your calendar data. 

*Note: Subscribing to a calendar in this method does not allow for any modifications to be made as it only provides 'read' access to the calendar items. 

Step

Creating a Sharable URL

Click the gear icon to open the settings pane.

*Note: This will show a version of the calendar in a browser, and is ideal for sharing with people who do not have microsoft accounts. 

Step

In the left hand menu, select Calendar, then Shared calendars 

Step

Choose the Calendar you'd like to share and adjust the right level of access from the Permissions drop down. Select Publish.

Step

Click the HTML link, then click Copy link to copy it. You can now share this link with those you want to see your calendar.